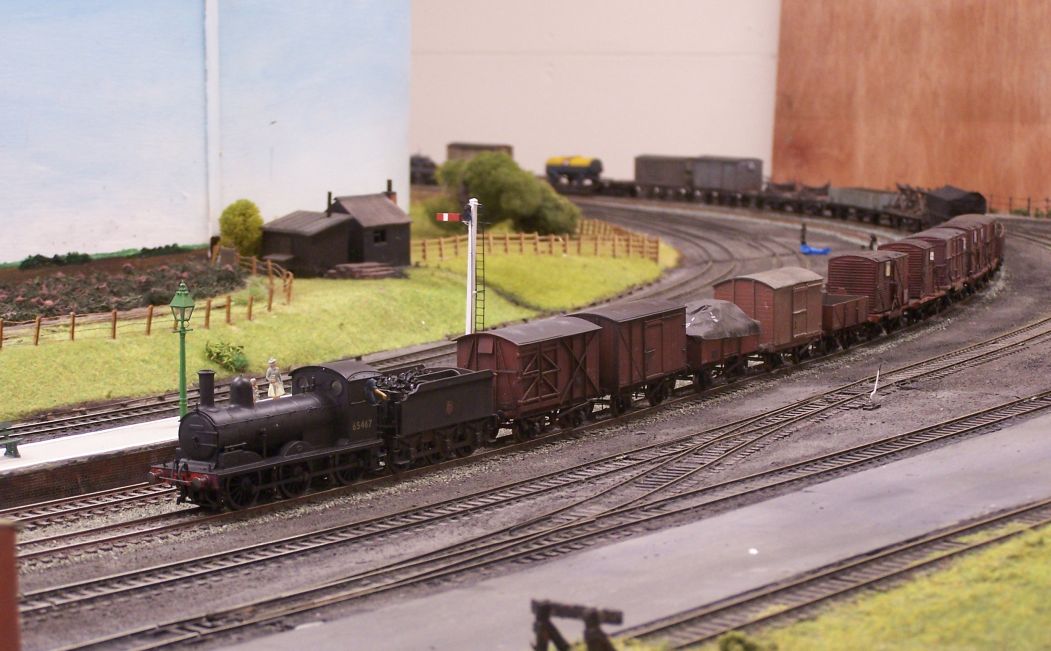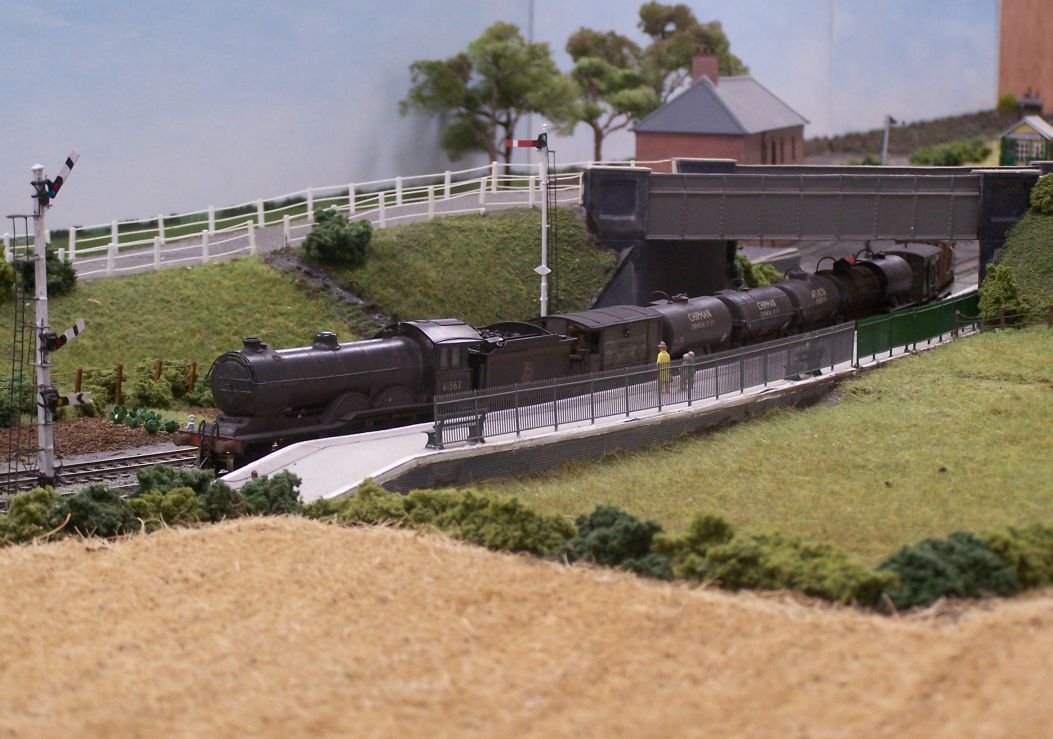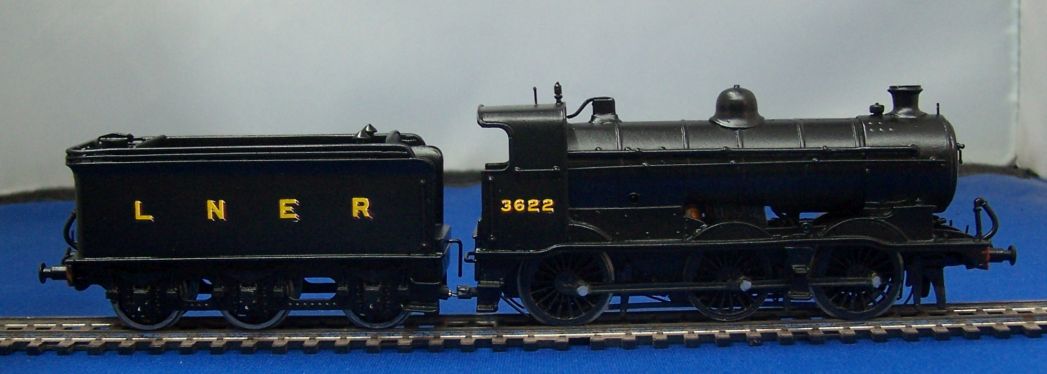
I found time to letter up the J6; after some successful test running on Grantham, this is slated for the Newcastle show.
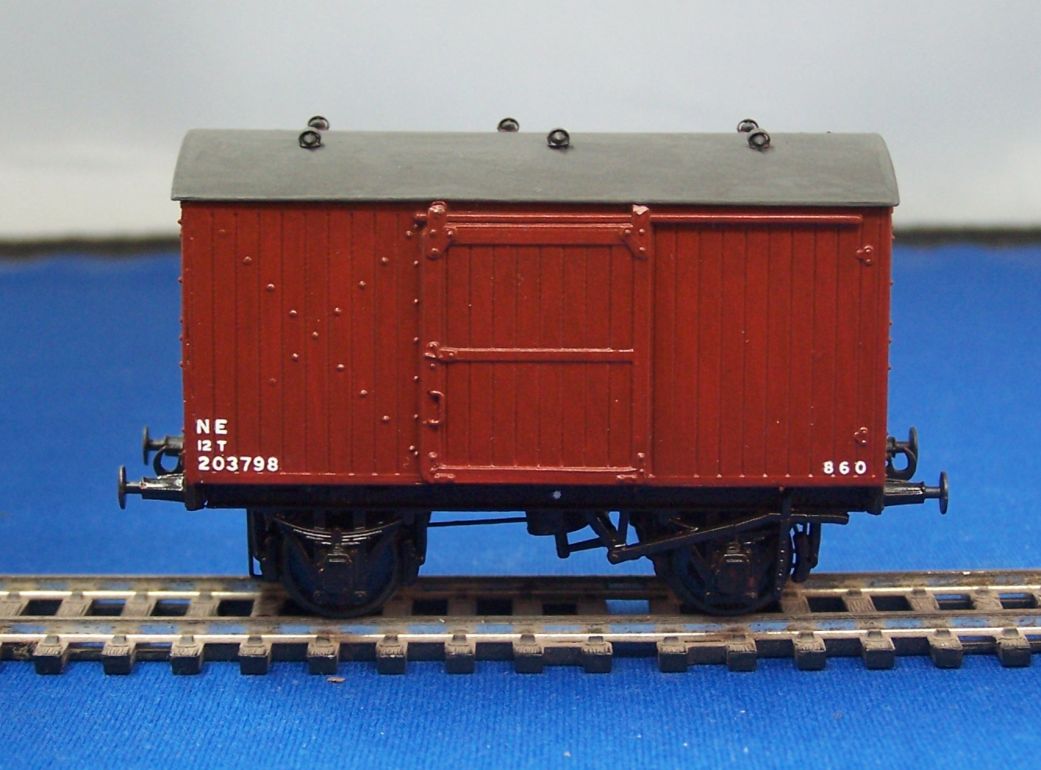
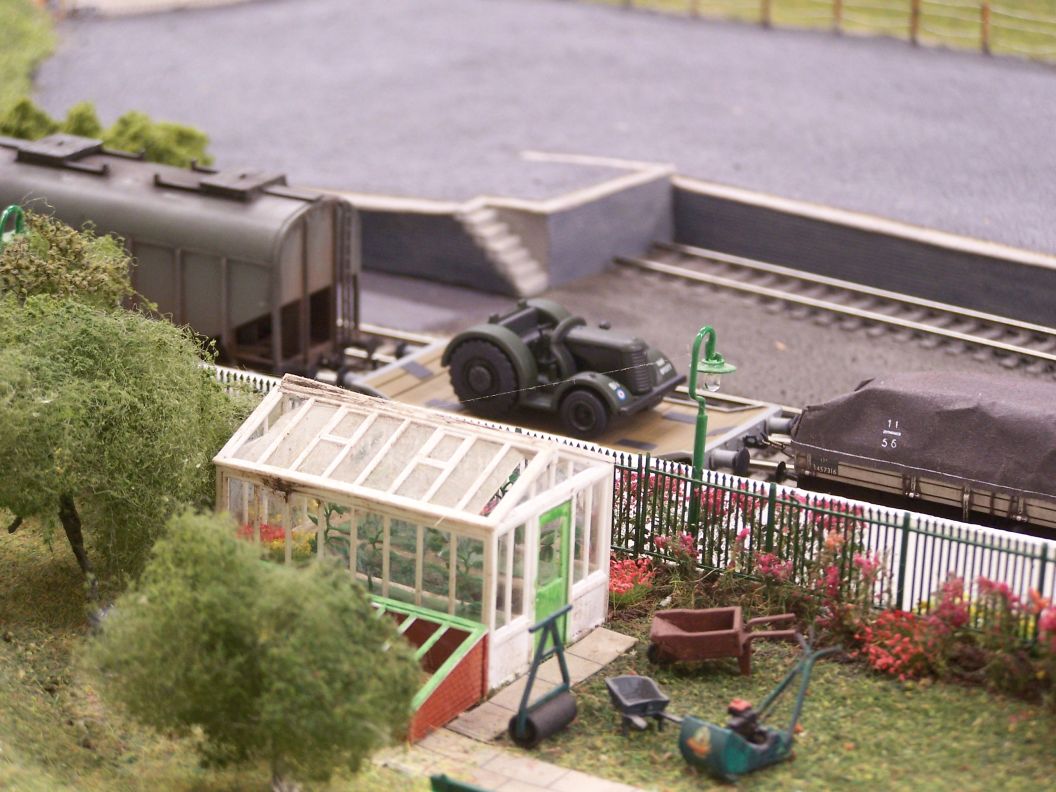
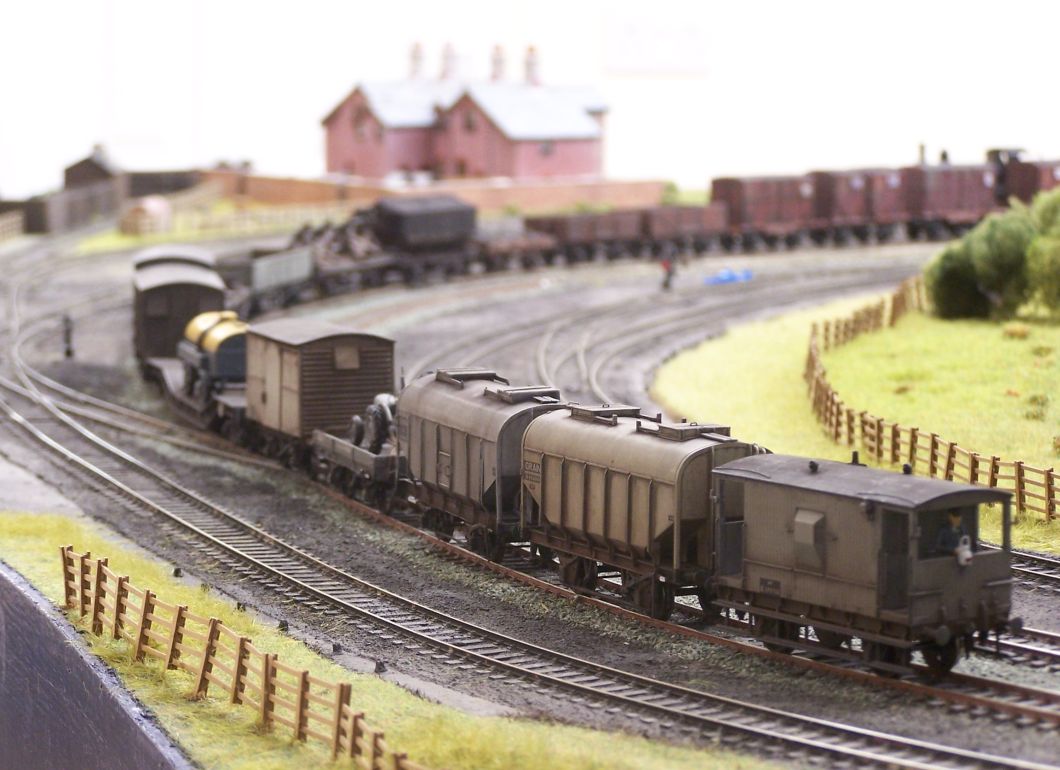
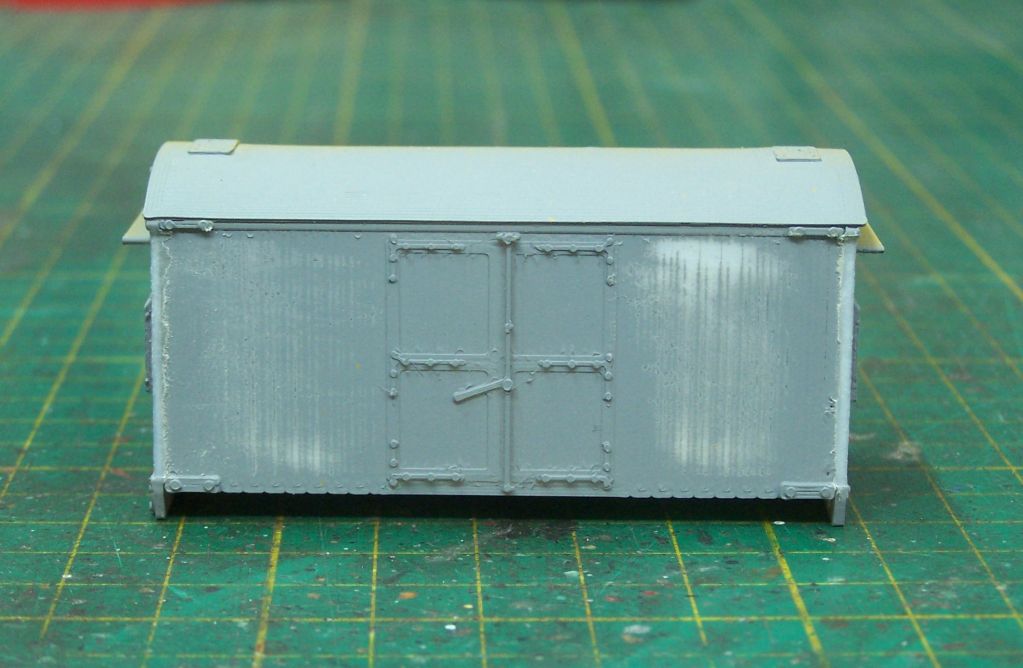
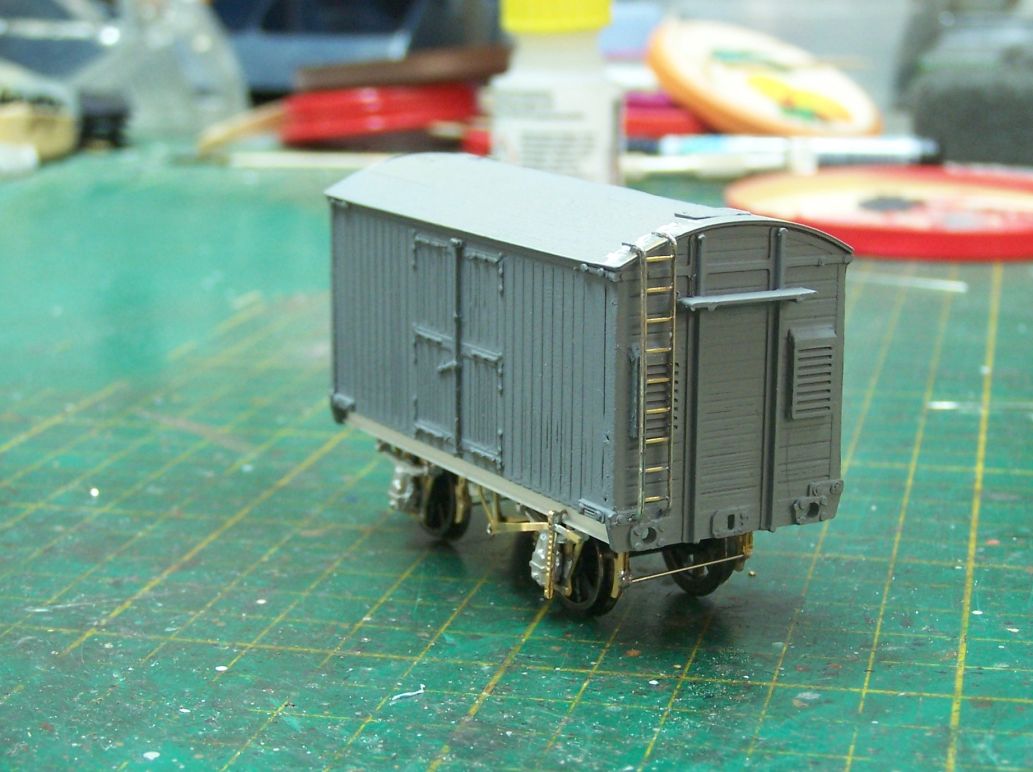
I also picked up one of the wagons I acquired from a deceased collection earlier in the year. A couple of them were used as 'have a go' pieces at Thirsk Show while I was demonstrating weathering. They've since been through the paint stripper and onto the corner of the bench. I picked this one up to have a go at detailing it today.
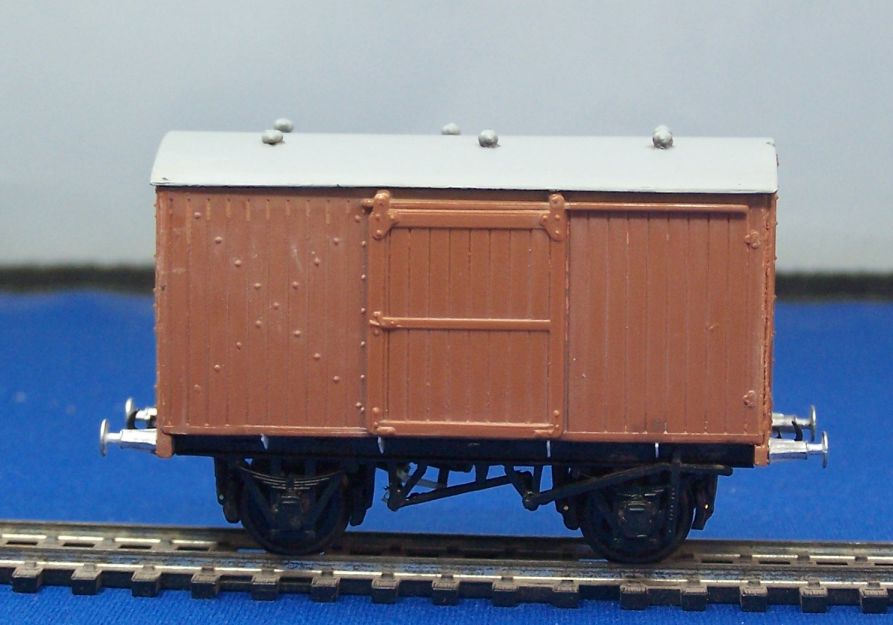
It was only when I had it in my hands and upside down today that I realised that it wasn't quite the Parkside Fruit van I'd taken it for. The builder has used the ends from a Fruit van kit but the sides from the standard van and a steel underframe to make the later diagram Fruit van. I haven't had it beside Tatlow to see just how accurate it is, but it's a good idea. Someone does the 'Fruit' plates as an etch, I'm sure, I just have to remember who it is.

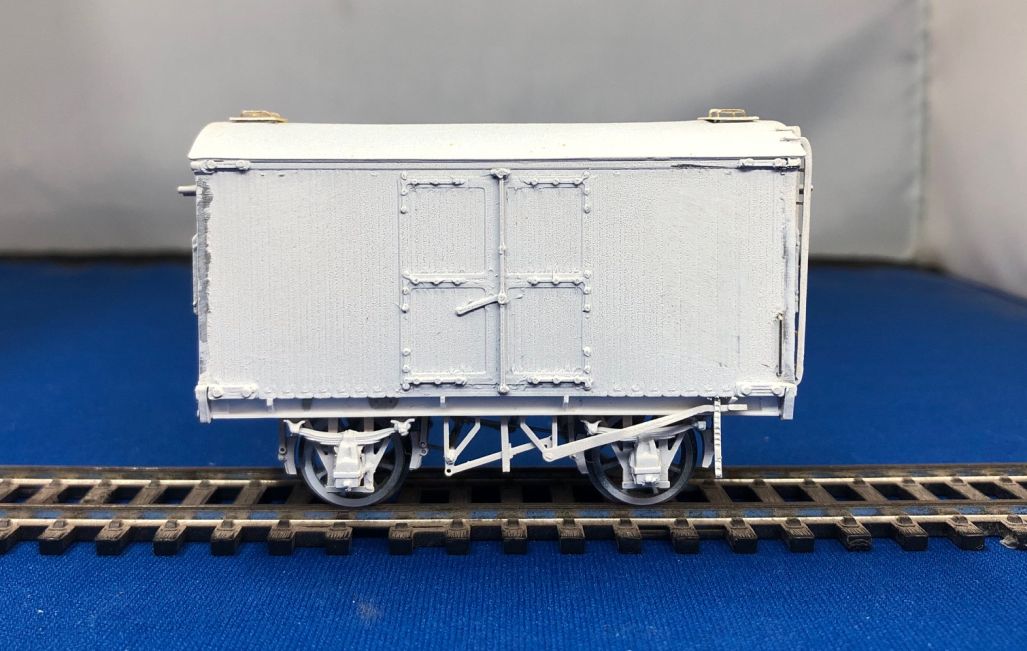
It's had my usual additions to the underframe, replacement buffers and couplings. There's still a little more to add, then a weight, better roof vents and off it goes for paint.
This was the main focus of the day, though - a job I started a couple of weeks ago.
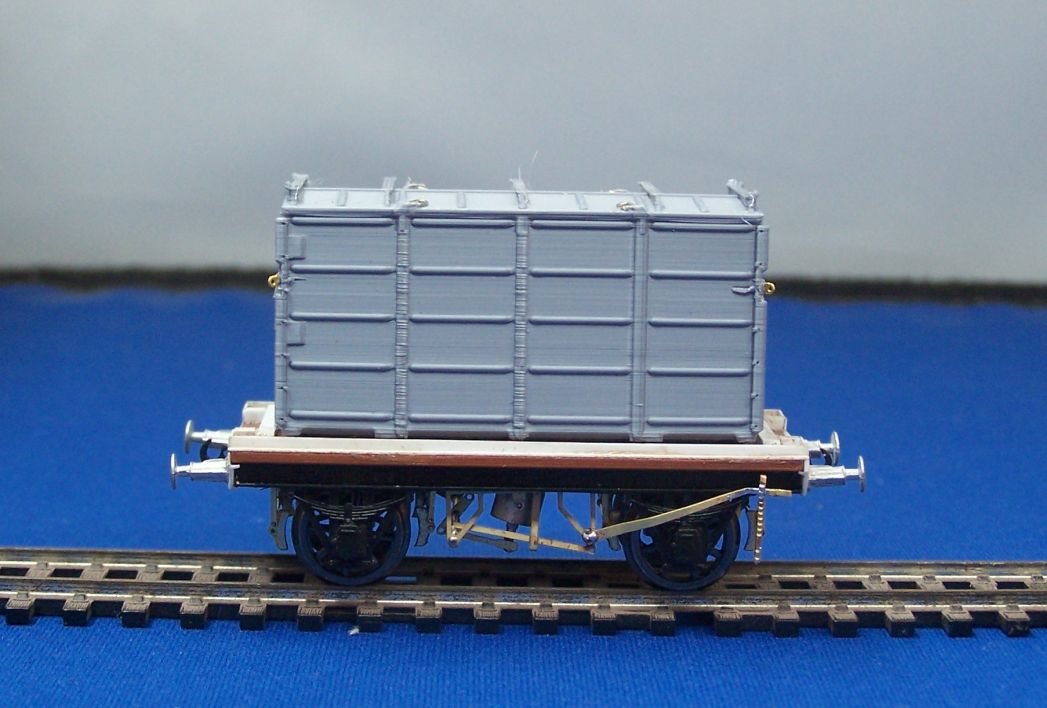
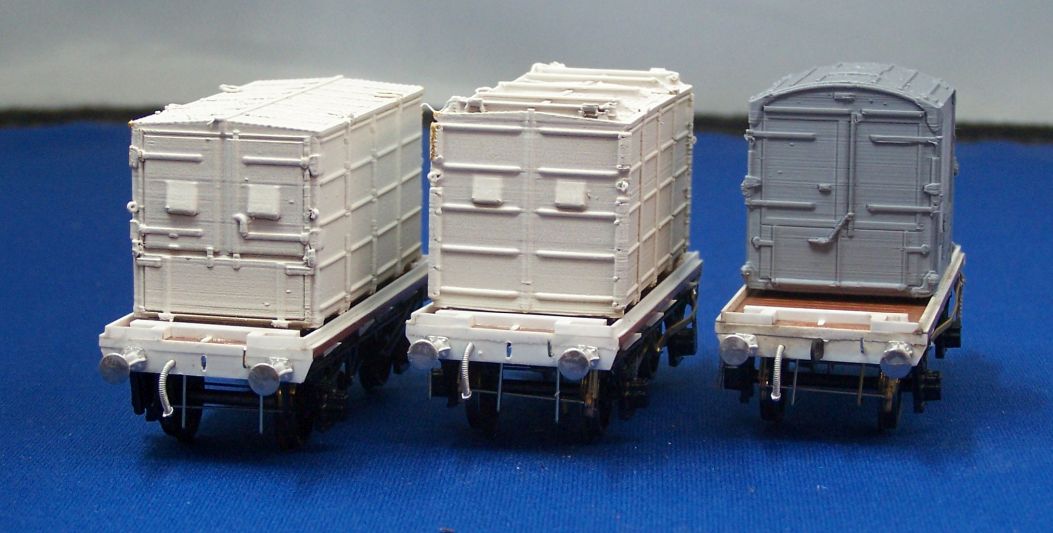
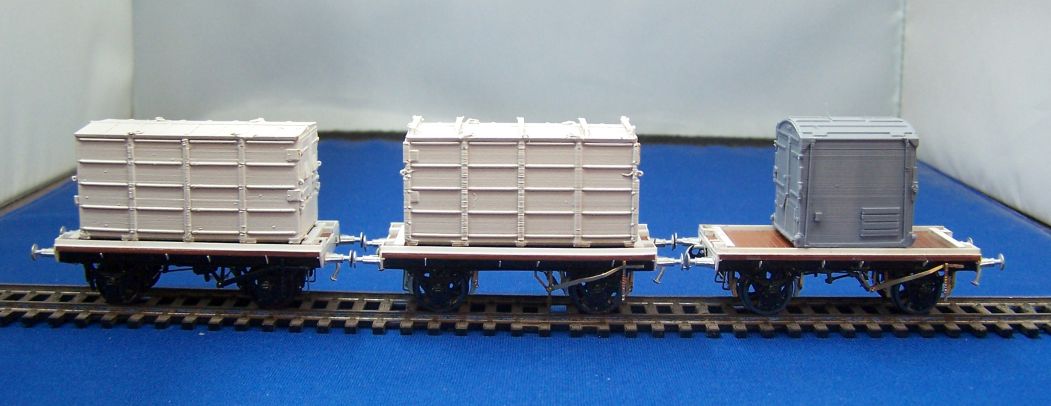
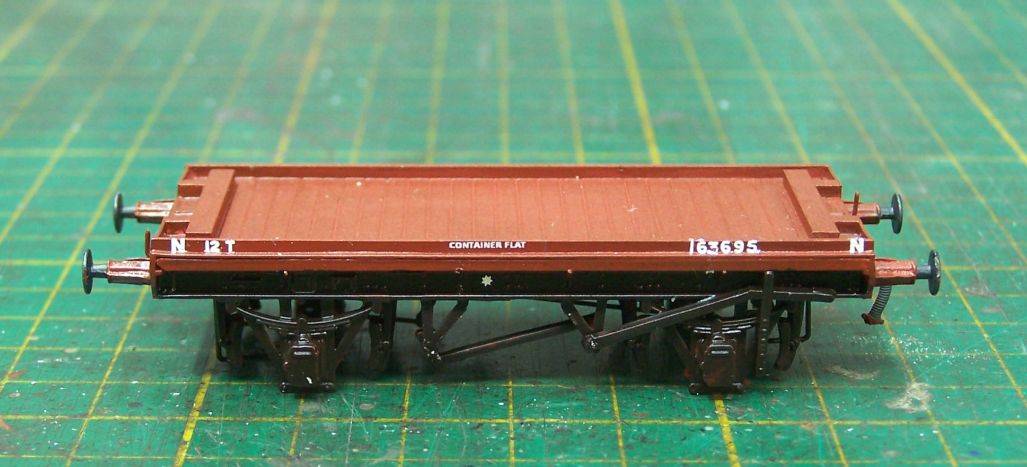
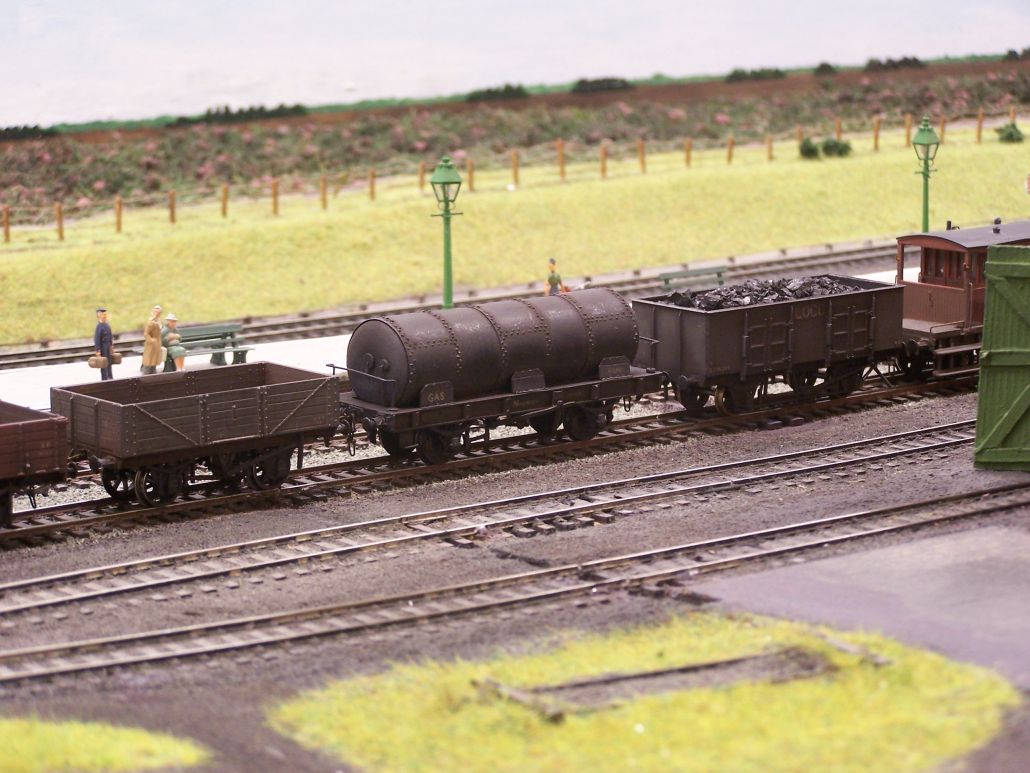
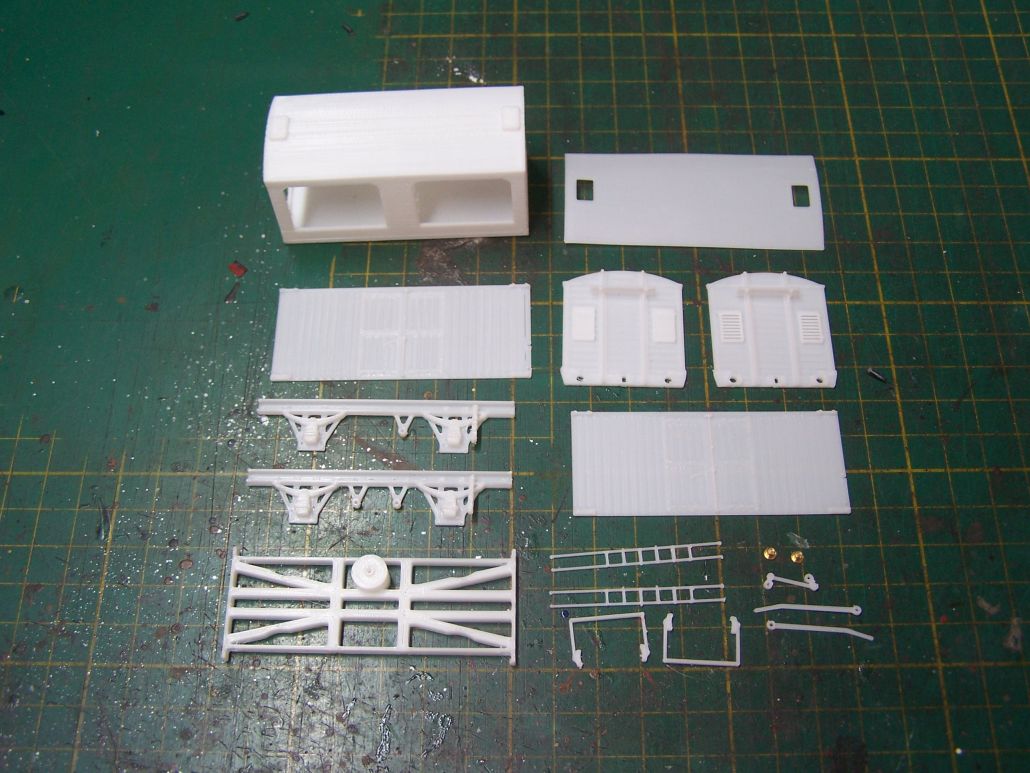
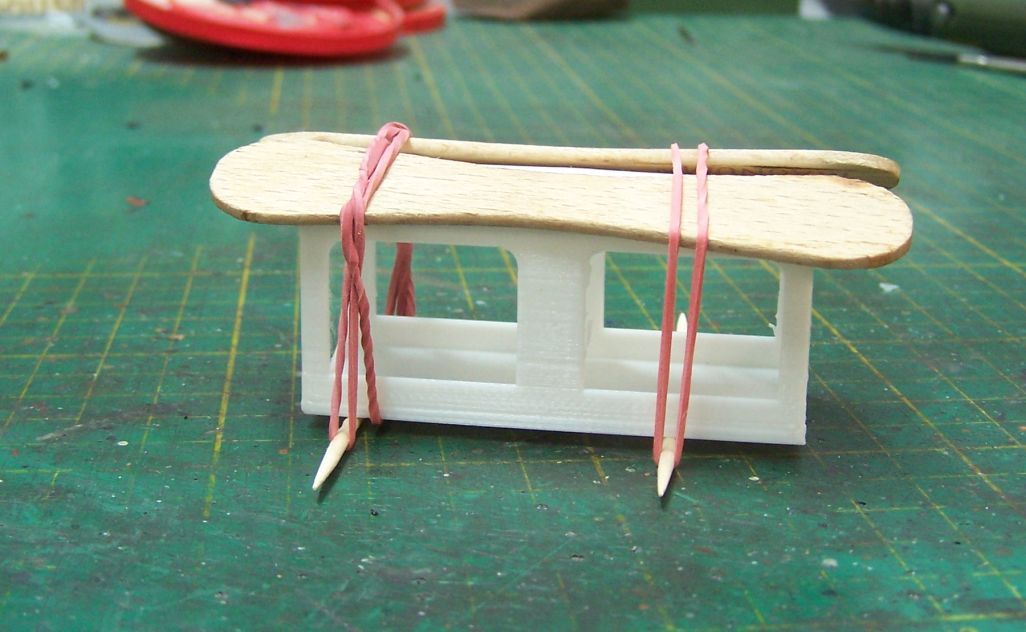
Earlier in the year, Carlislecitadel of this parish kindly sent me some printed containers, including a couple of the pressed steel ones I've been keen to get hold of for Grantham ever since we started selecting stock for it. I've not really done much with them up to now, but I do want them on the Scotch Goods for Newcastle. I looked at my available options for conflats and found a couple of Conflat S kits and some resin cast Conflat Vs from Mr. King. At the time these were photographed on the Scotch Goods, around the time the V2s started hauling it, the diagram 76 container flat seems to have been the most common type.
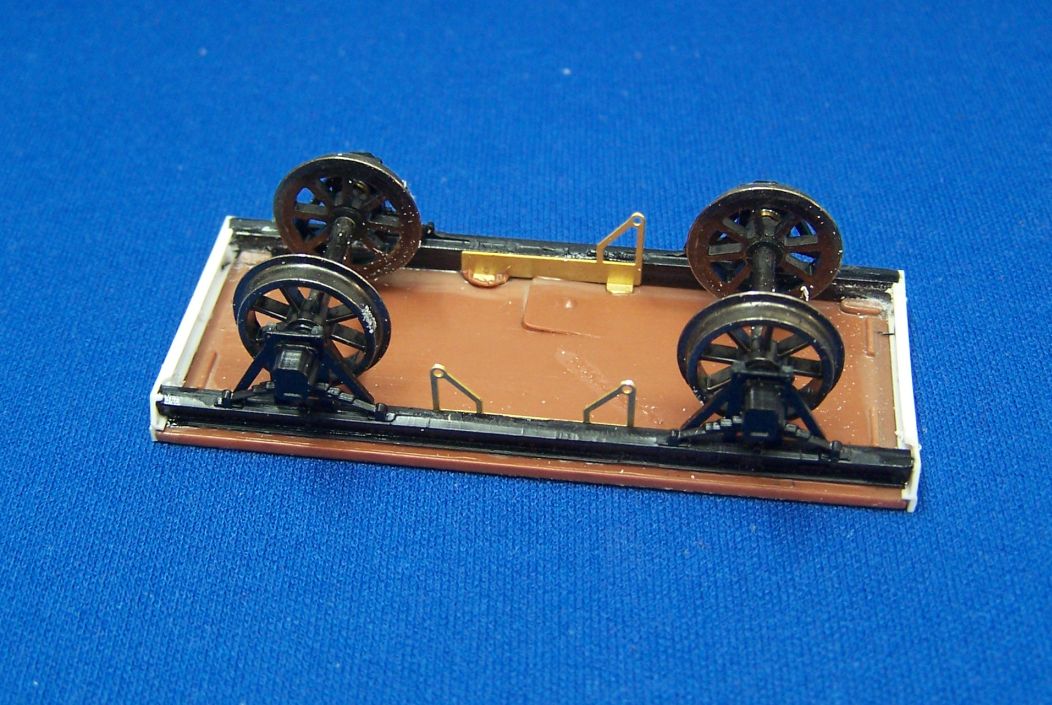
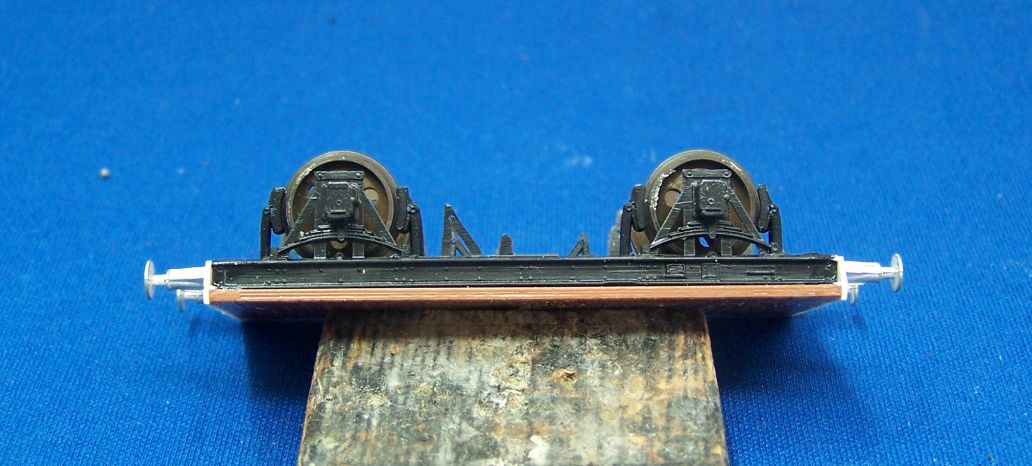
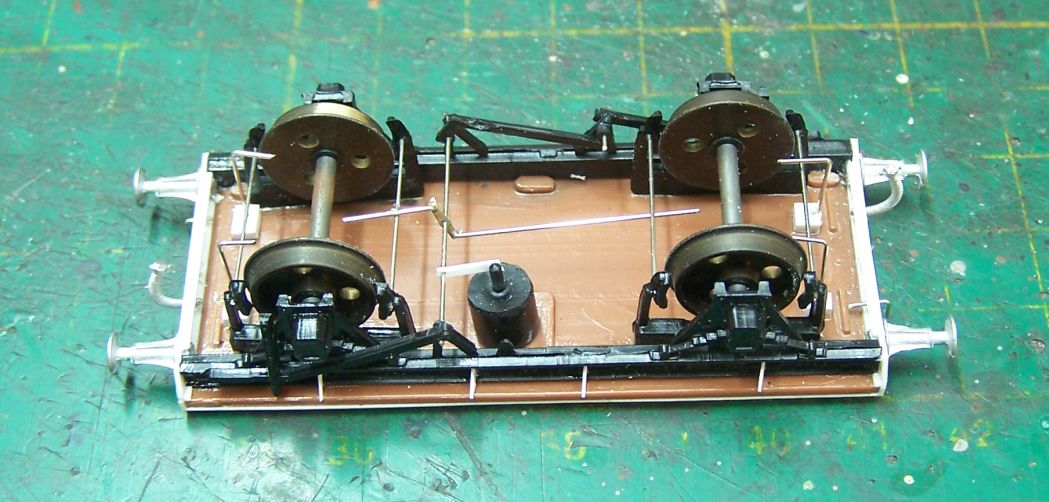
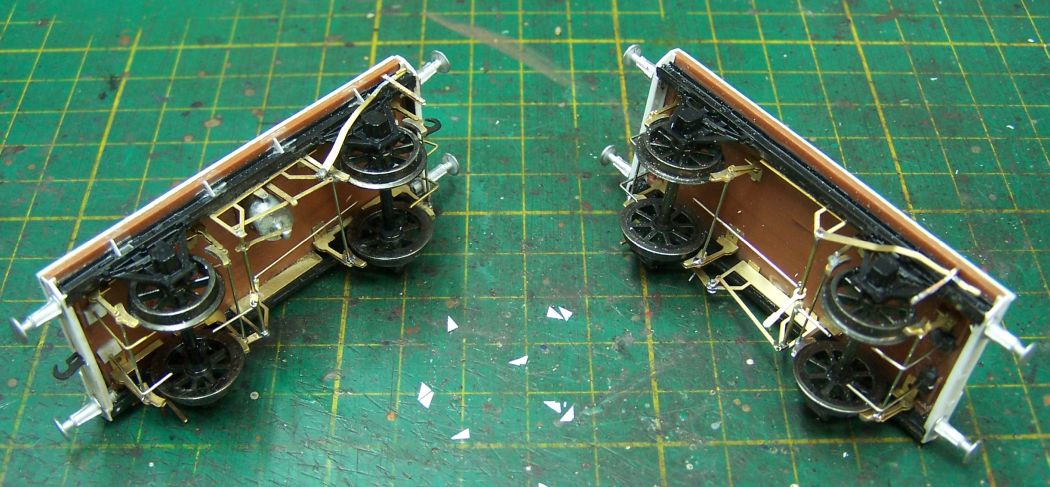
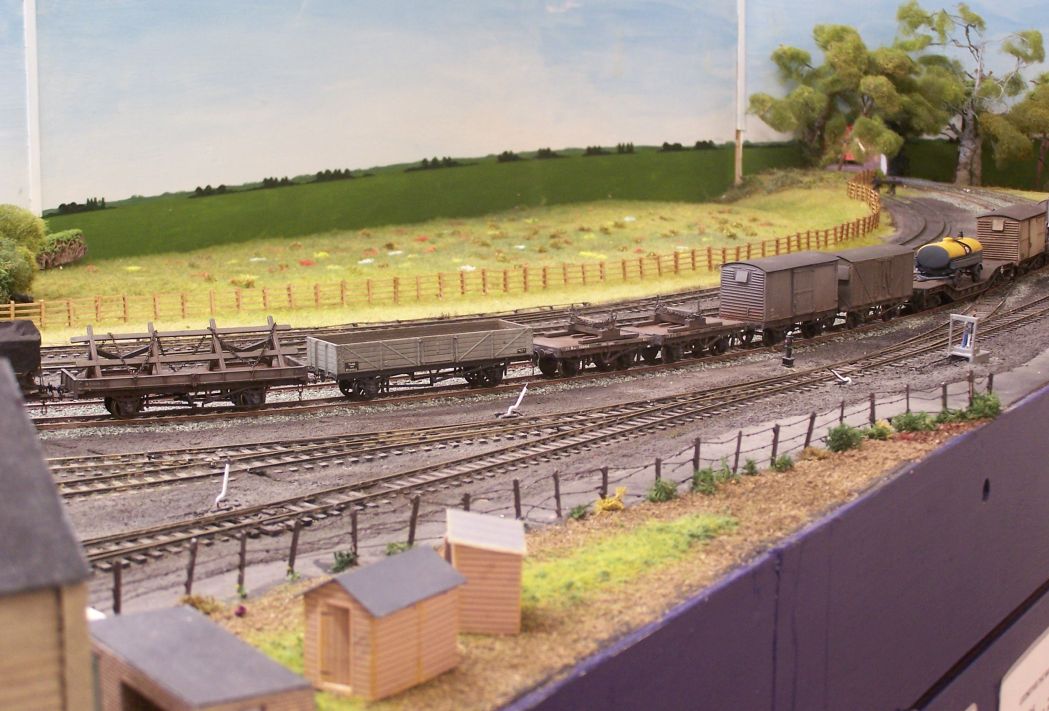
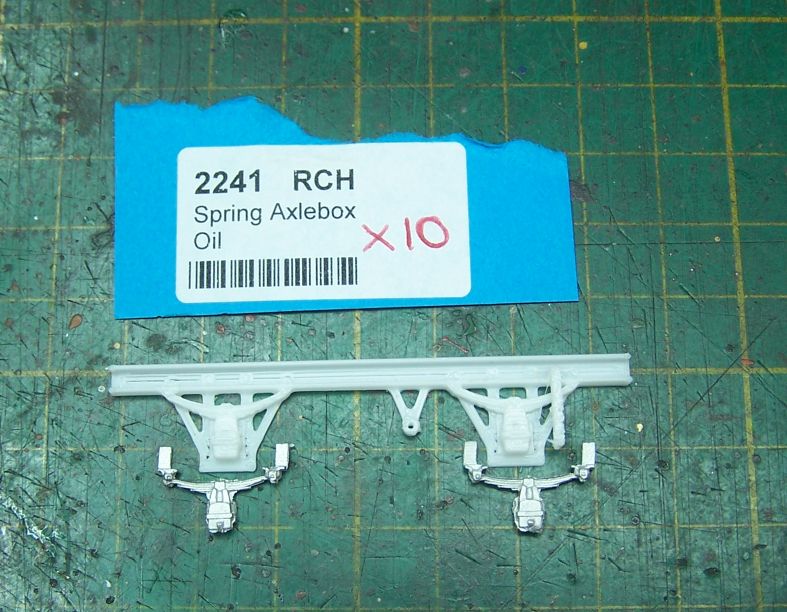
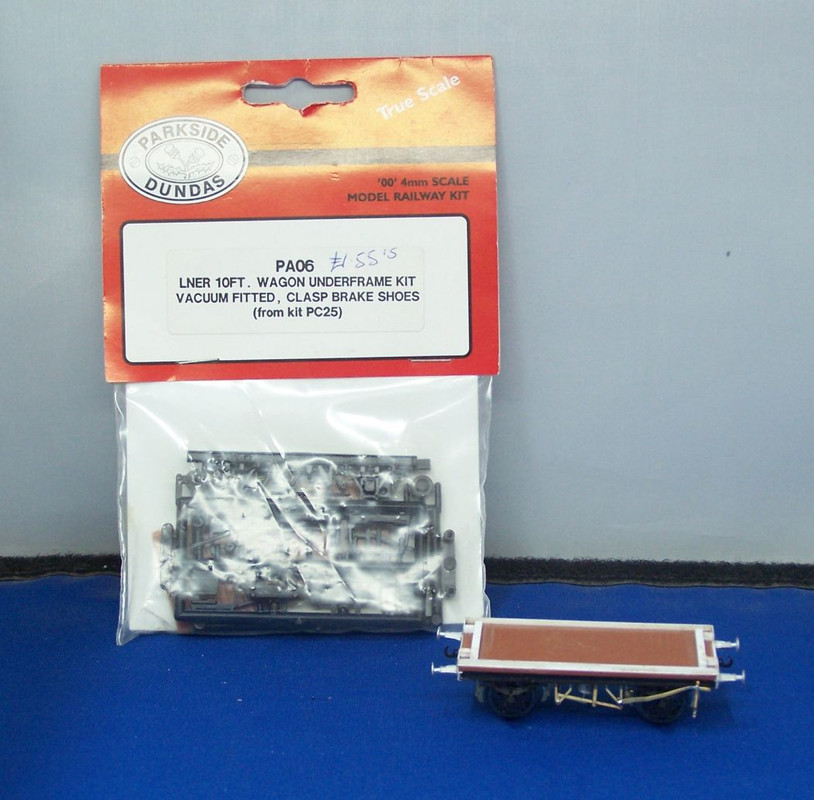
I was flicking through Tatlow looking at the different combinations and designs when it occurred to me that a D76 was not very far from Parkside's PA06 underframe kit. I had a few of these under the bench, so I pitched into one and set about building it.
In the end I only used the floor and solebars, but I chose to discard the brake gear and use brass instead. Buffer beams from Evergreen channel, buffers LMS, the rest the Mainly Trains LNER fitted brake gear etch and bits of wire.
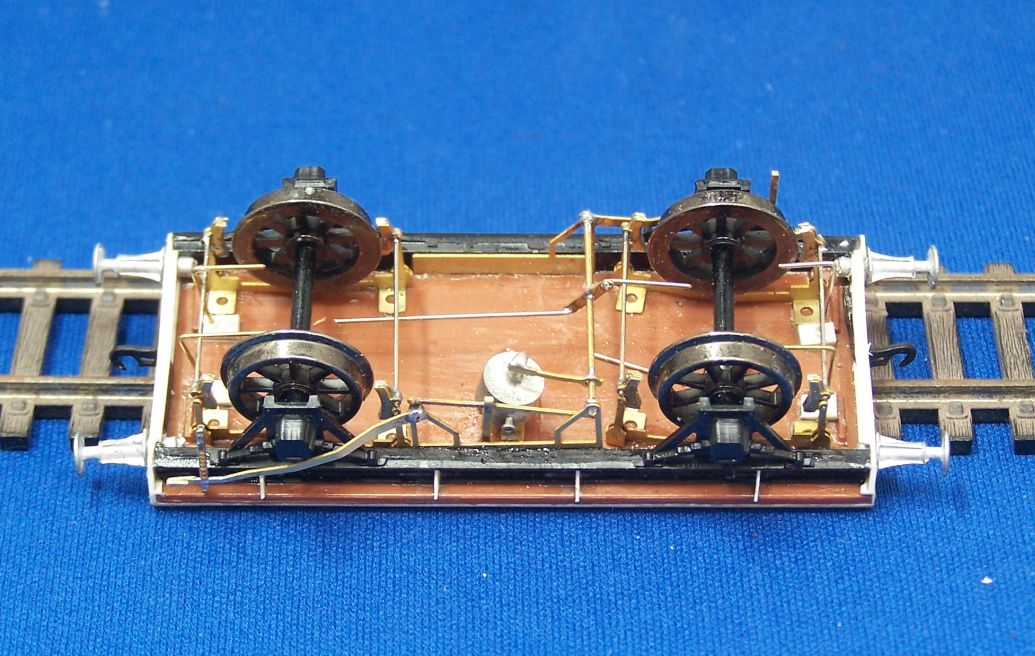
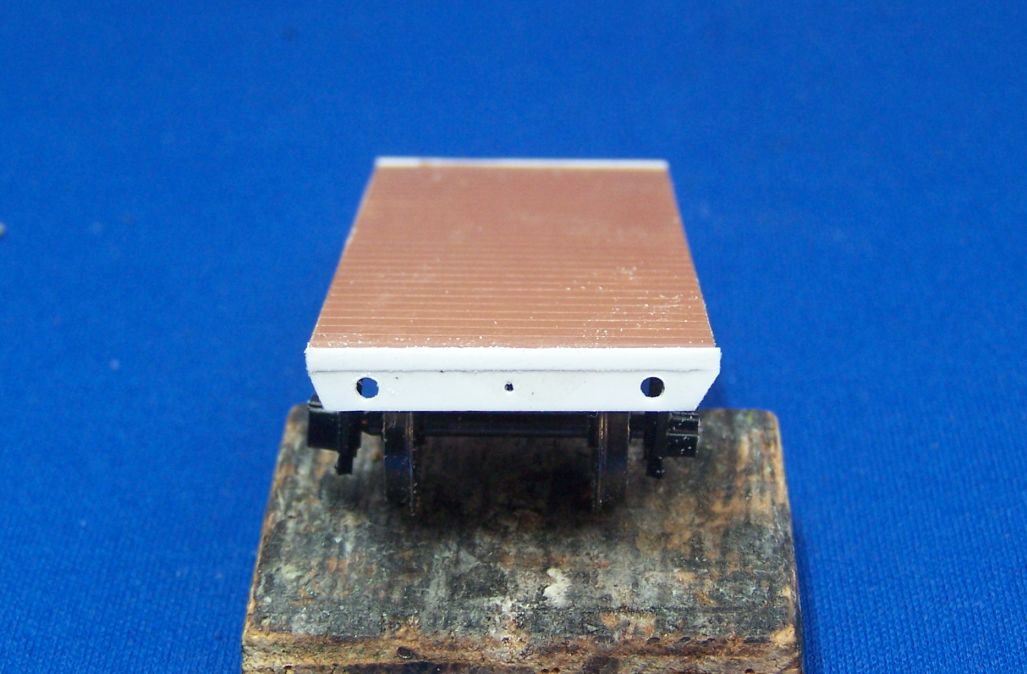
The Parkside floor is over thickness, but I can live with that as a compromise as it gives a solid, square basis for the rest of the wagon.
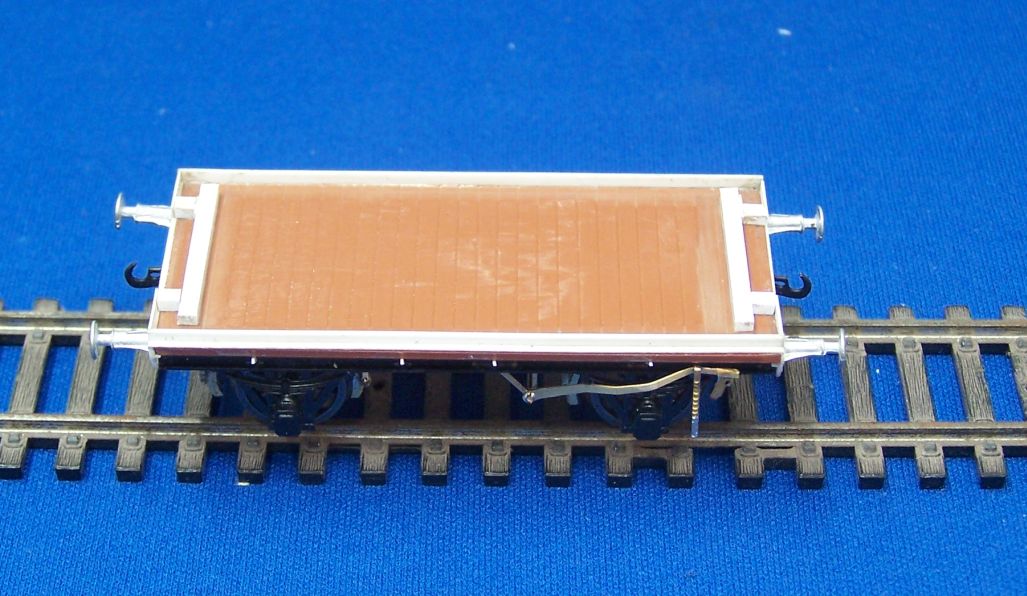
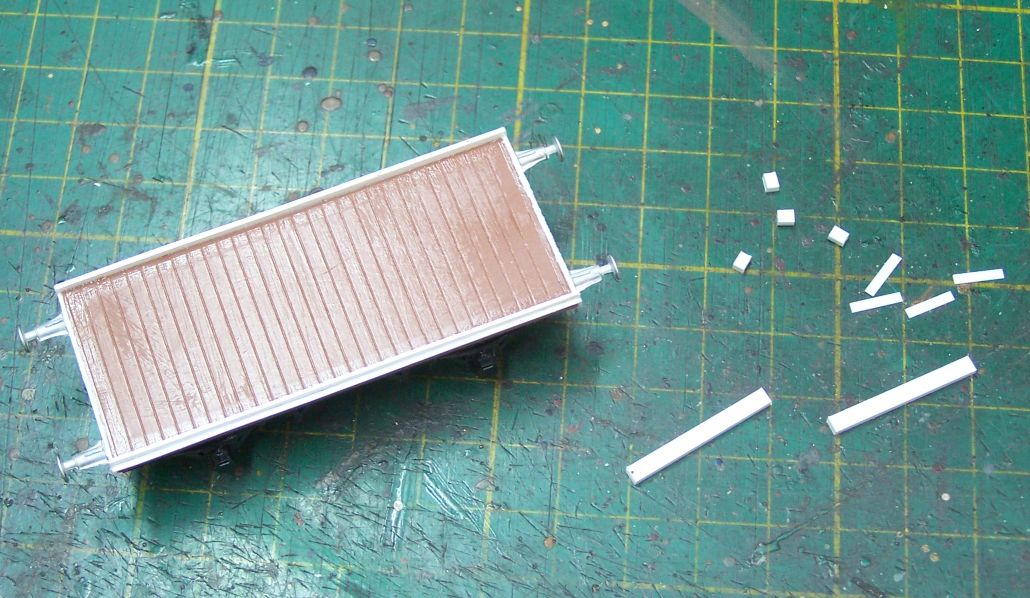
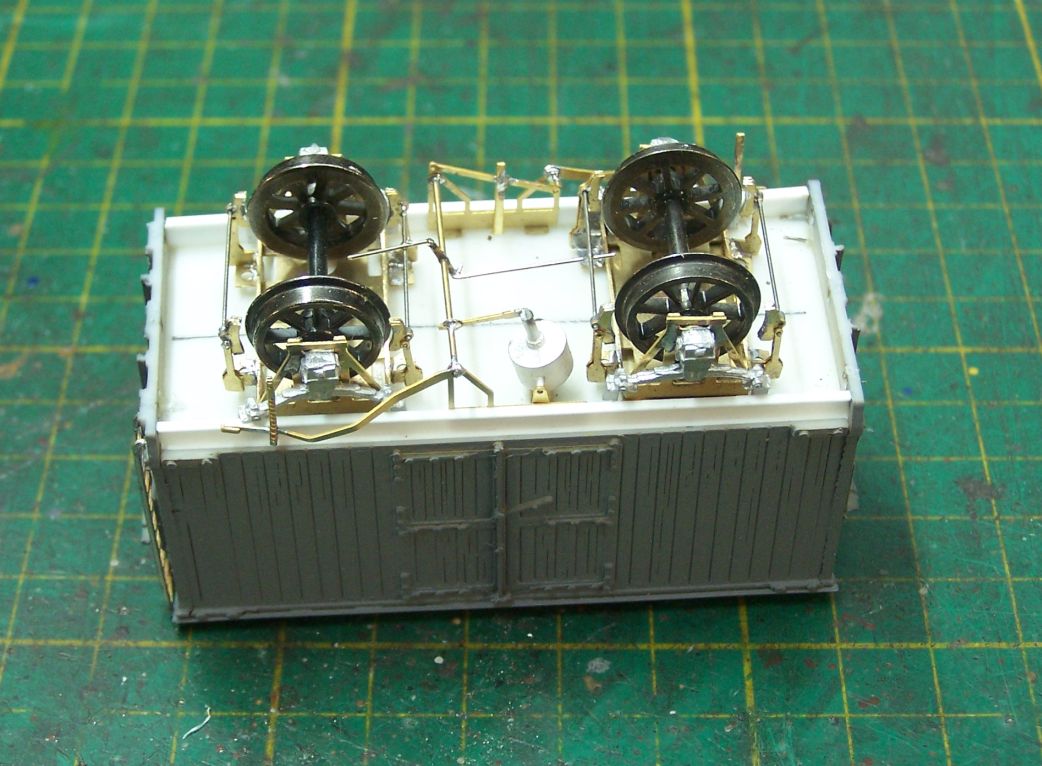
The top is fairly simple - lengths of Evergreen strip following the arrangement shown in Tatlow 4A p 209. I haven't bothered with the bits under the container. The container itself has had brass eyes from Roxey added and the top tidied. The lifting loop brackets had printed quite misshapenly and with fine filaments hanging off which were very resistent to cleaning up. After I'd broken two off, I waved the white flag, broke the other off to match and just glued wire loops to the roof to look like the lifting shackles. There's still the odd detail to add but it's largely there and looks the part to me. I've started another so I'll go into more detail on that as I make progress.