Woodbourne; The Lea Valley(ish) in N Gauge

This forum is for the discussion of railway modelling of the LNER and its constituent companies.

Moderators: 52D, Tom F, Rlangham, Atlantic 3279, Blink Bonny, Saint Johnstoun, richard

03piggs
NBR J36 0-6-0
Posts: 112
Joined: Fri Jul 30, 2021 8:44 pm
Contact:

Re: Woodbourne; The Lea Valley(ish) in N Gauge

Post by 03piggs »

Hi again! :wave:

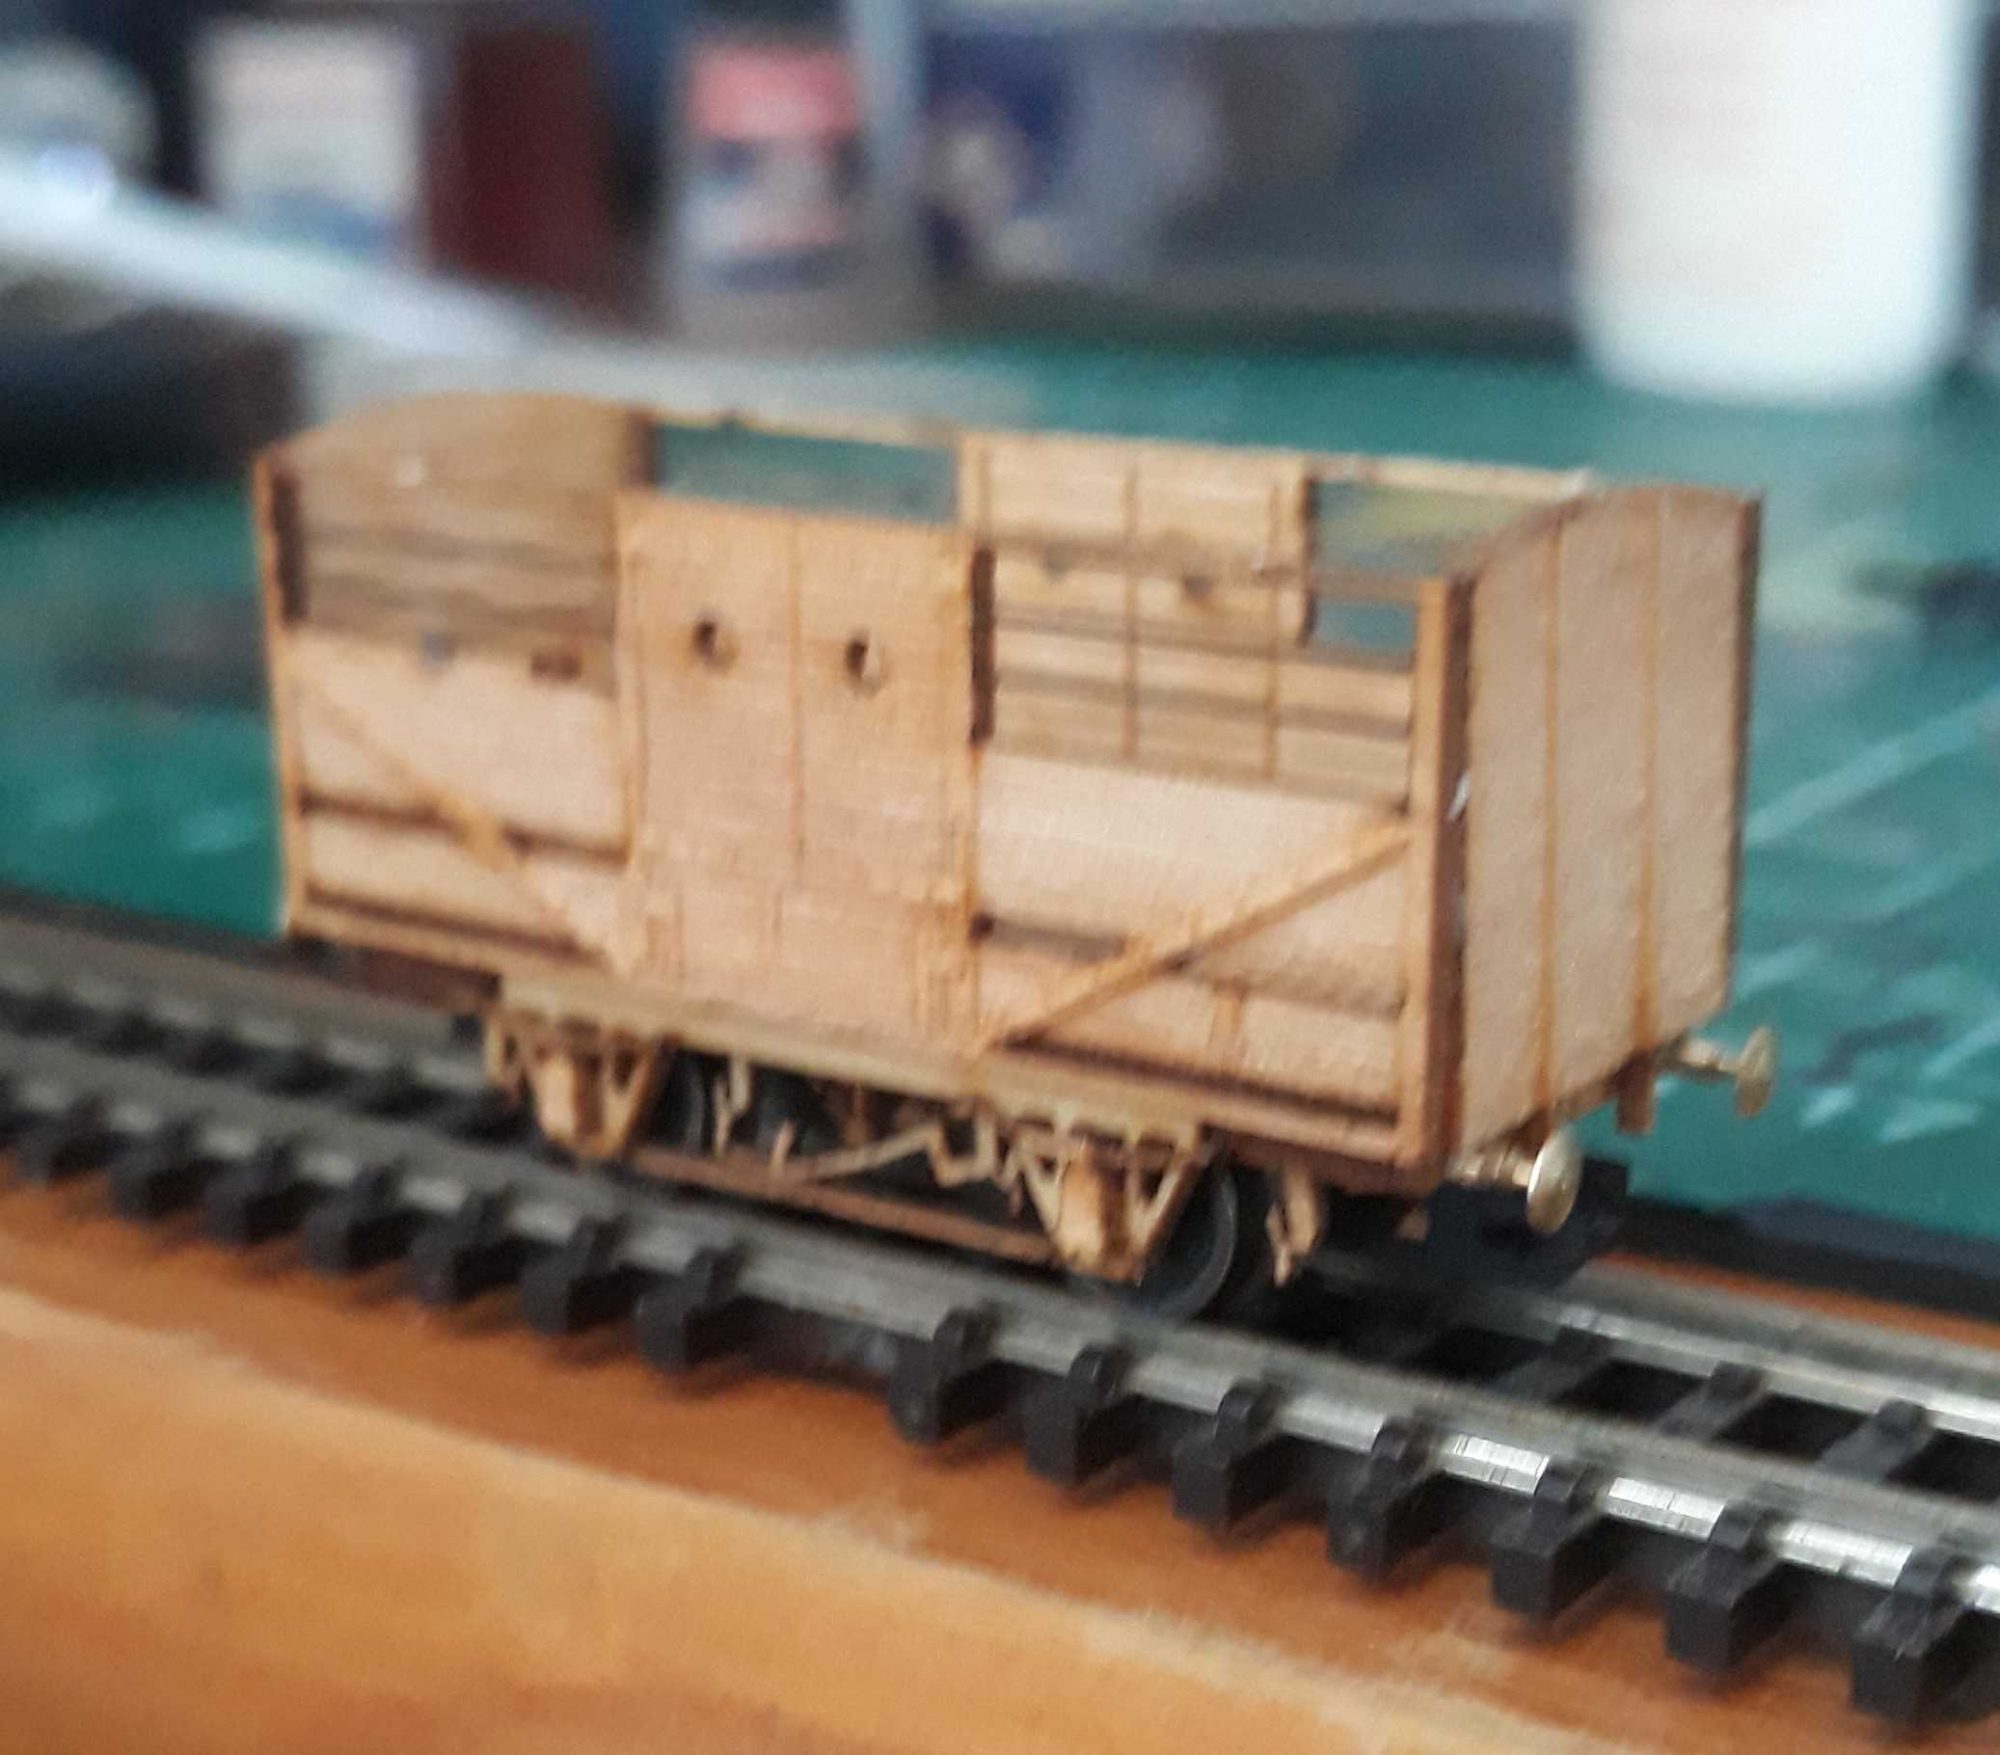
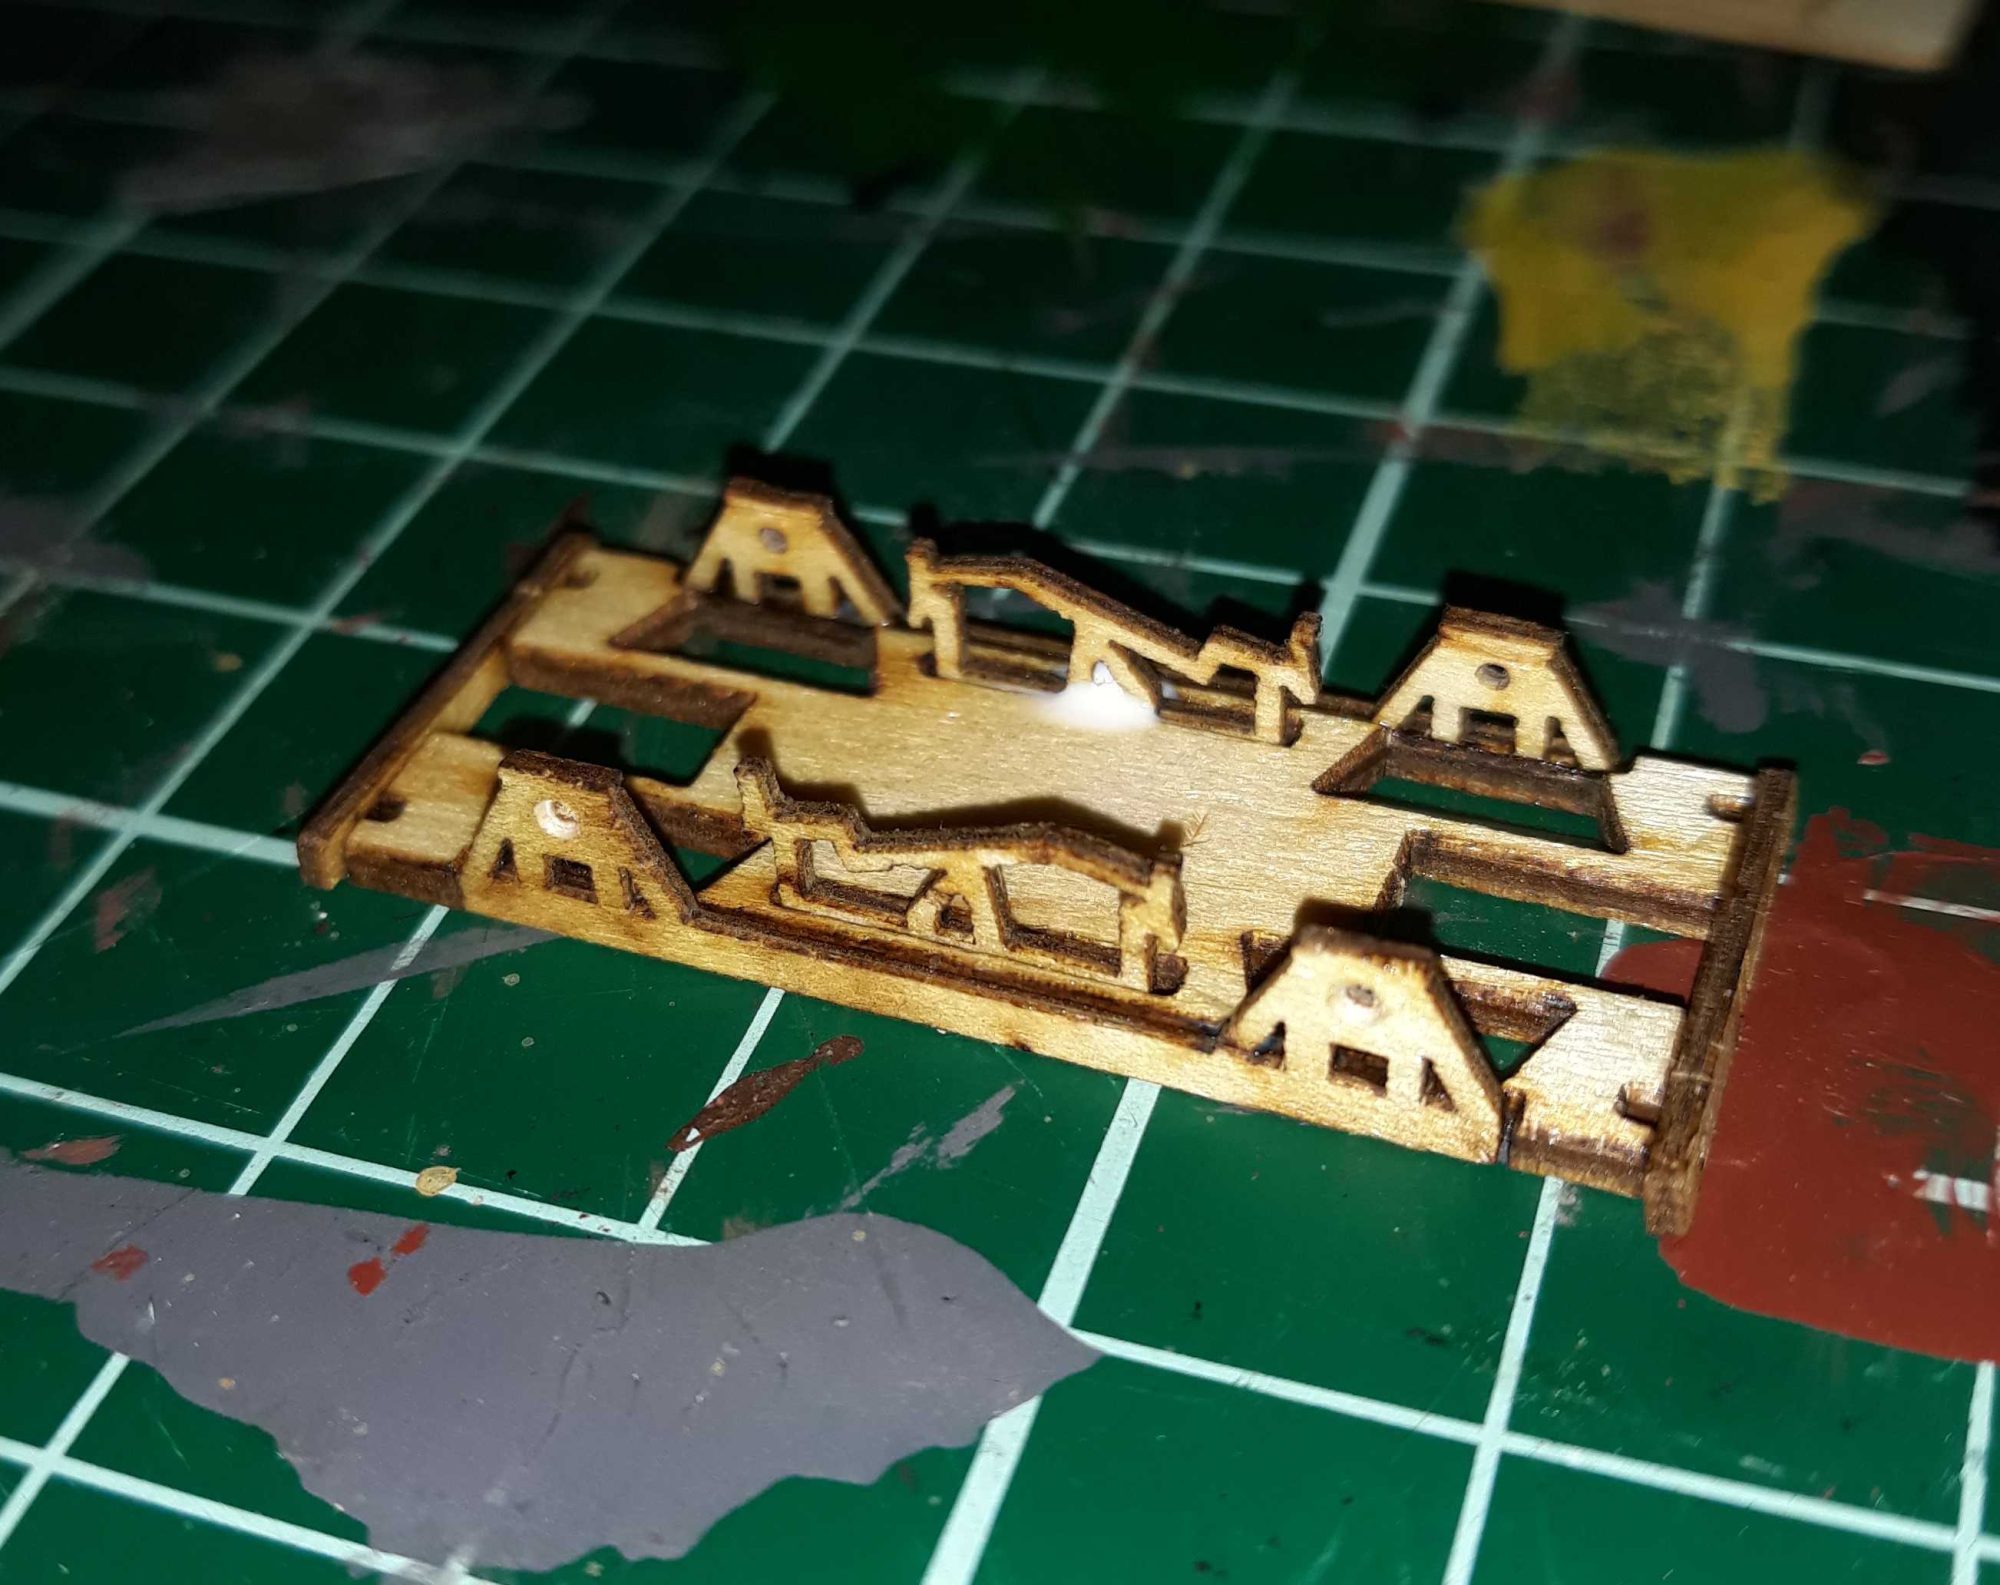
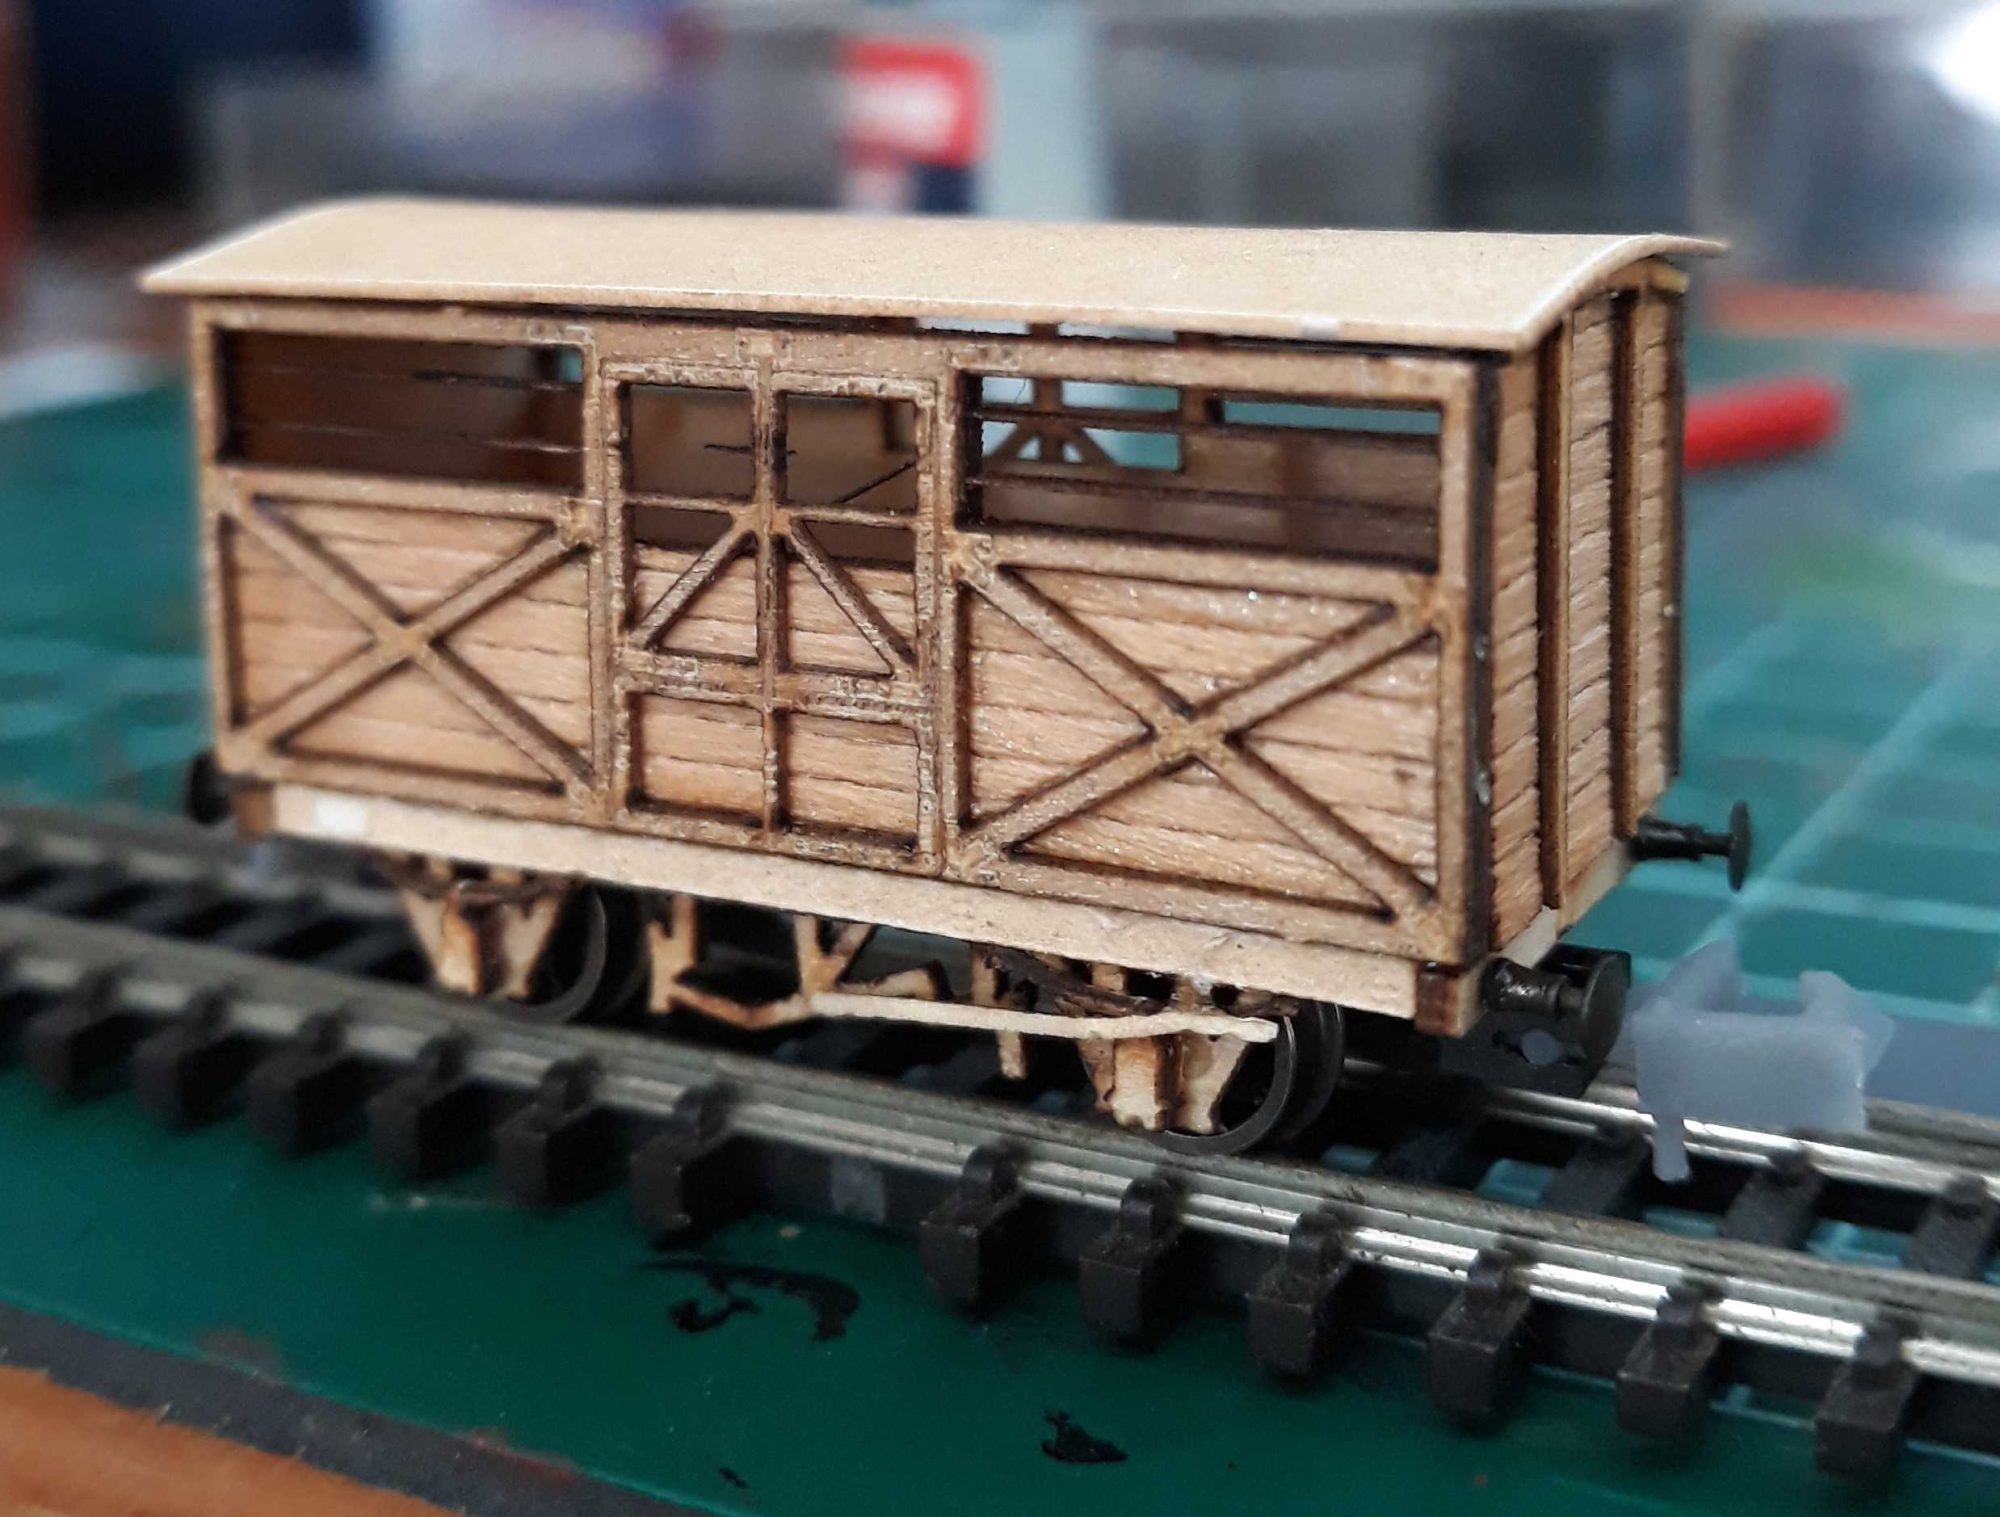
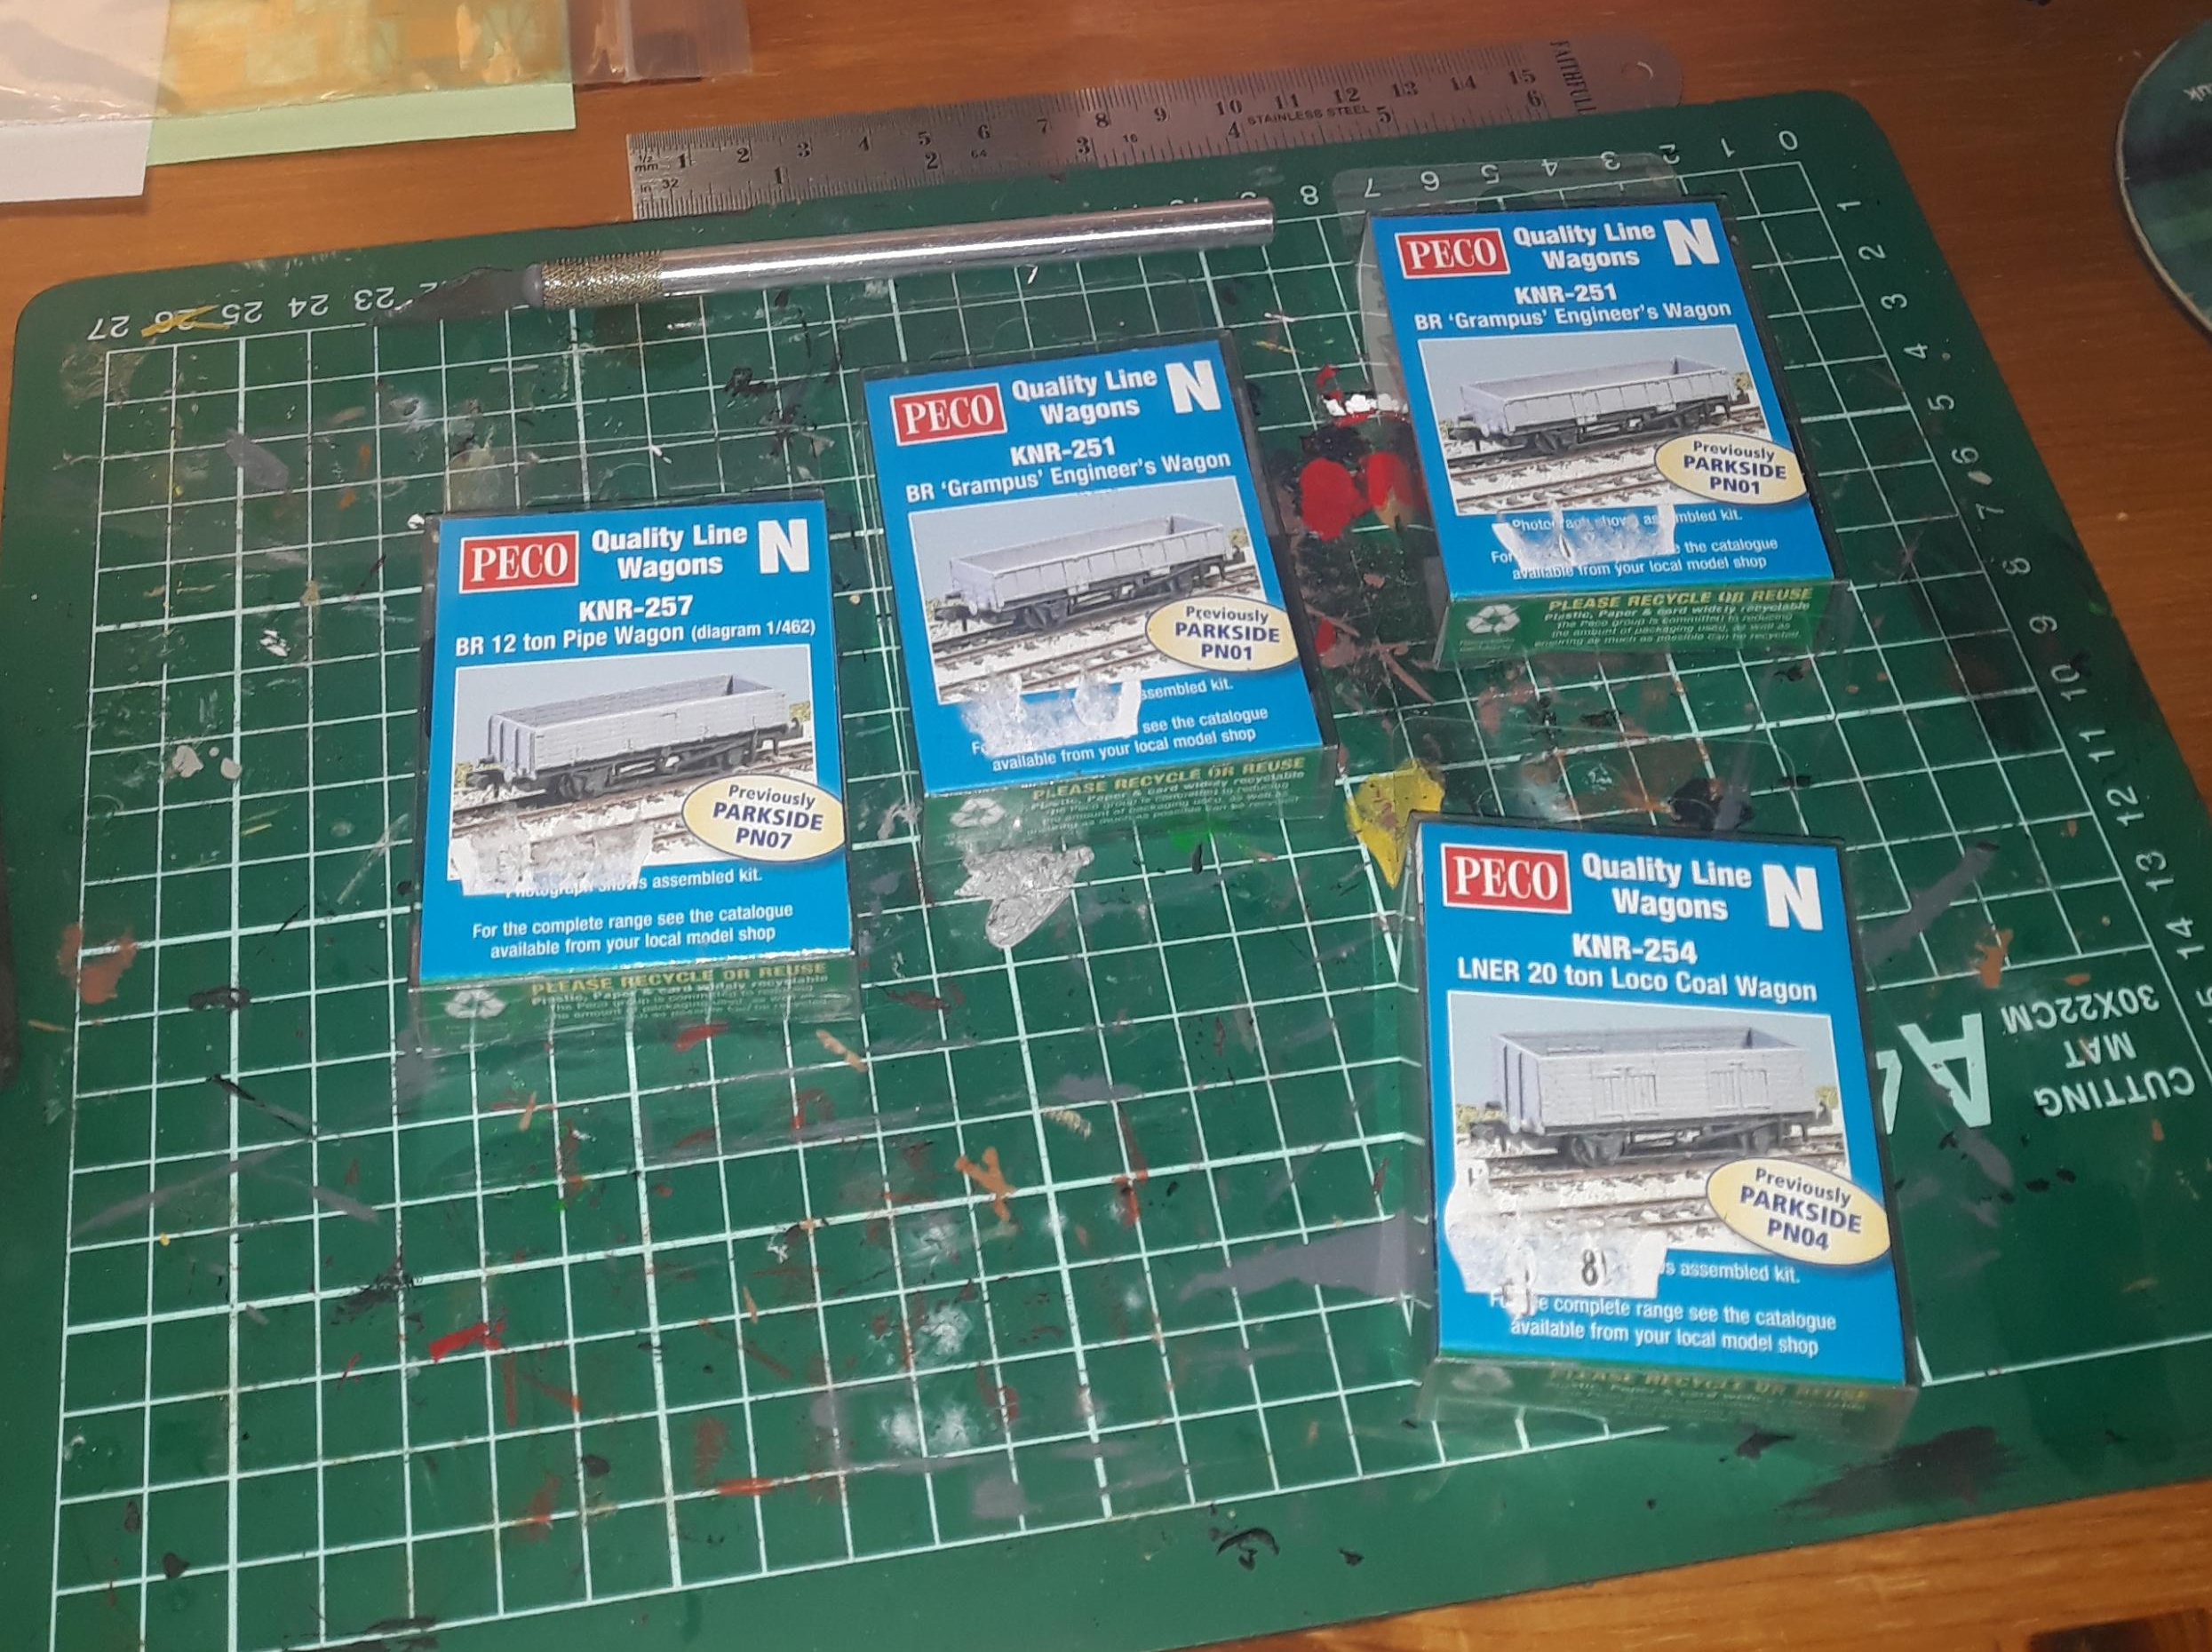
Next wagons to start on was these Peco, ex-Parkside Dundas, Kits. These where the following;
LNER 20t Loco Coal Open; BR 12t Pipe Wagon; 2x BR Grampus Engineer Wagons.
Image
Image
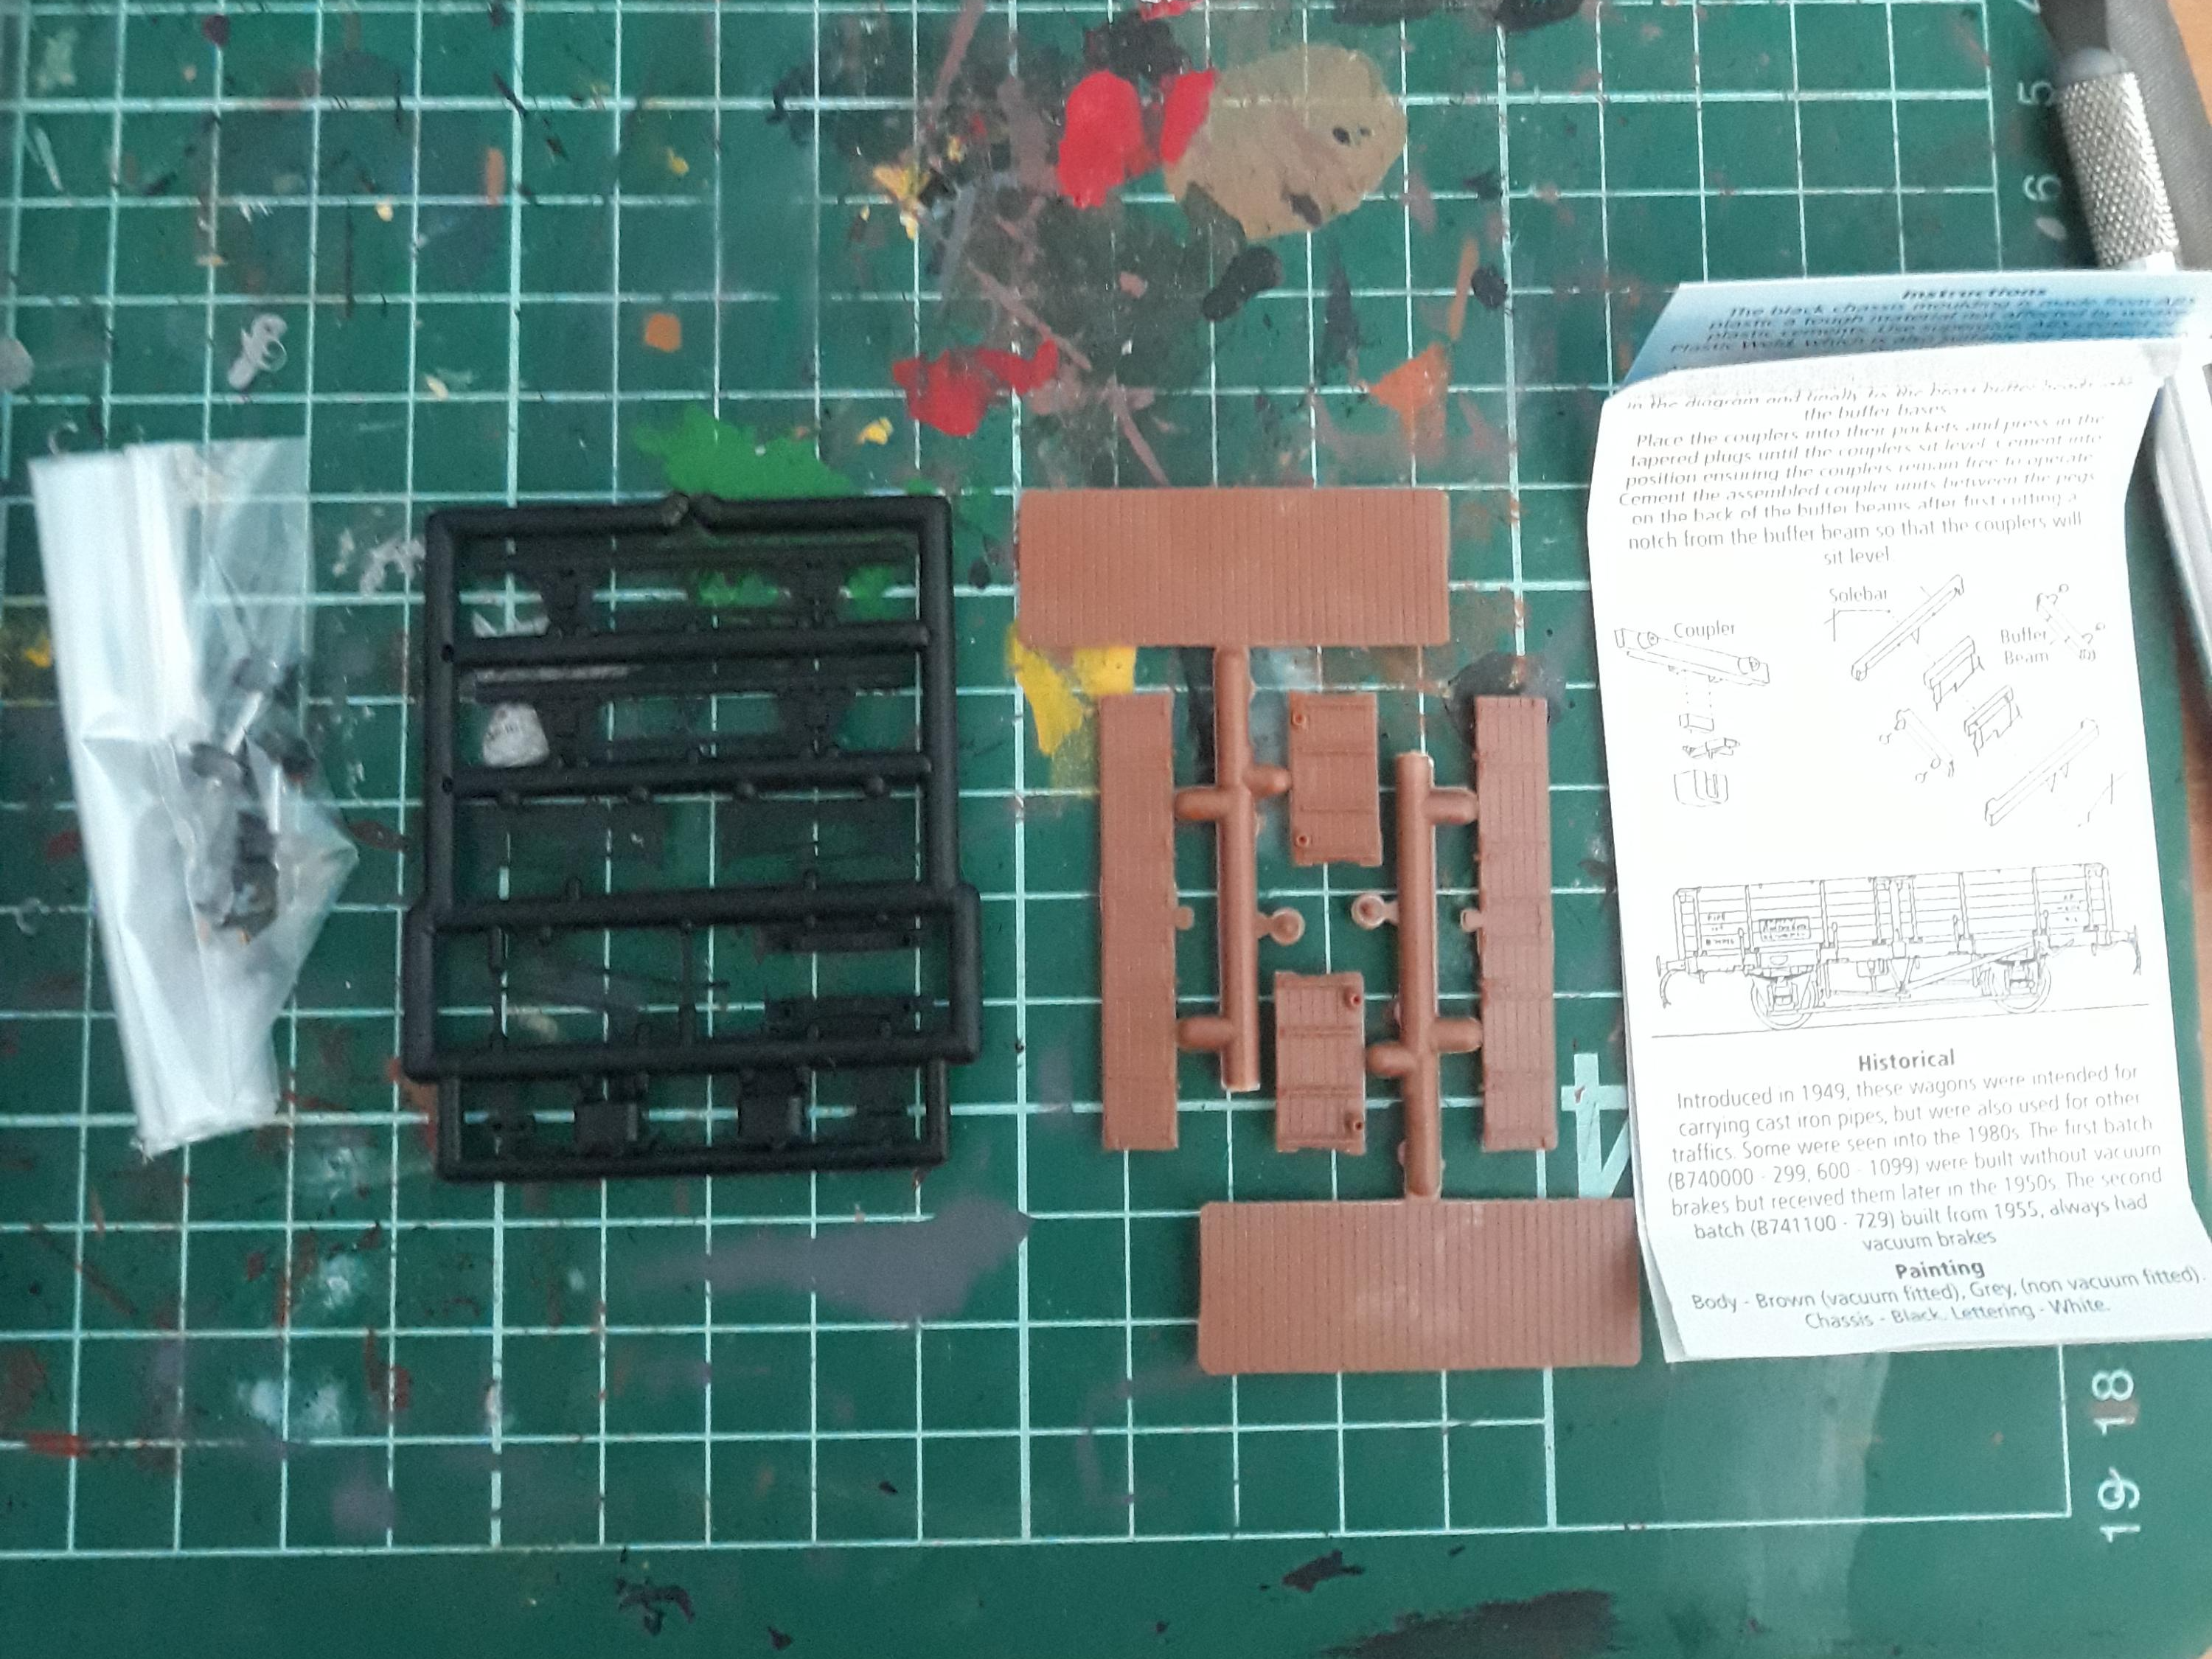
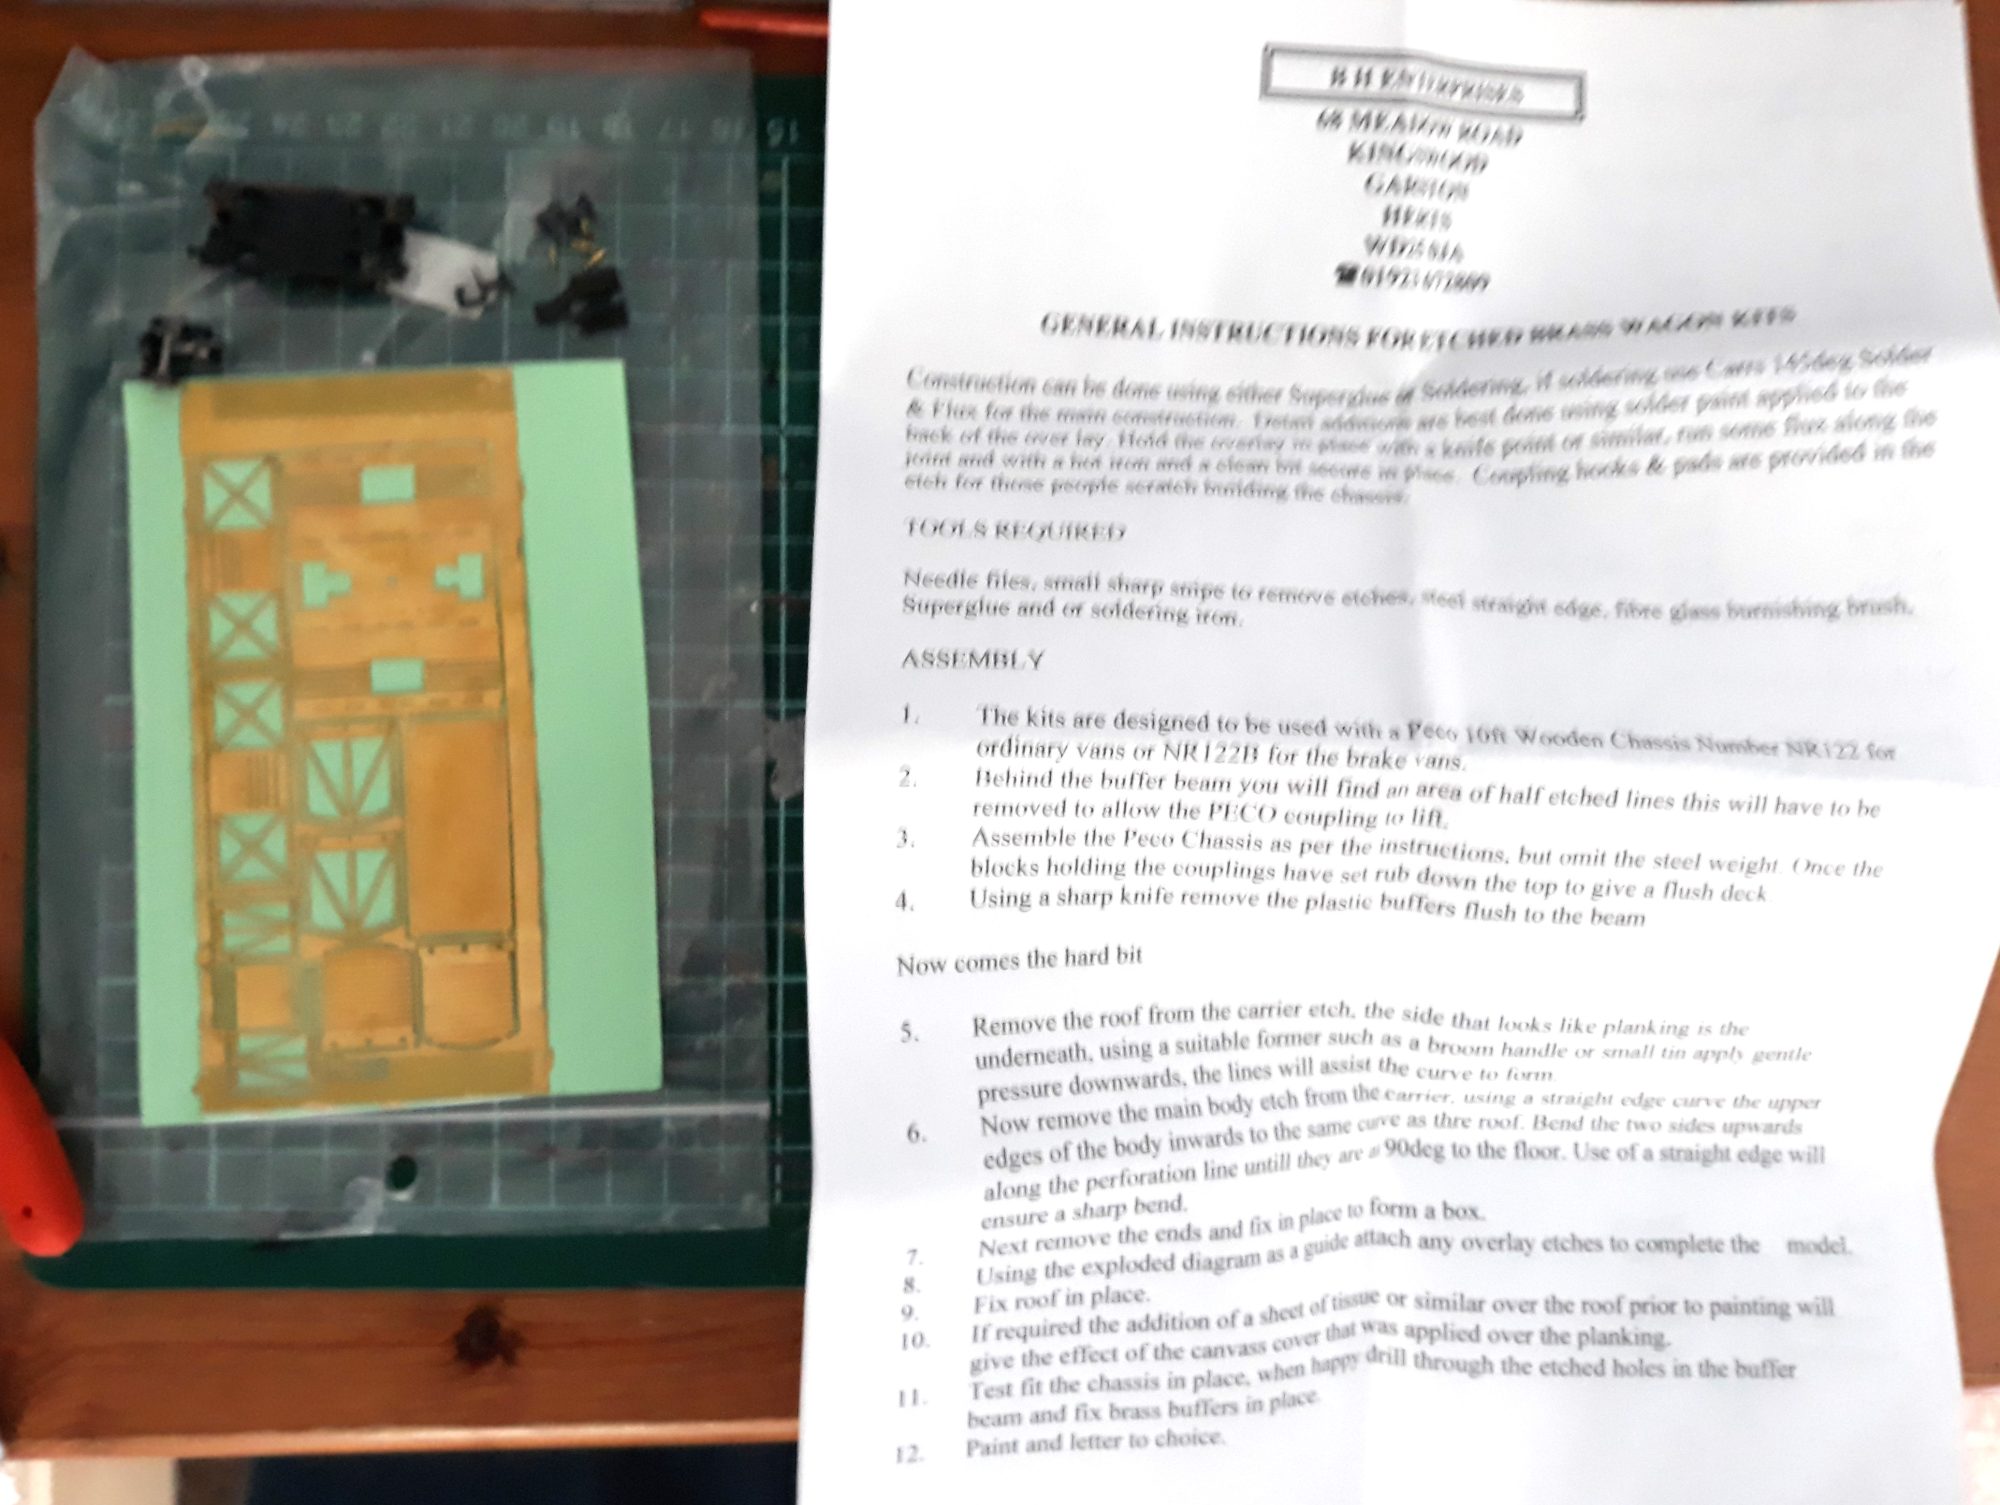
All the Kits (for those that haven't built them before) are fairly basic. The biggest difference from the NGS kits that I have been building (fairly) recently is the chassis, but I'll get to that later.
Image
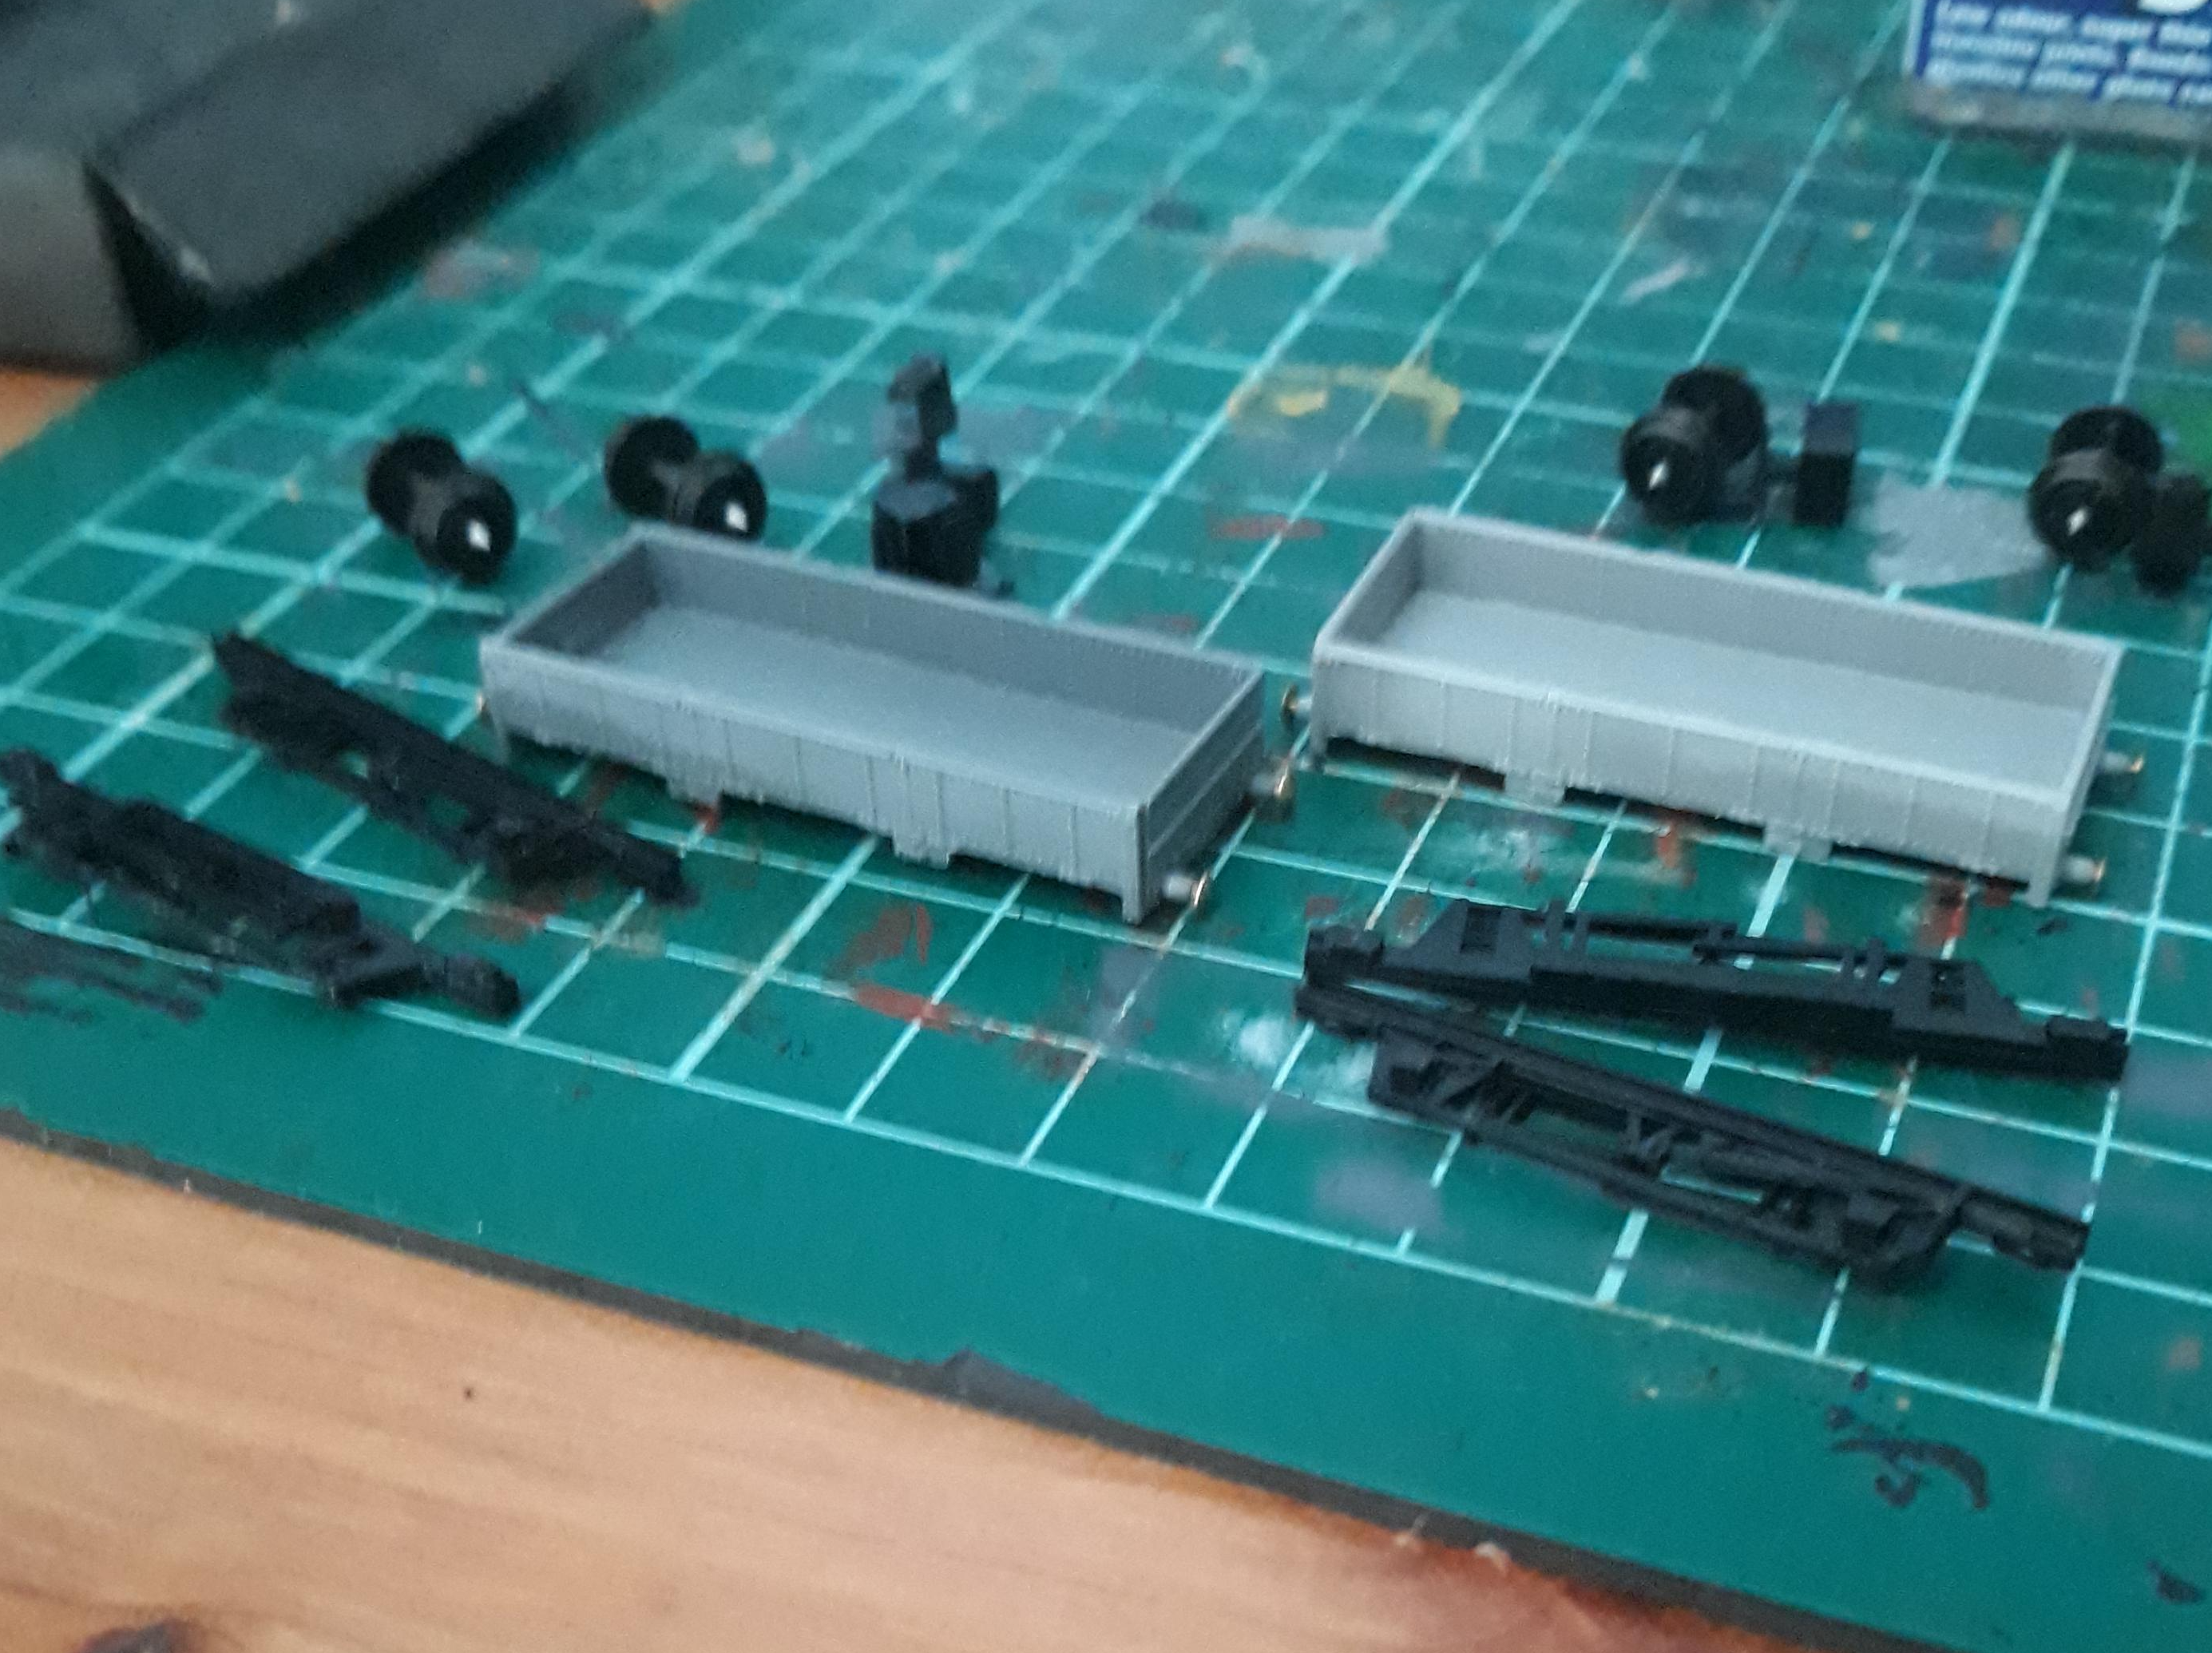
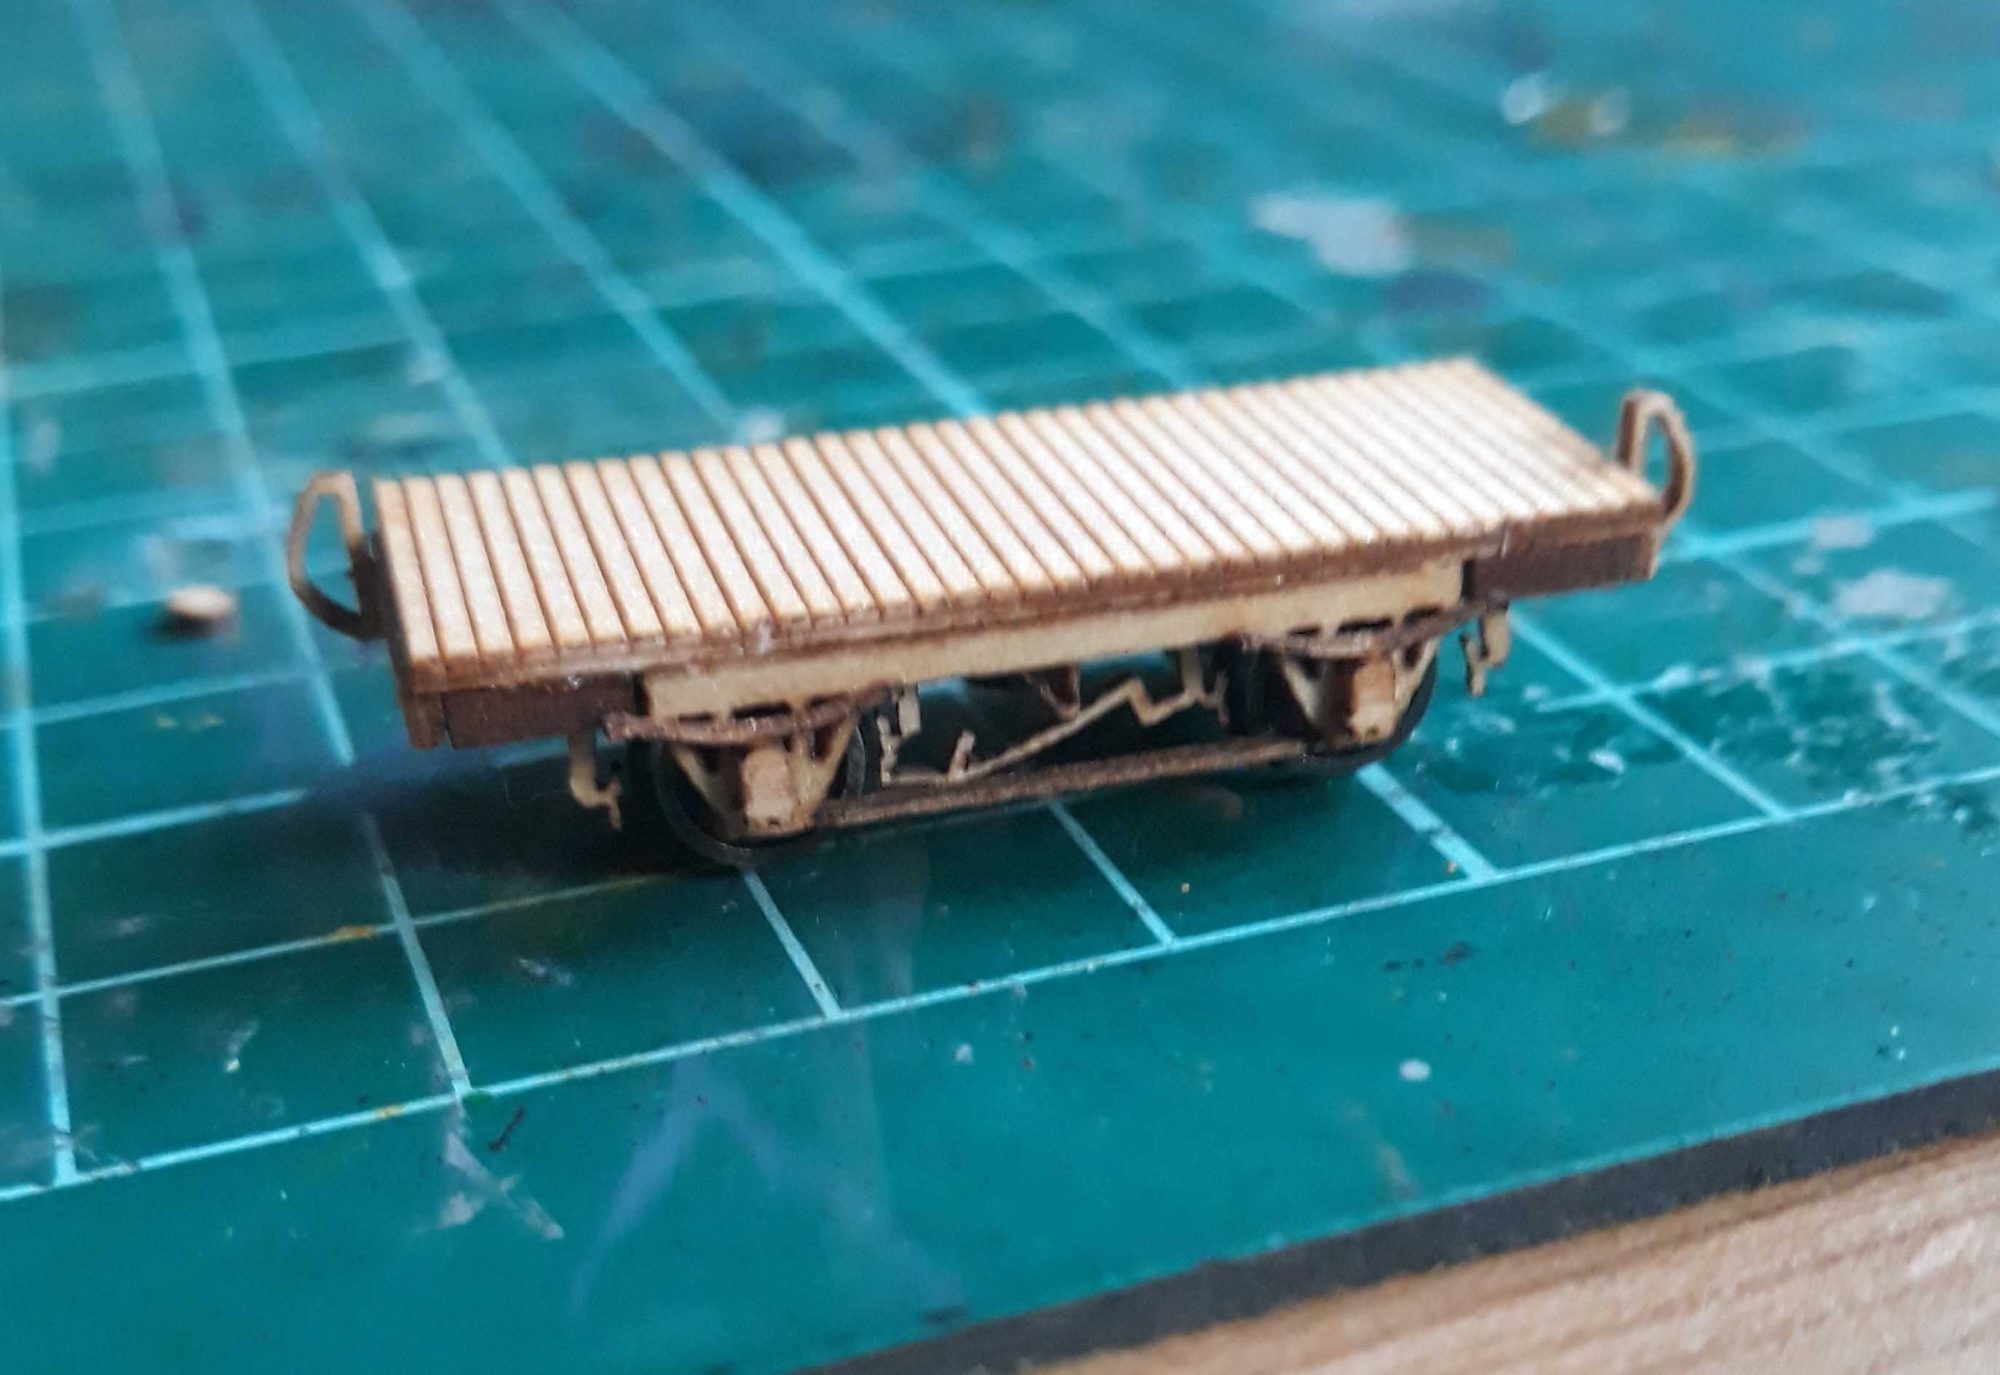
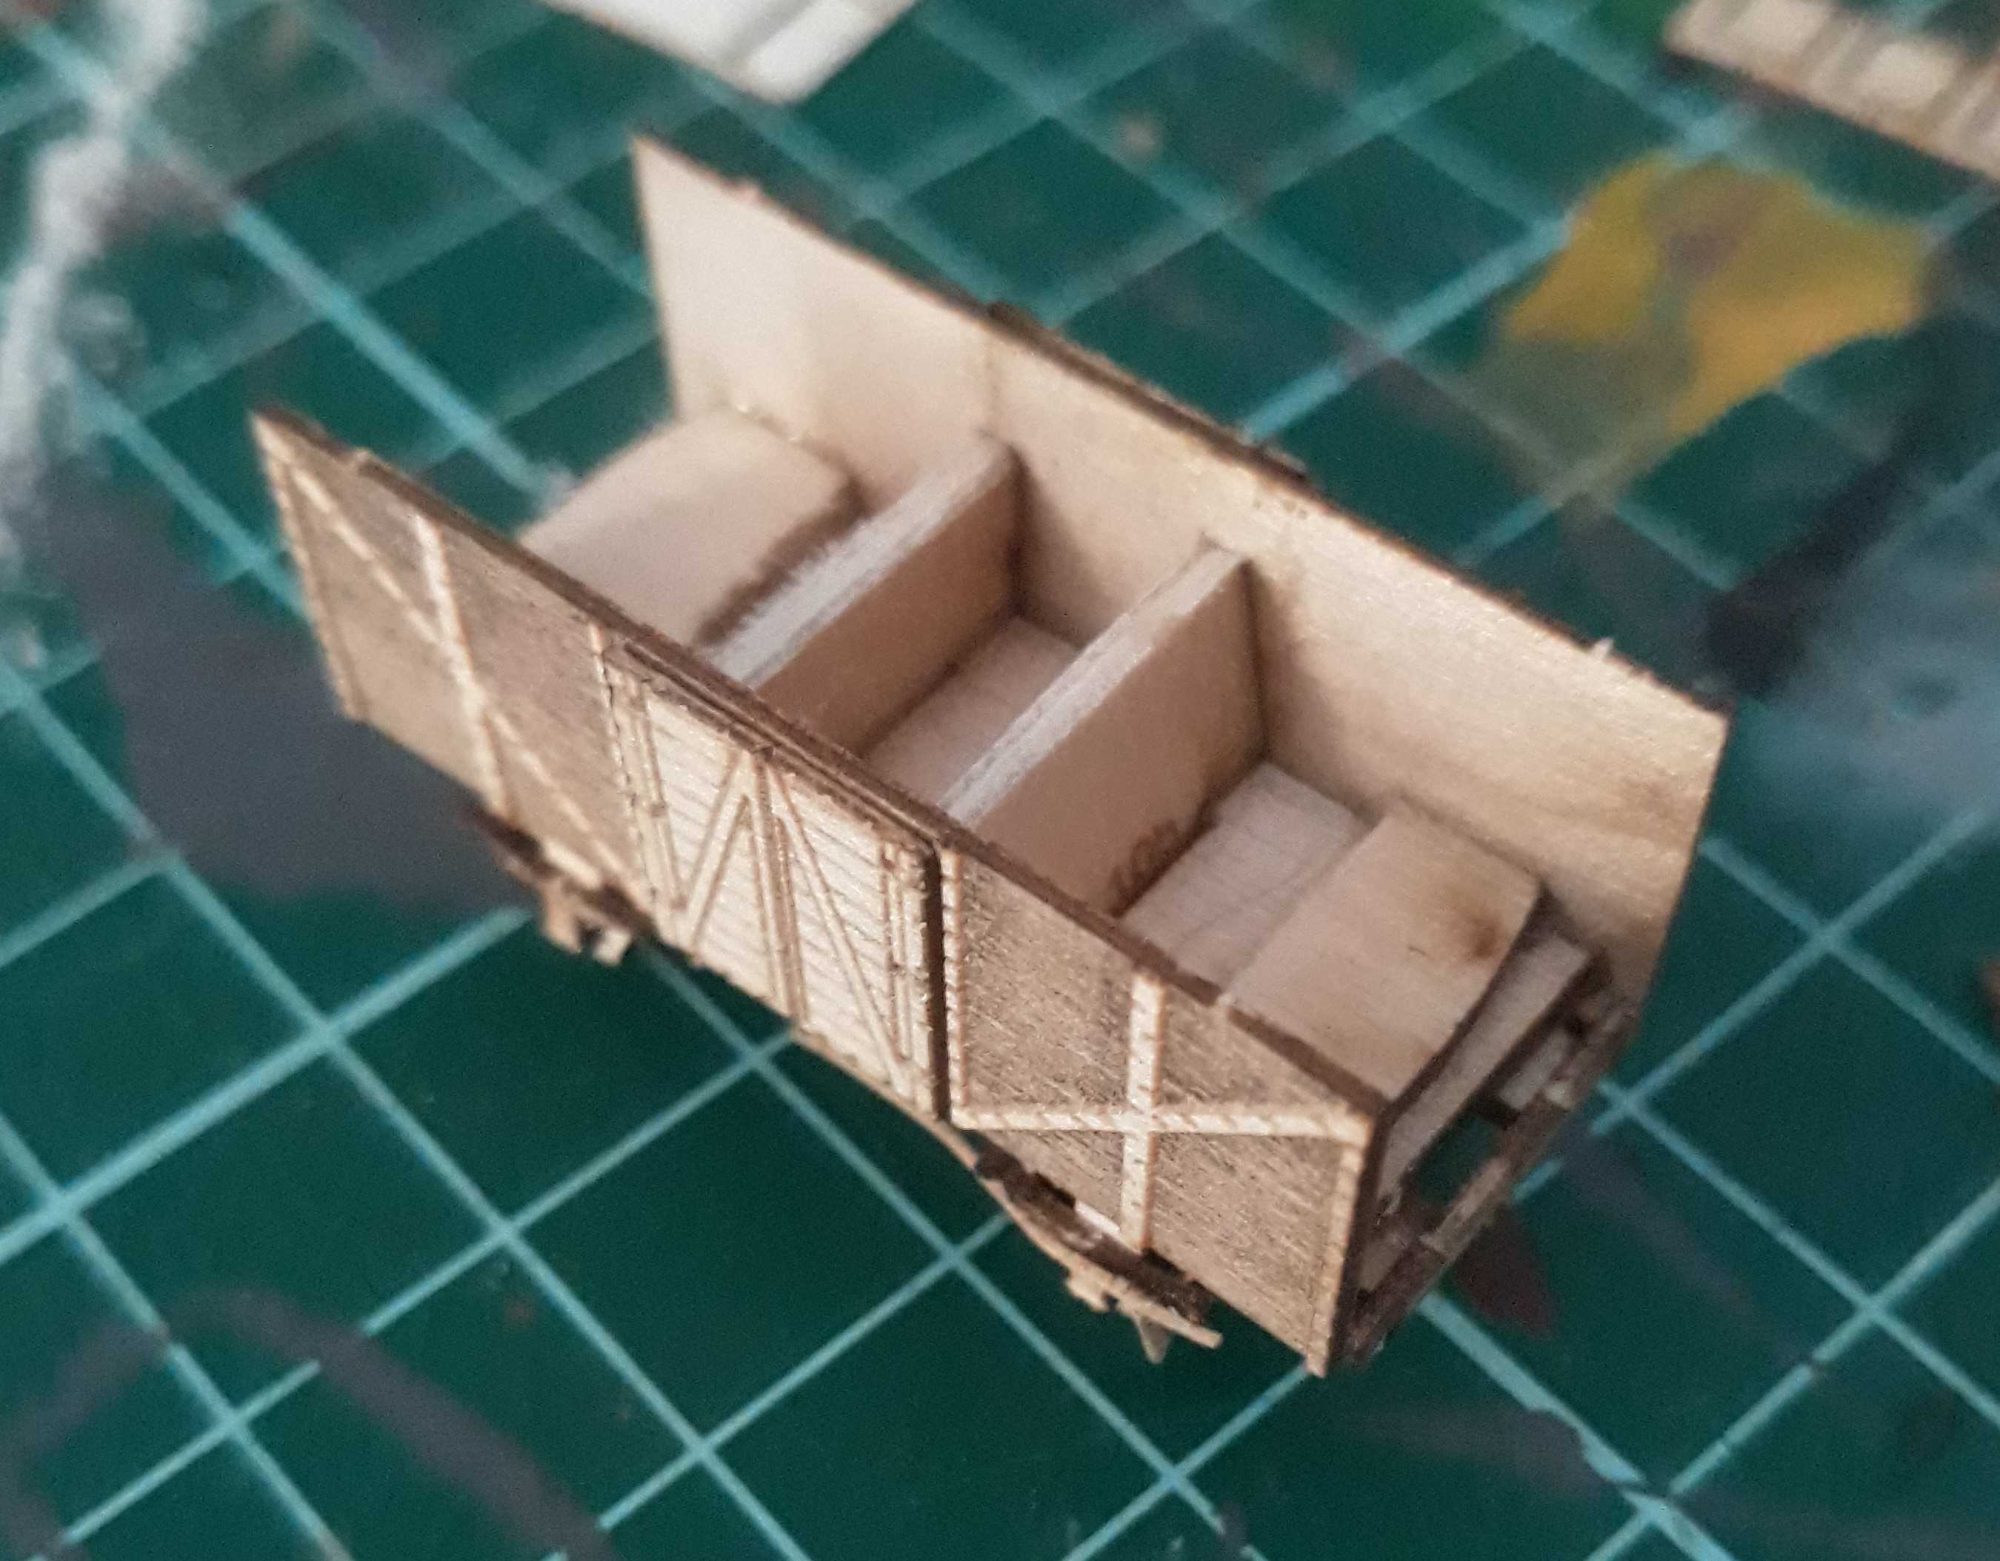
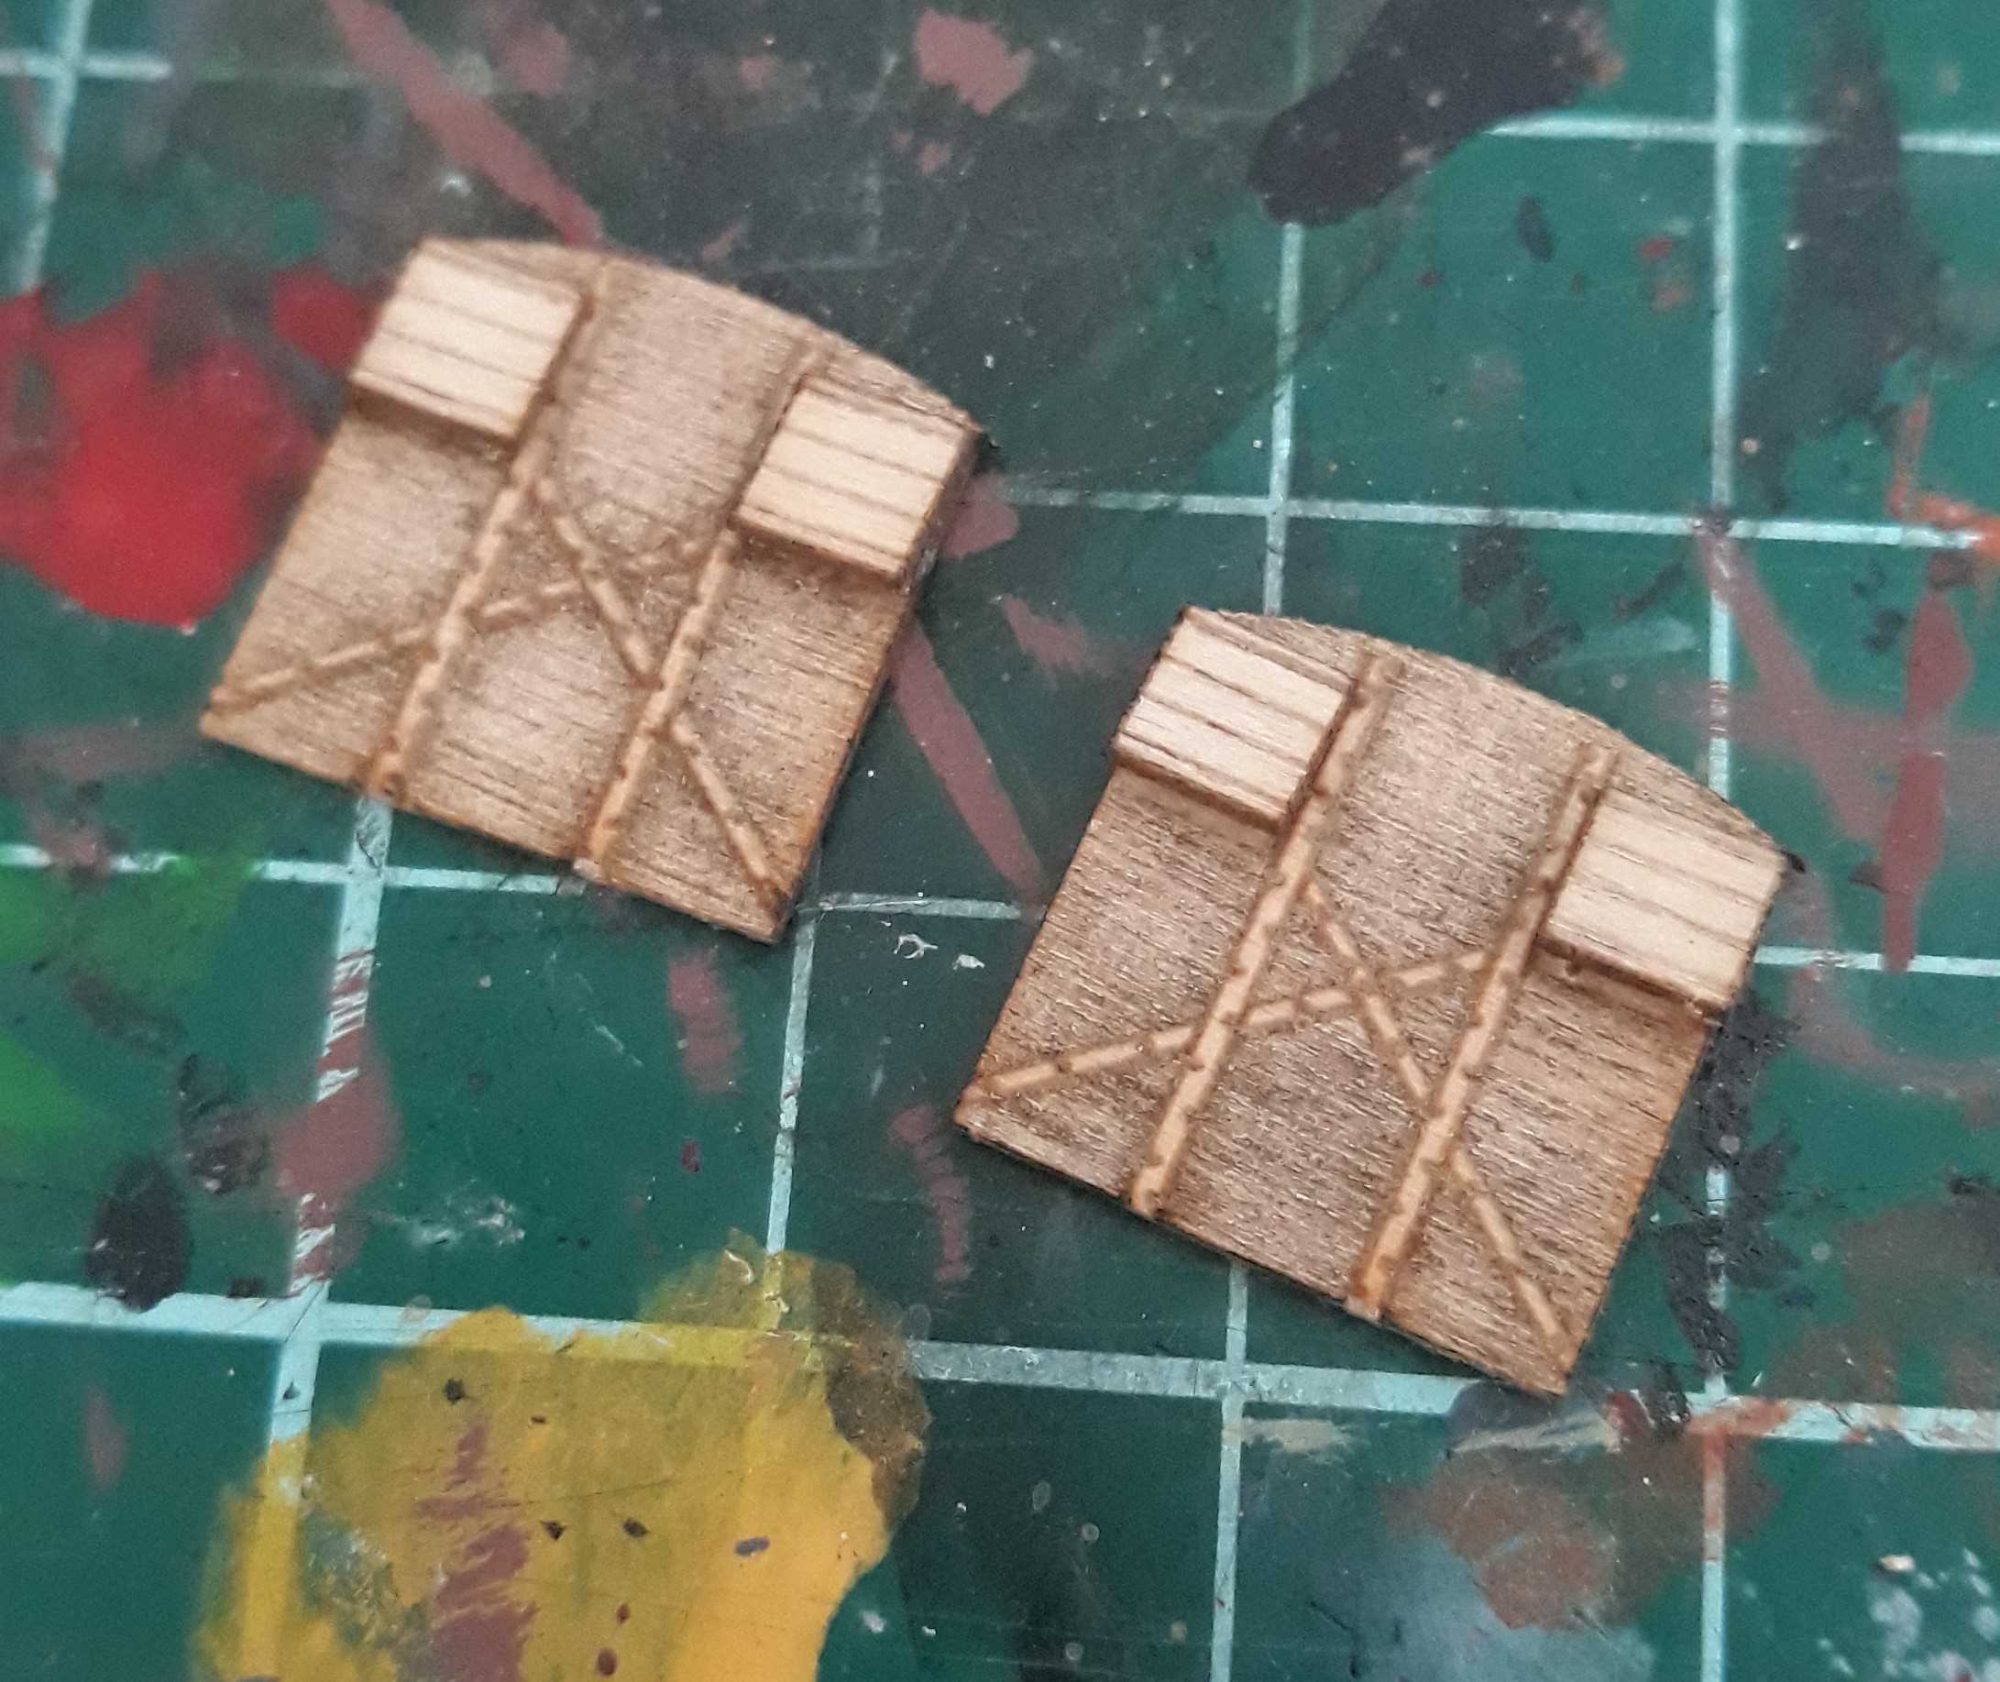
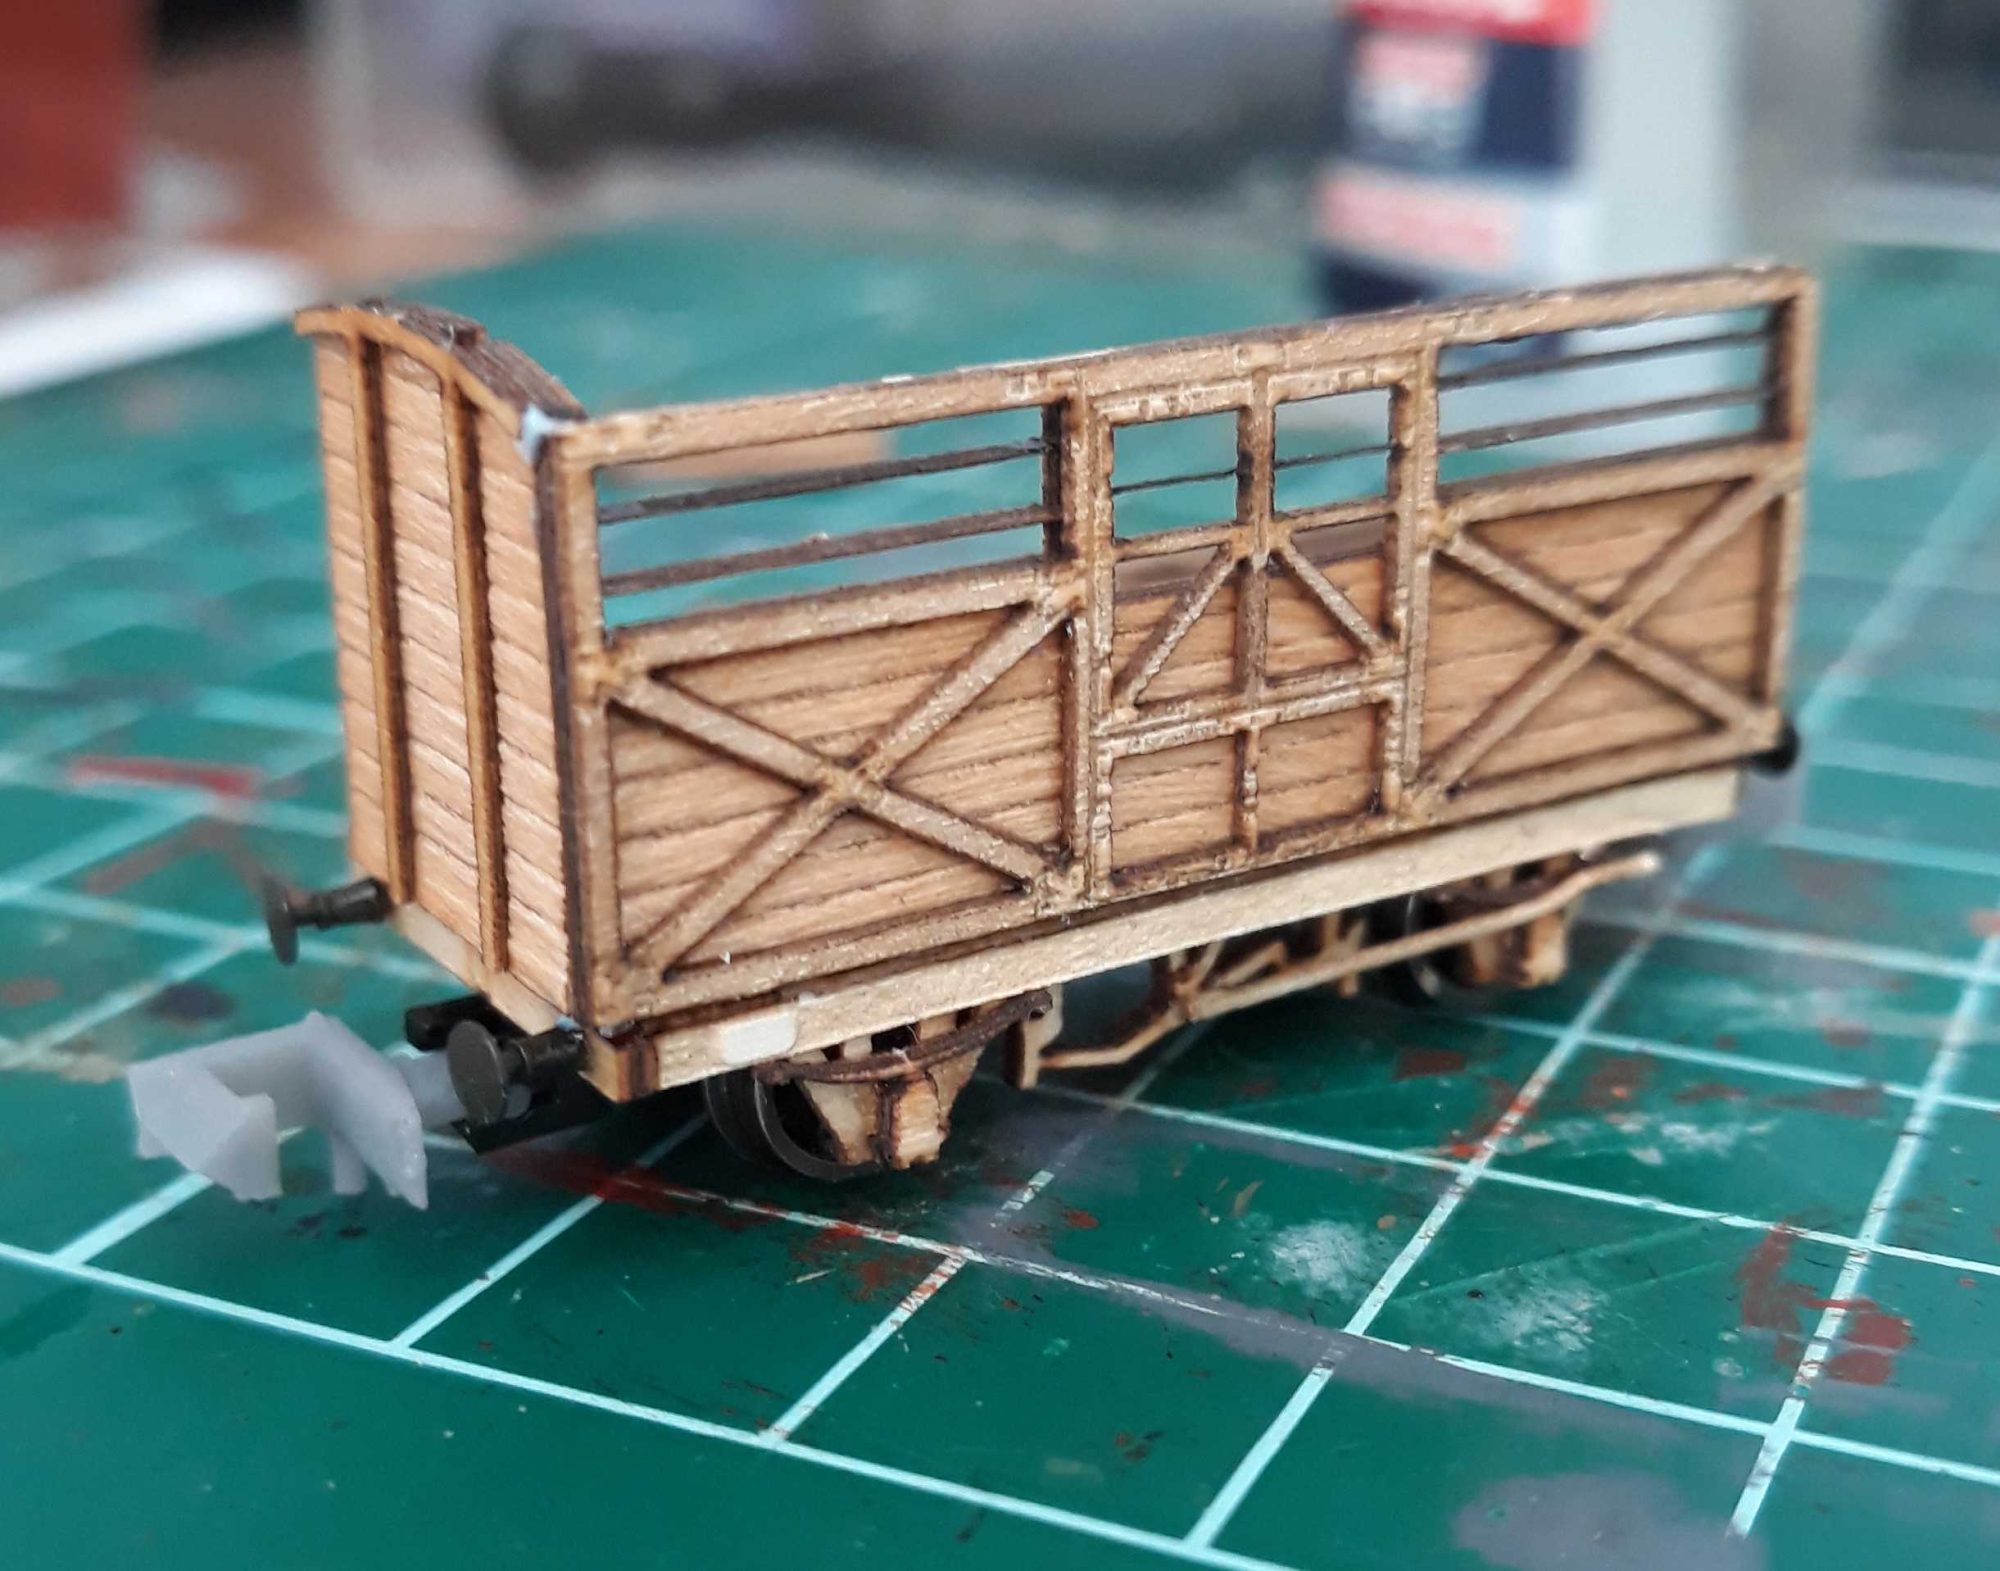
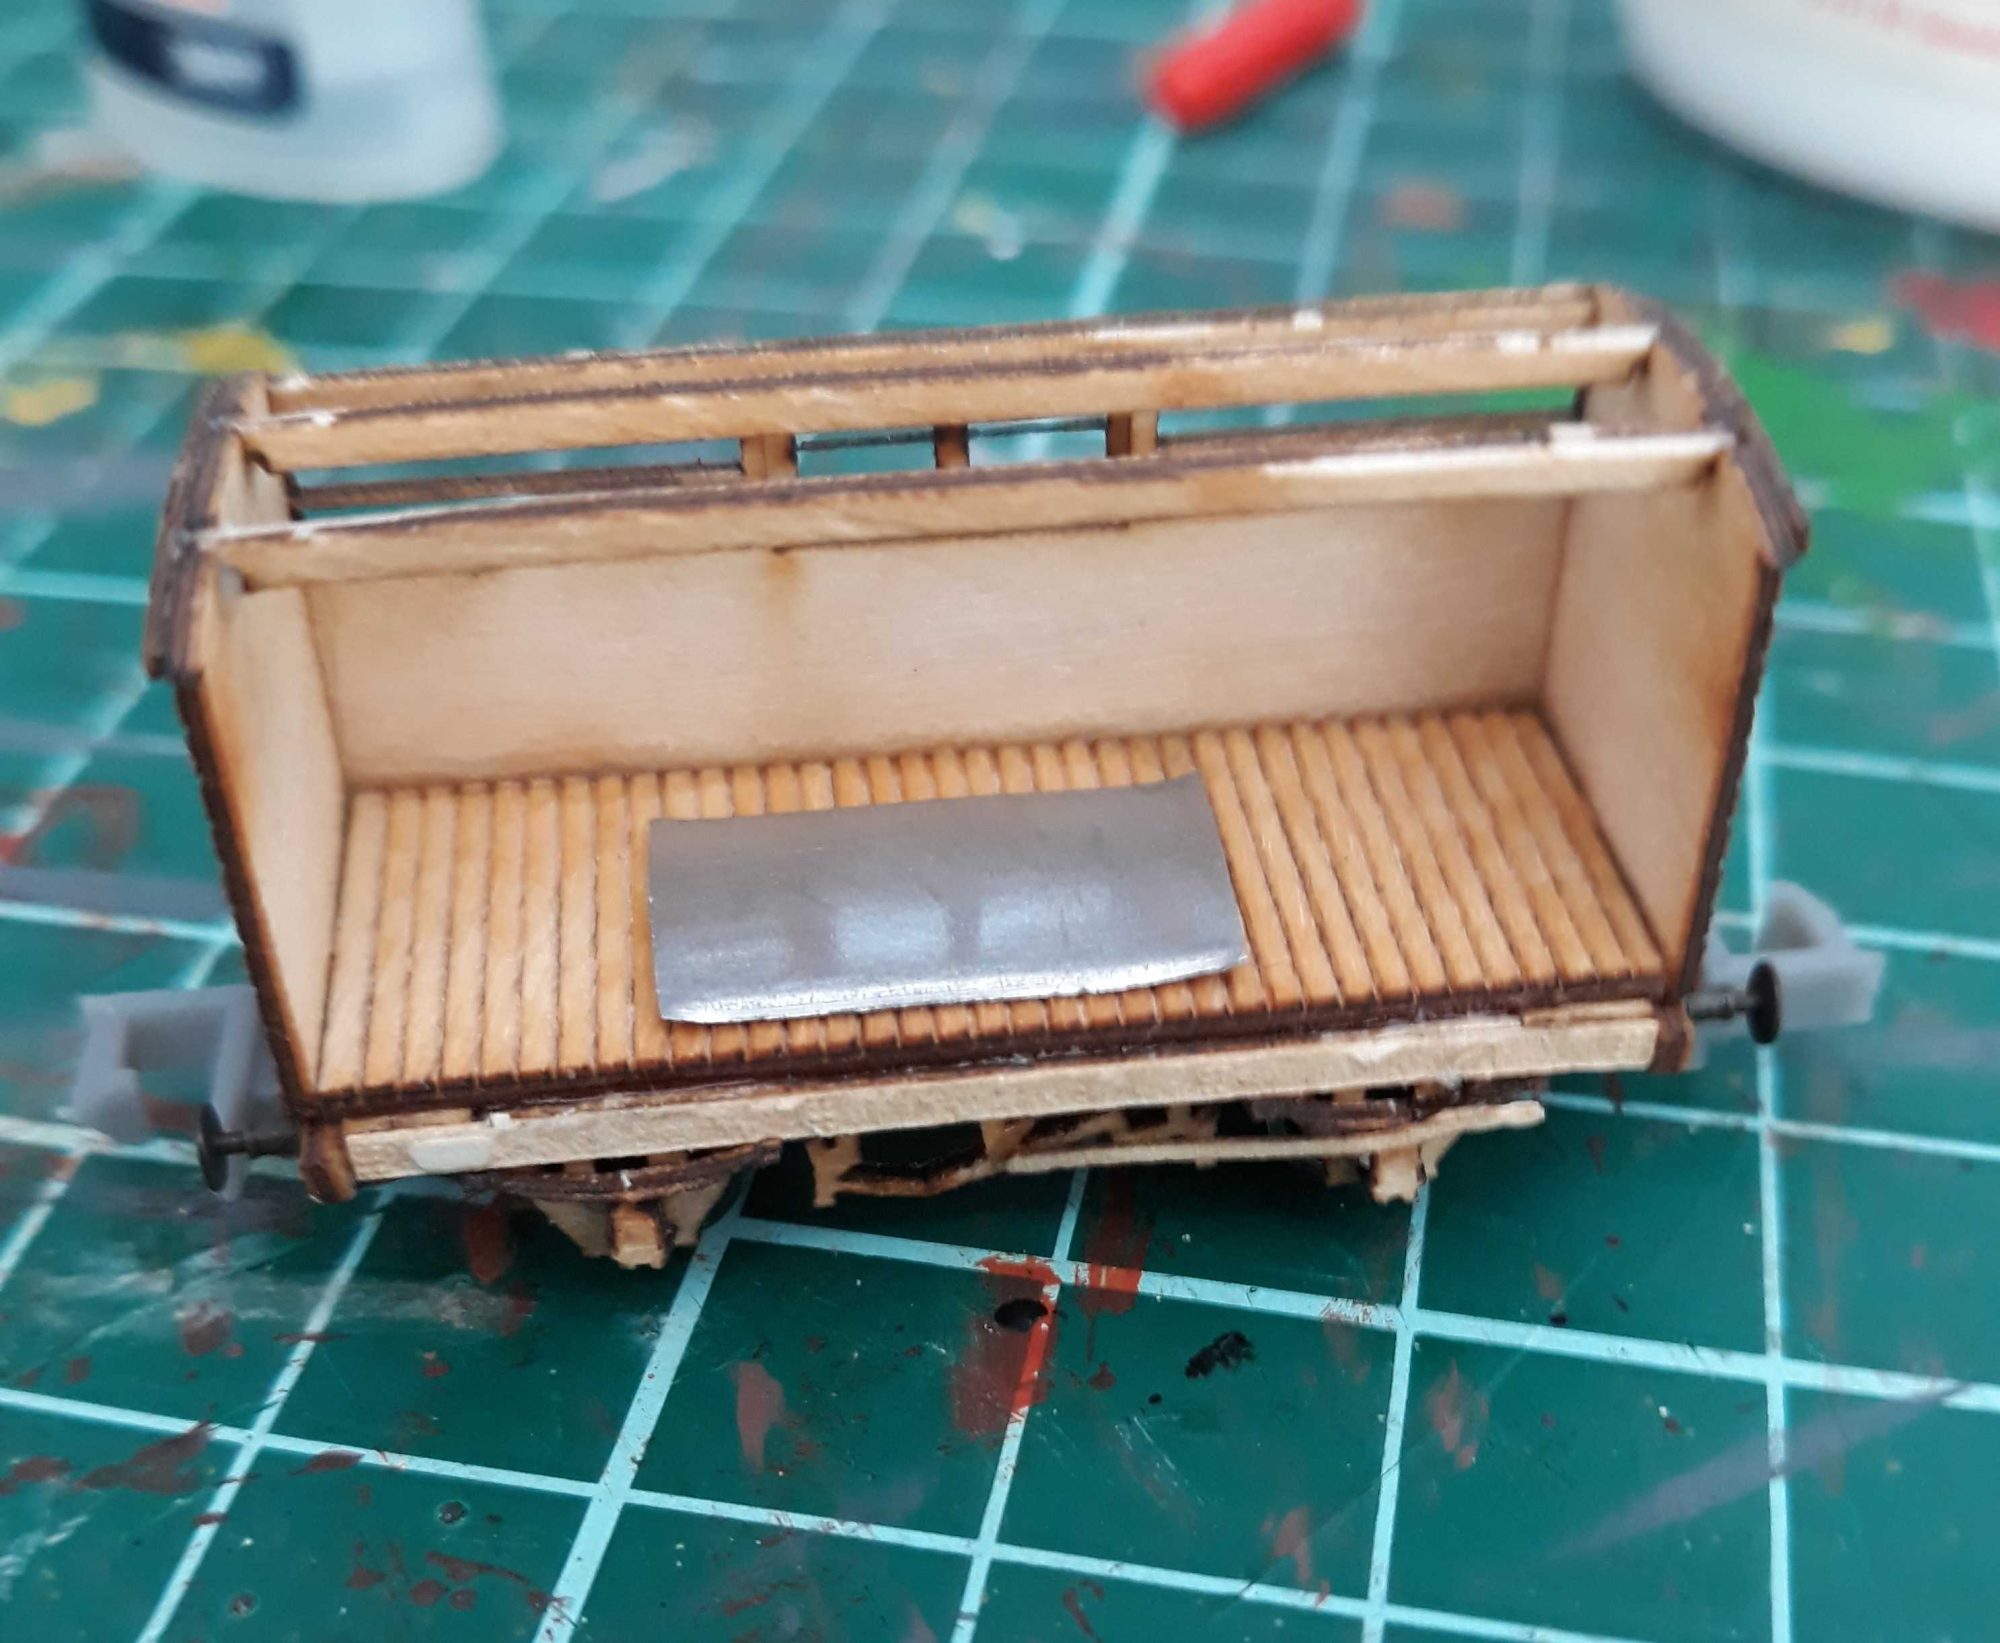
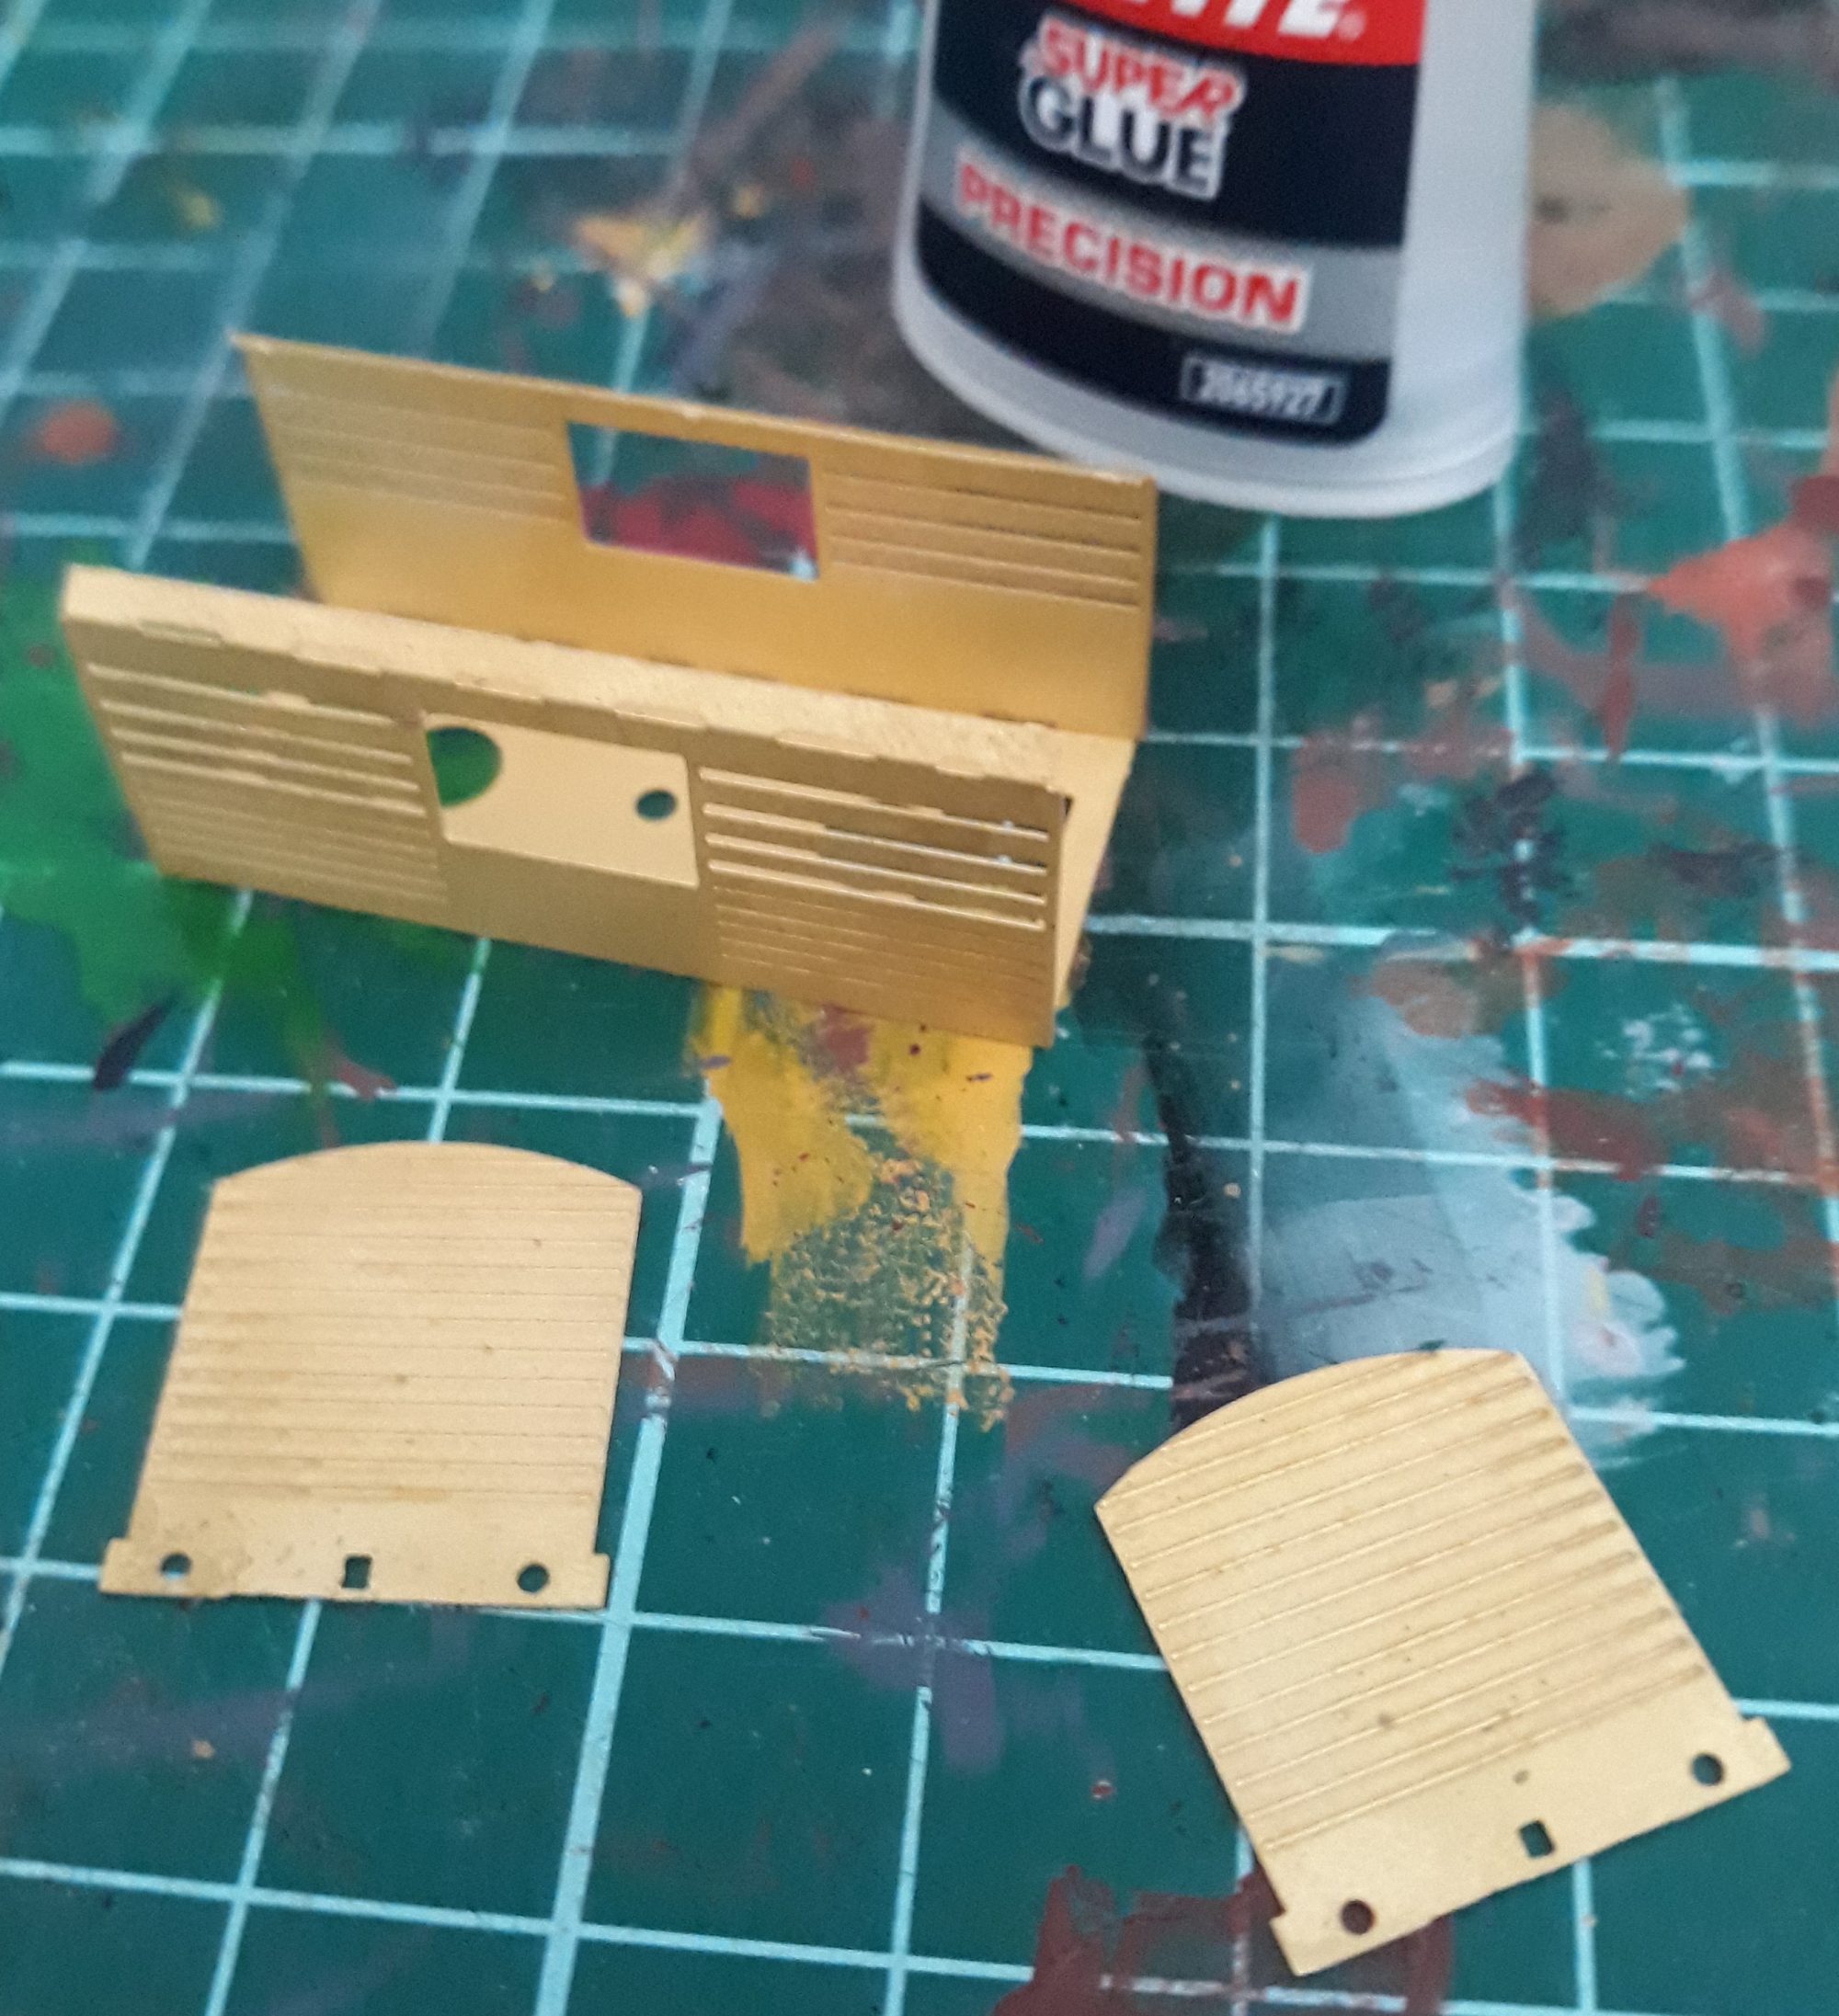
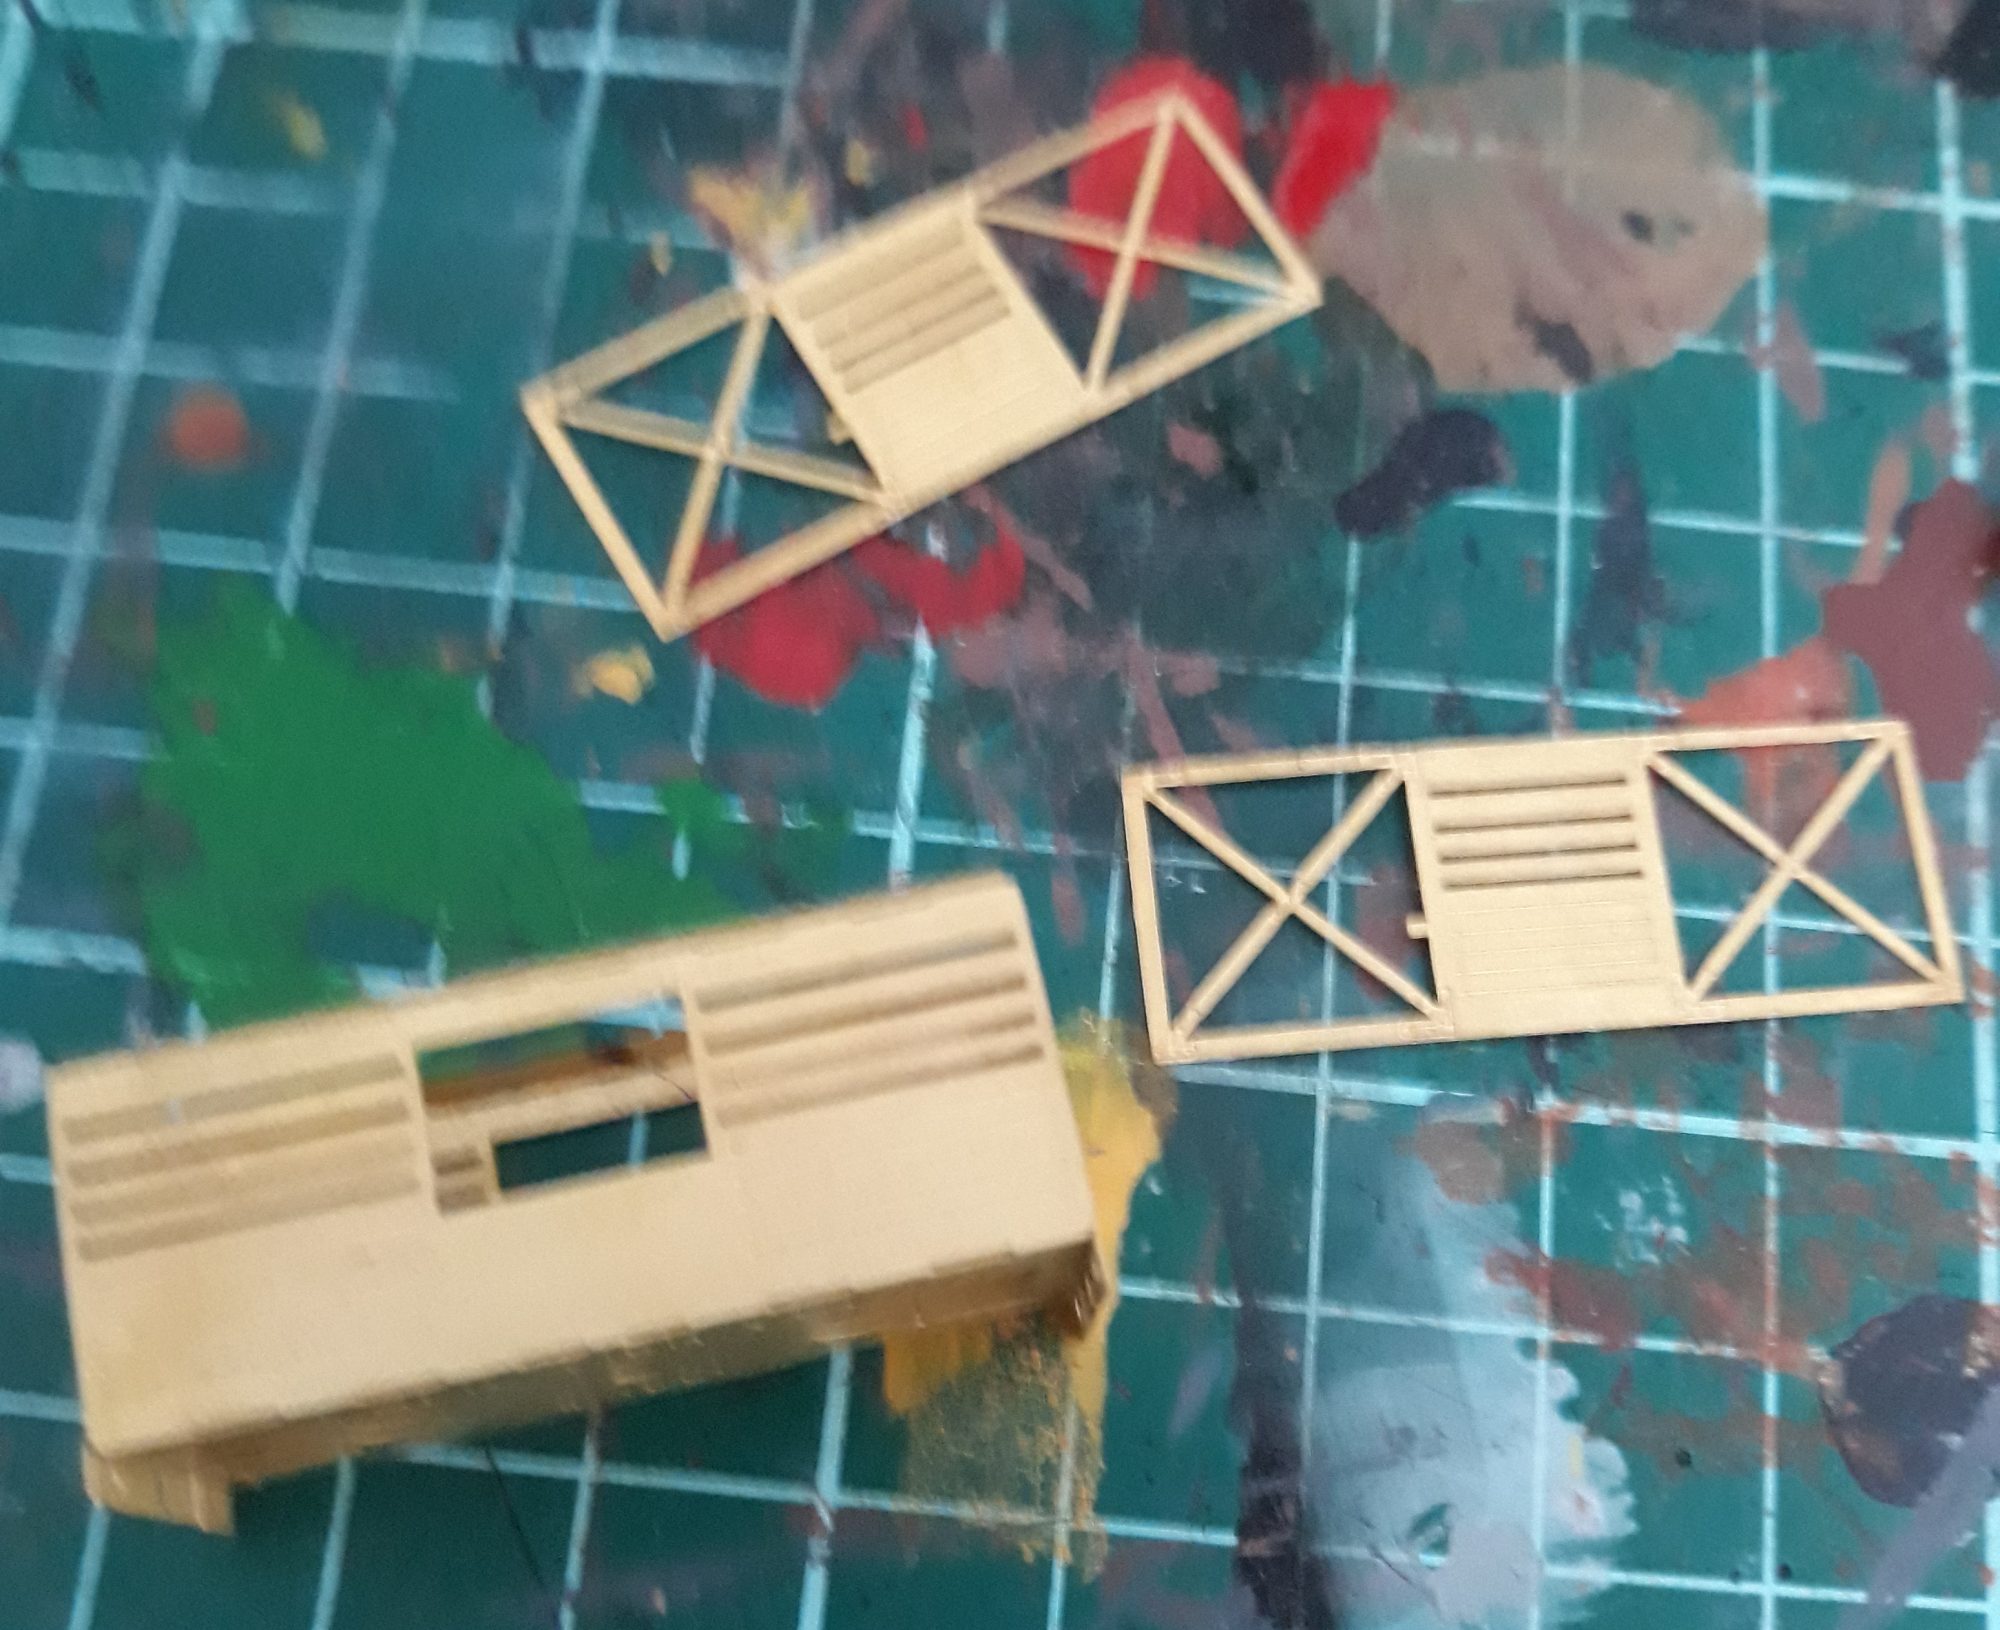
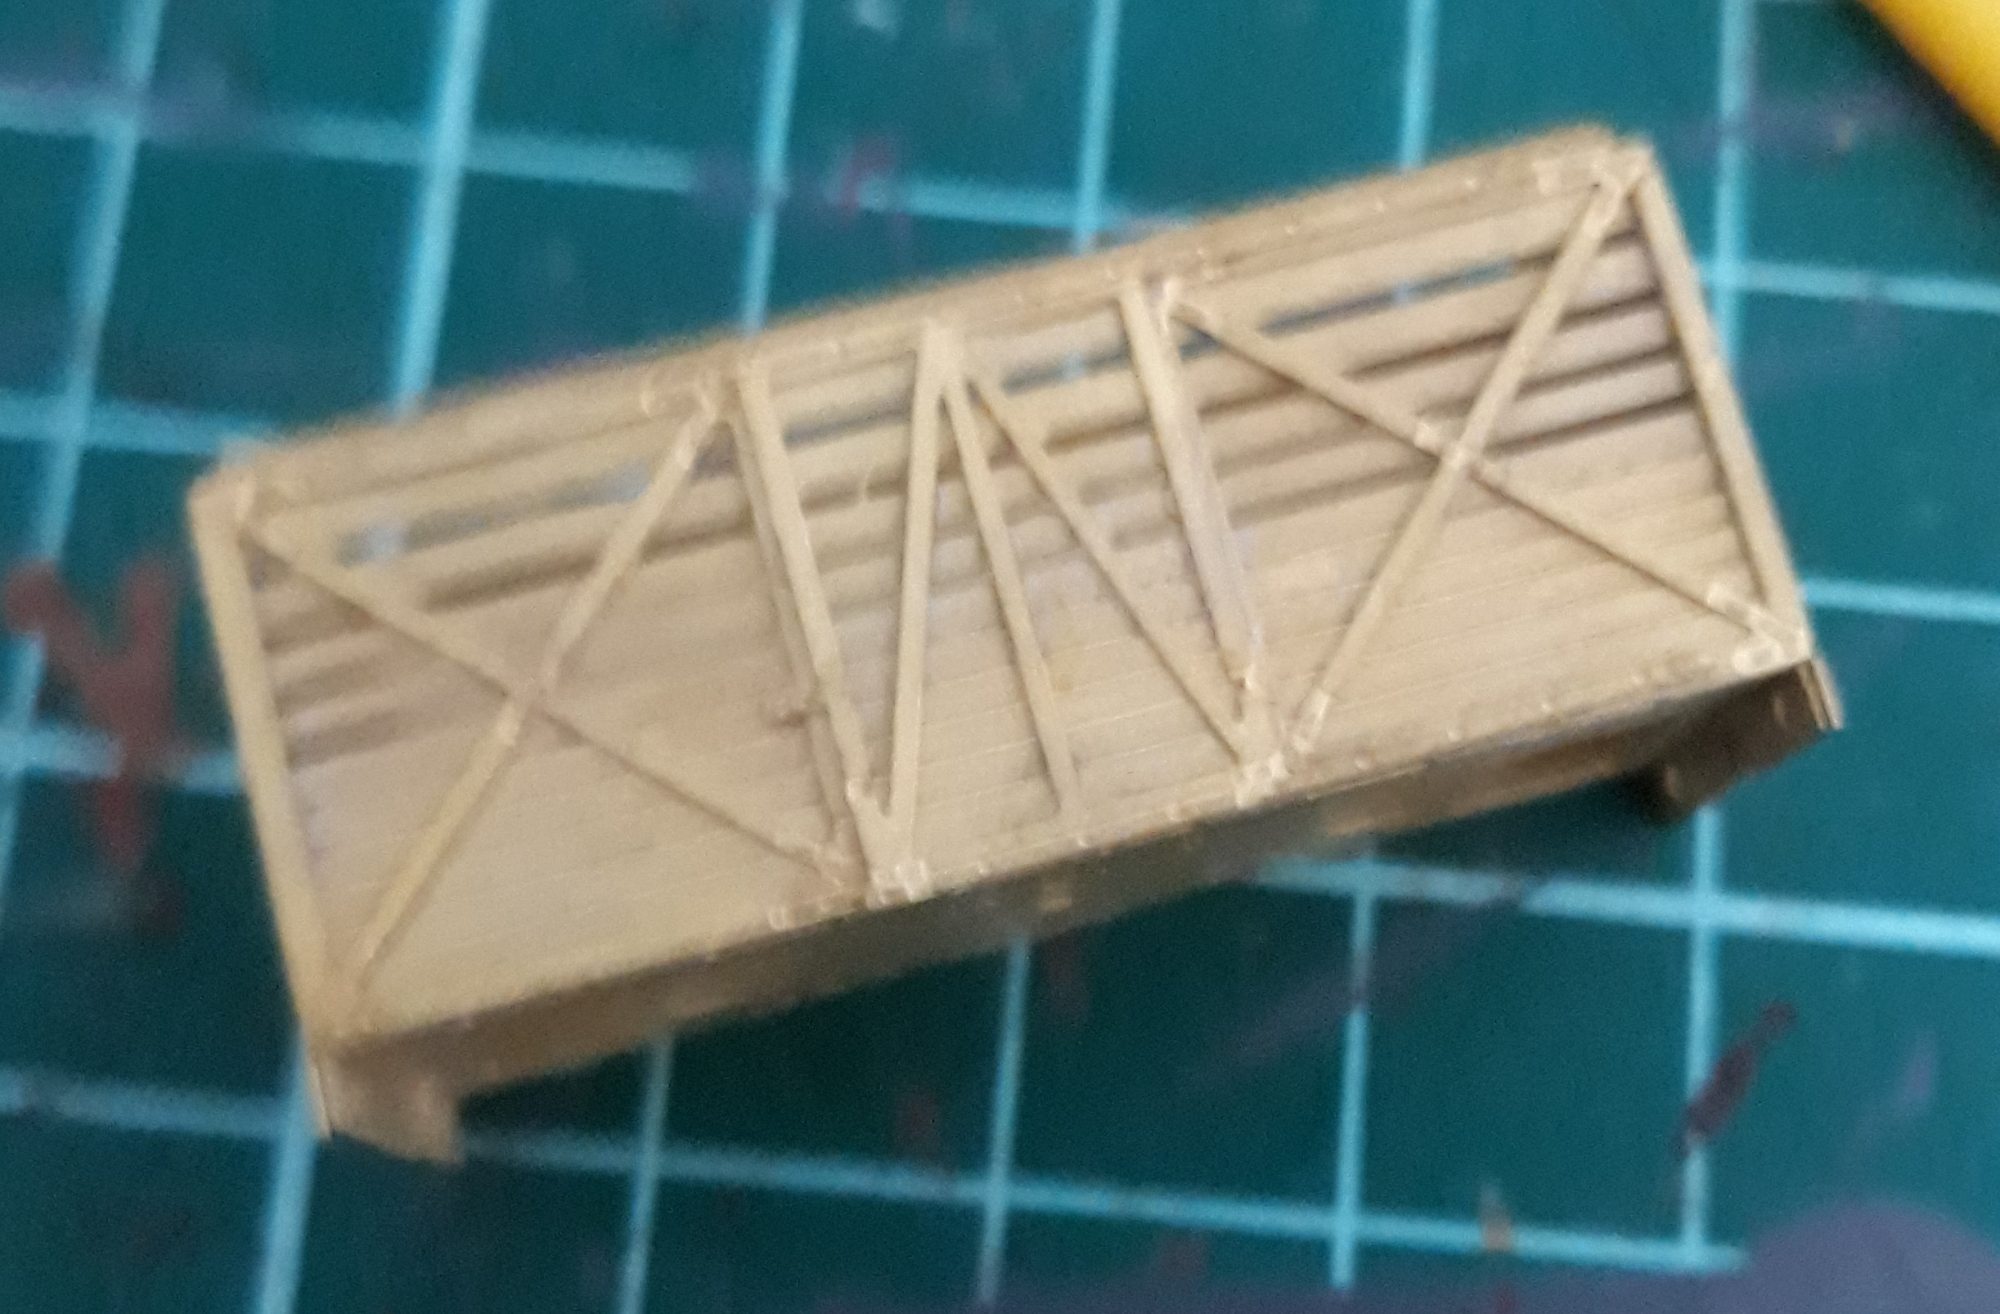
The first place to start was the body. These are simple to assemble, after cleaning the parts up from any flash. I found the Grampus had the most; the Pipe open had the least. I normally start with the ends and then add the sides. The ends on these kits have the buffer beam molded on, so have a small lip on the underside that will help it sit at the right level on the floor.
I found, on each of these kits, that the floor caused the biggest issue. After removing the flash, I found that they were slightly oversized, so when I lined up the sides with one side, the other end didn't line up with the other end, but was short. So a wee bit was removed from each end till a good fit was achieved.
Image
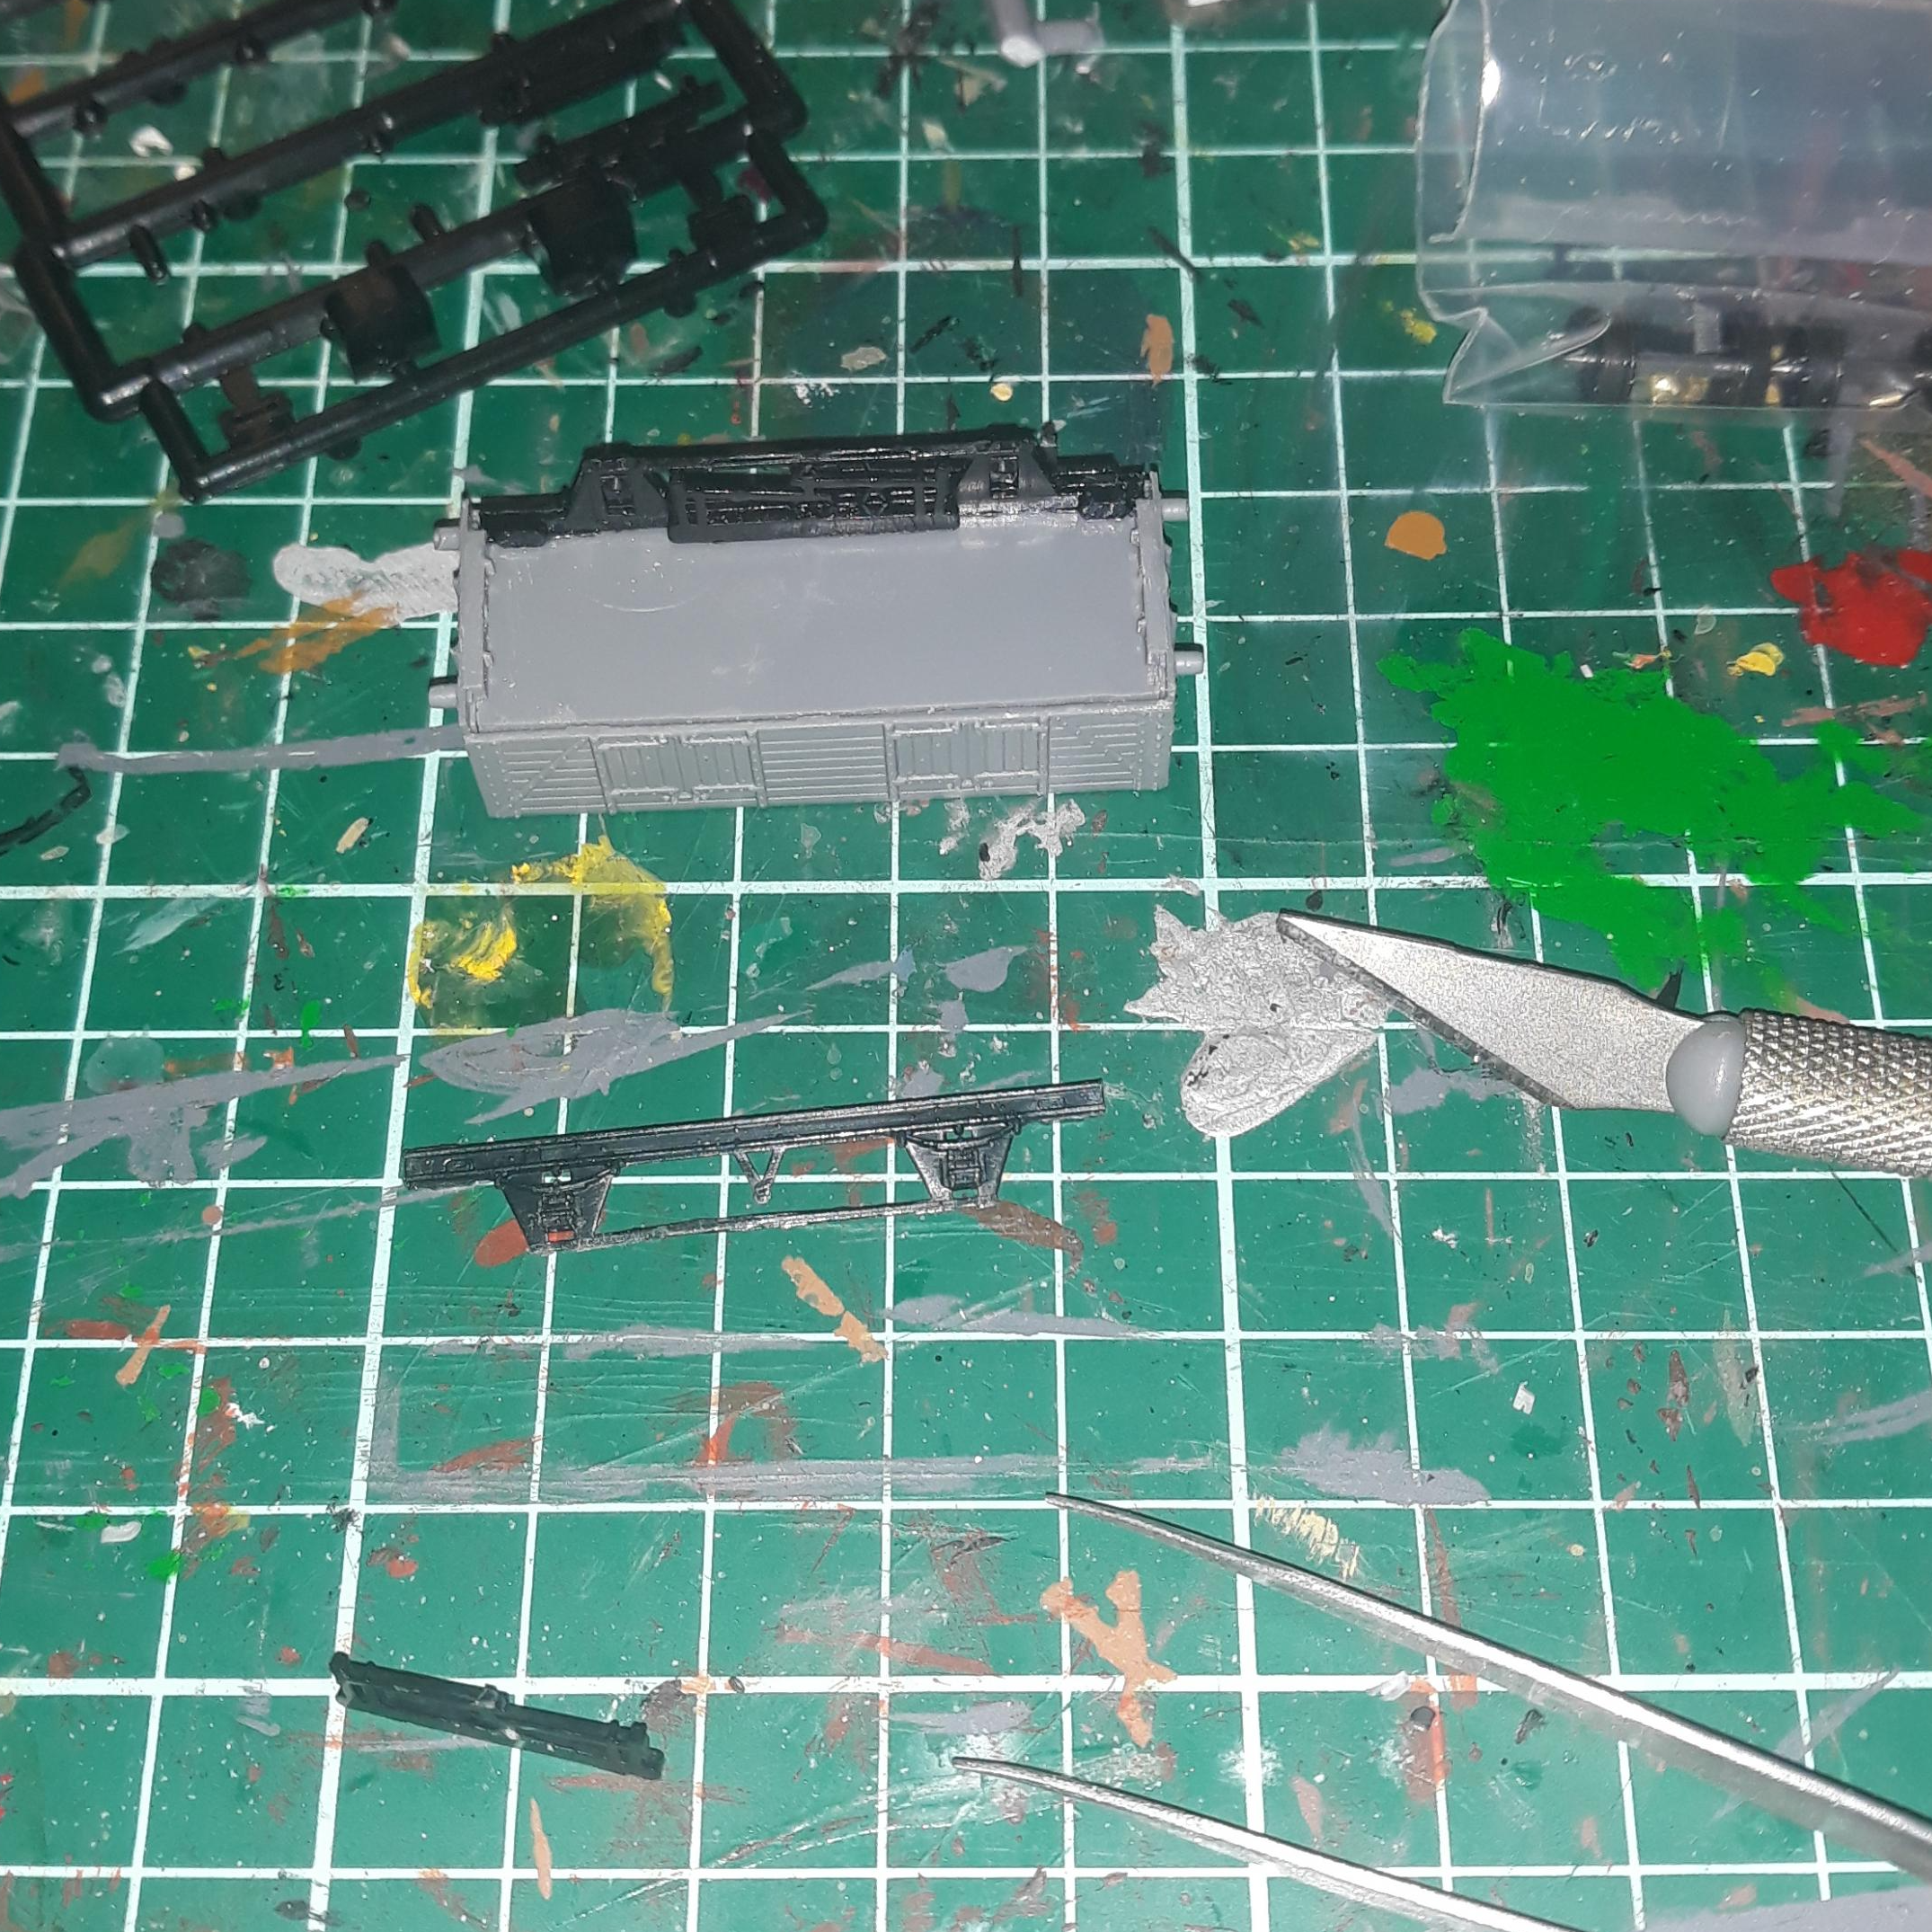
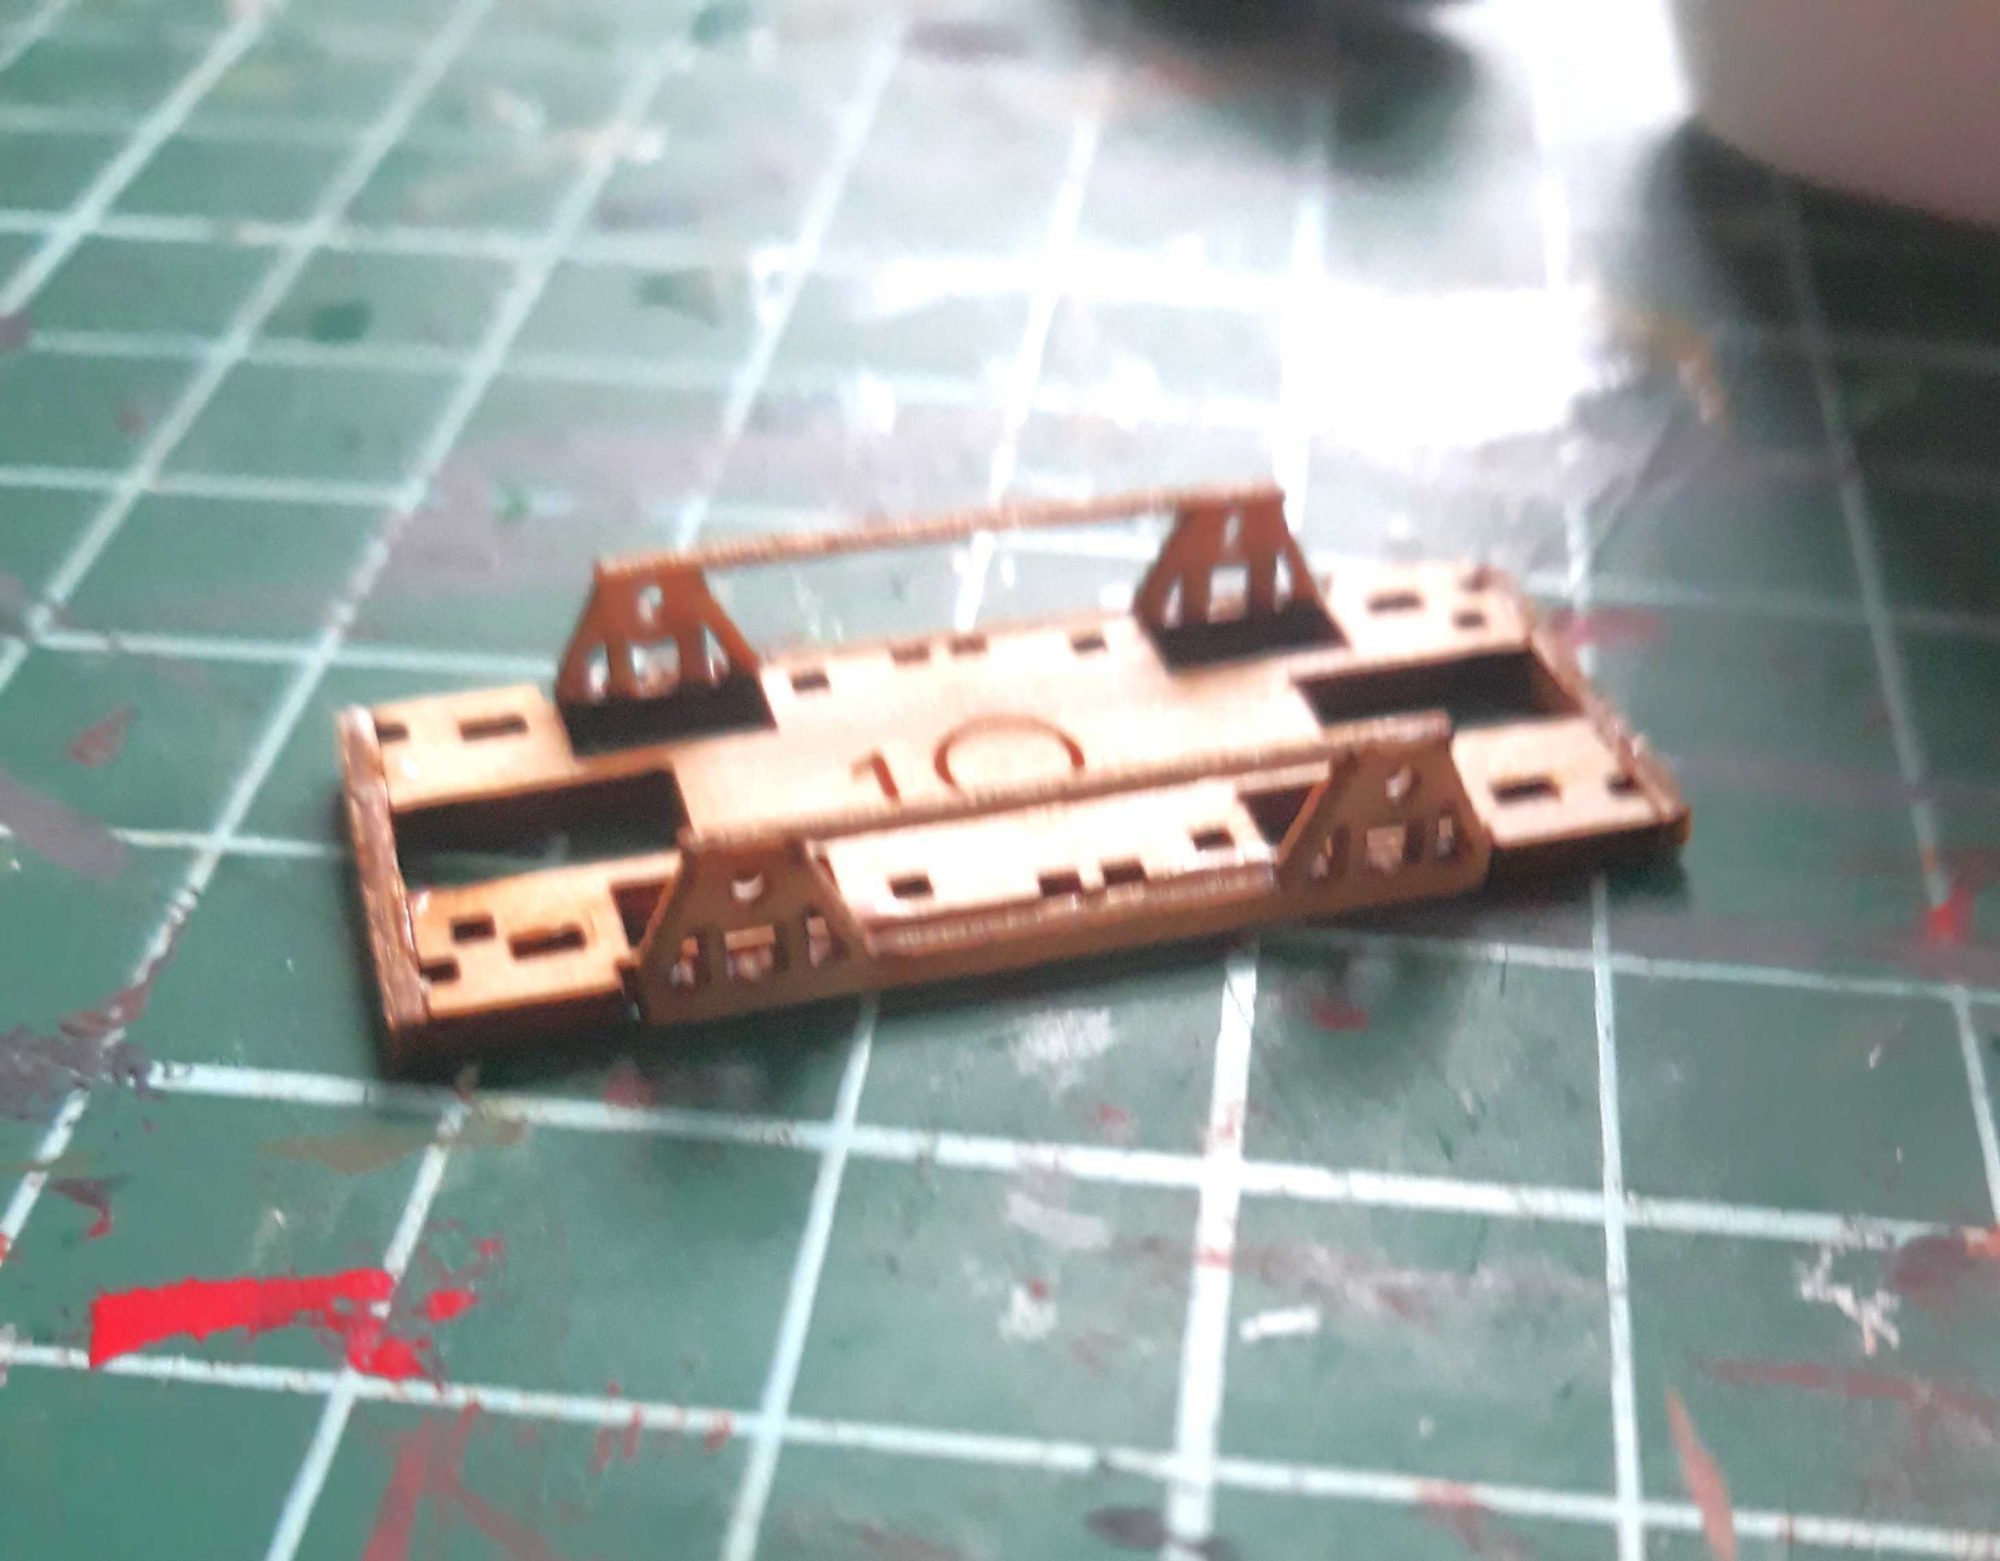
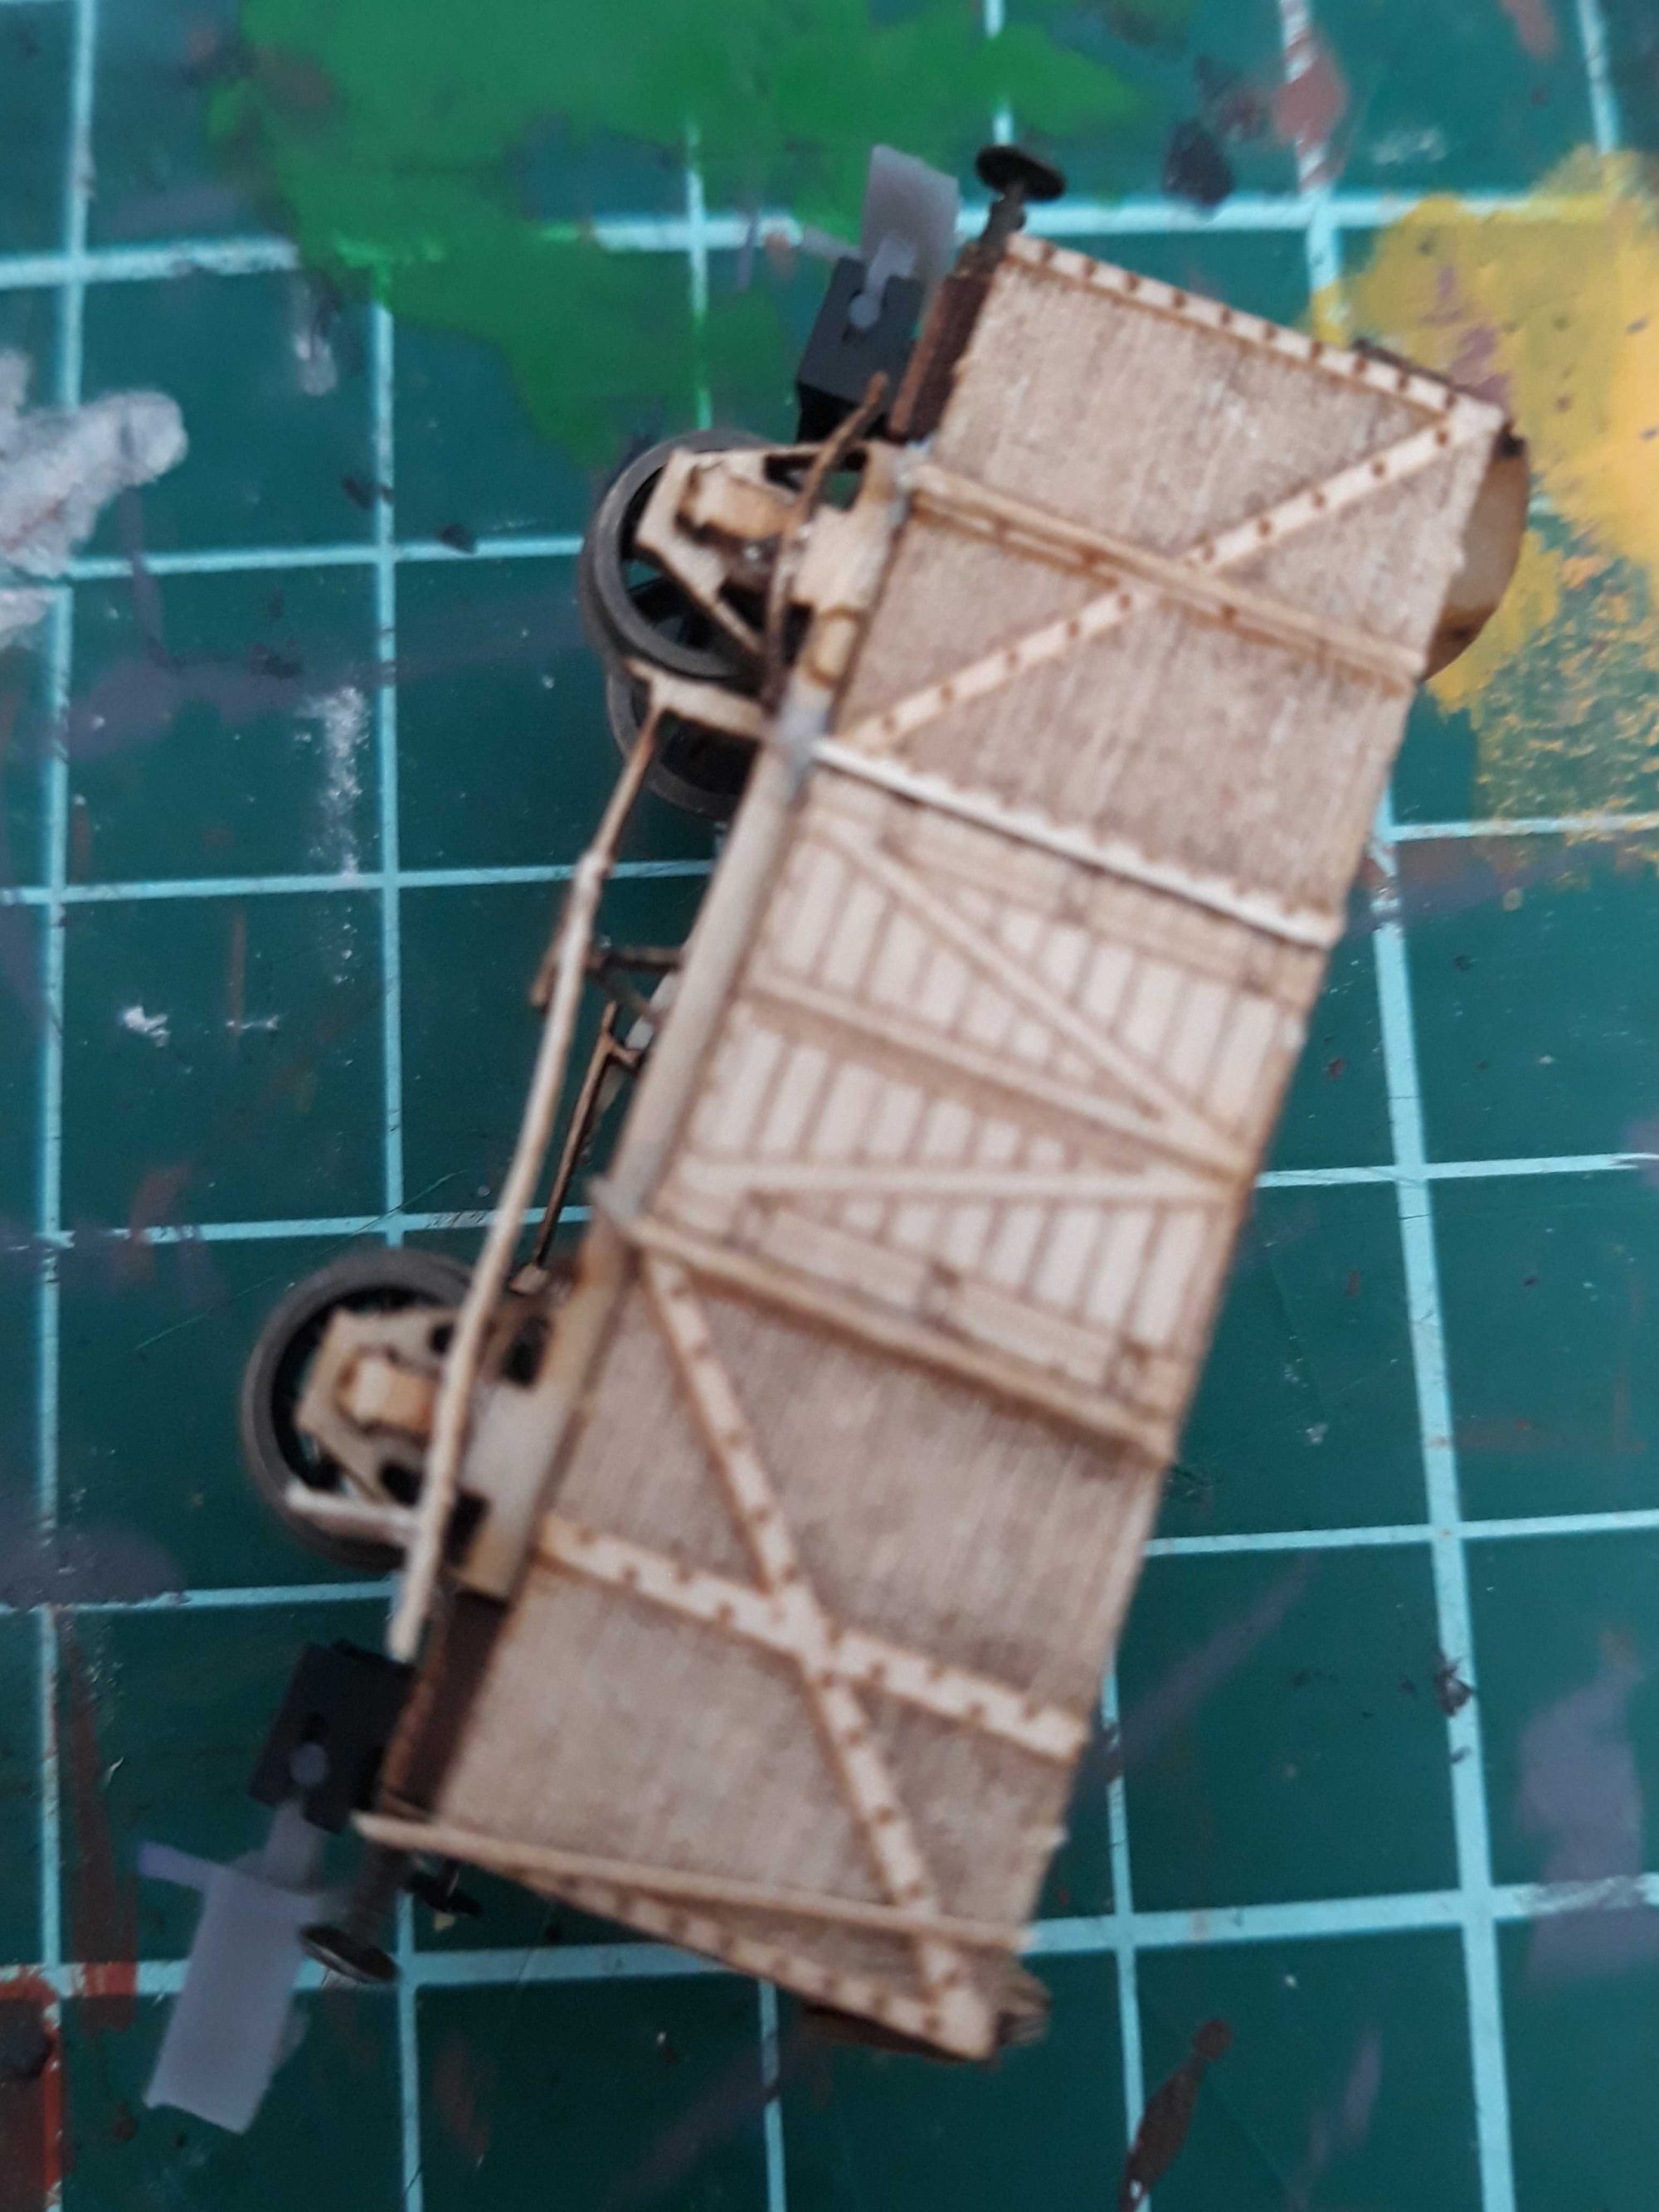
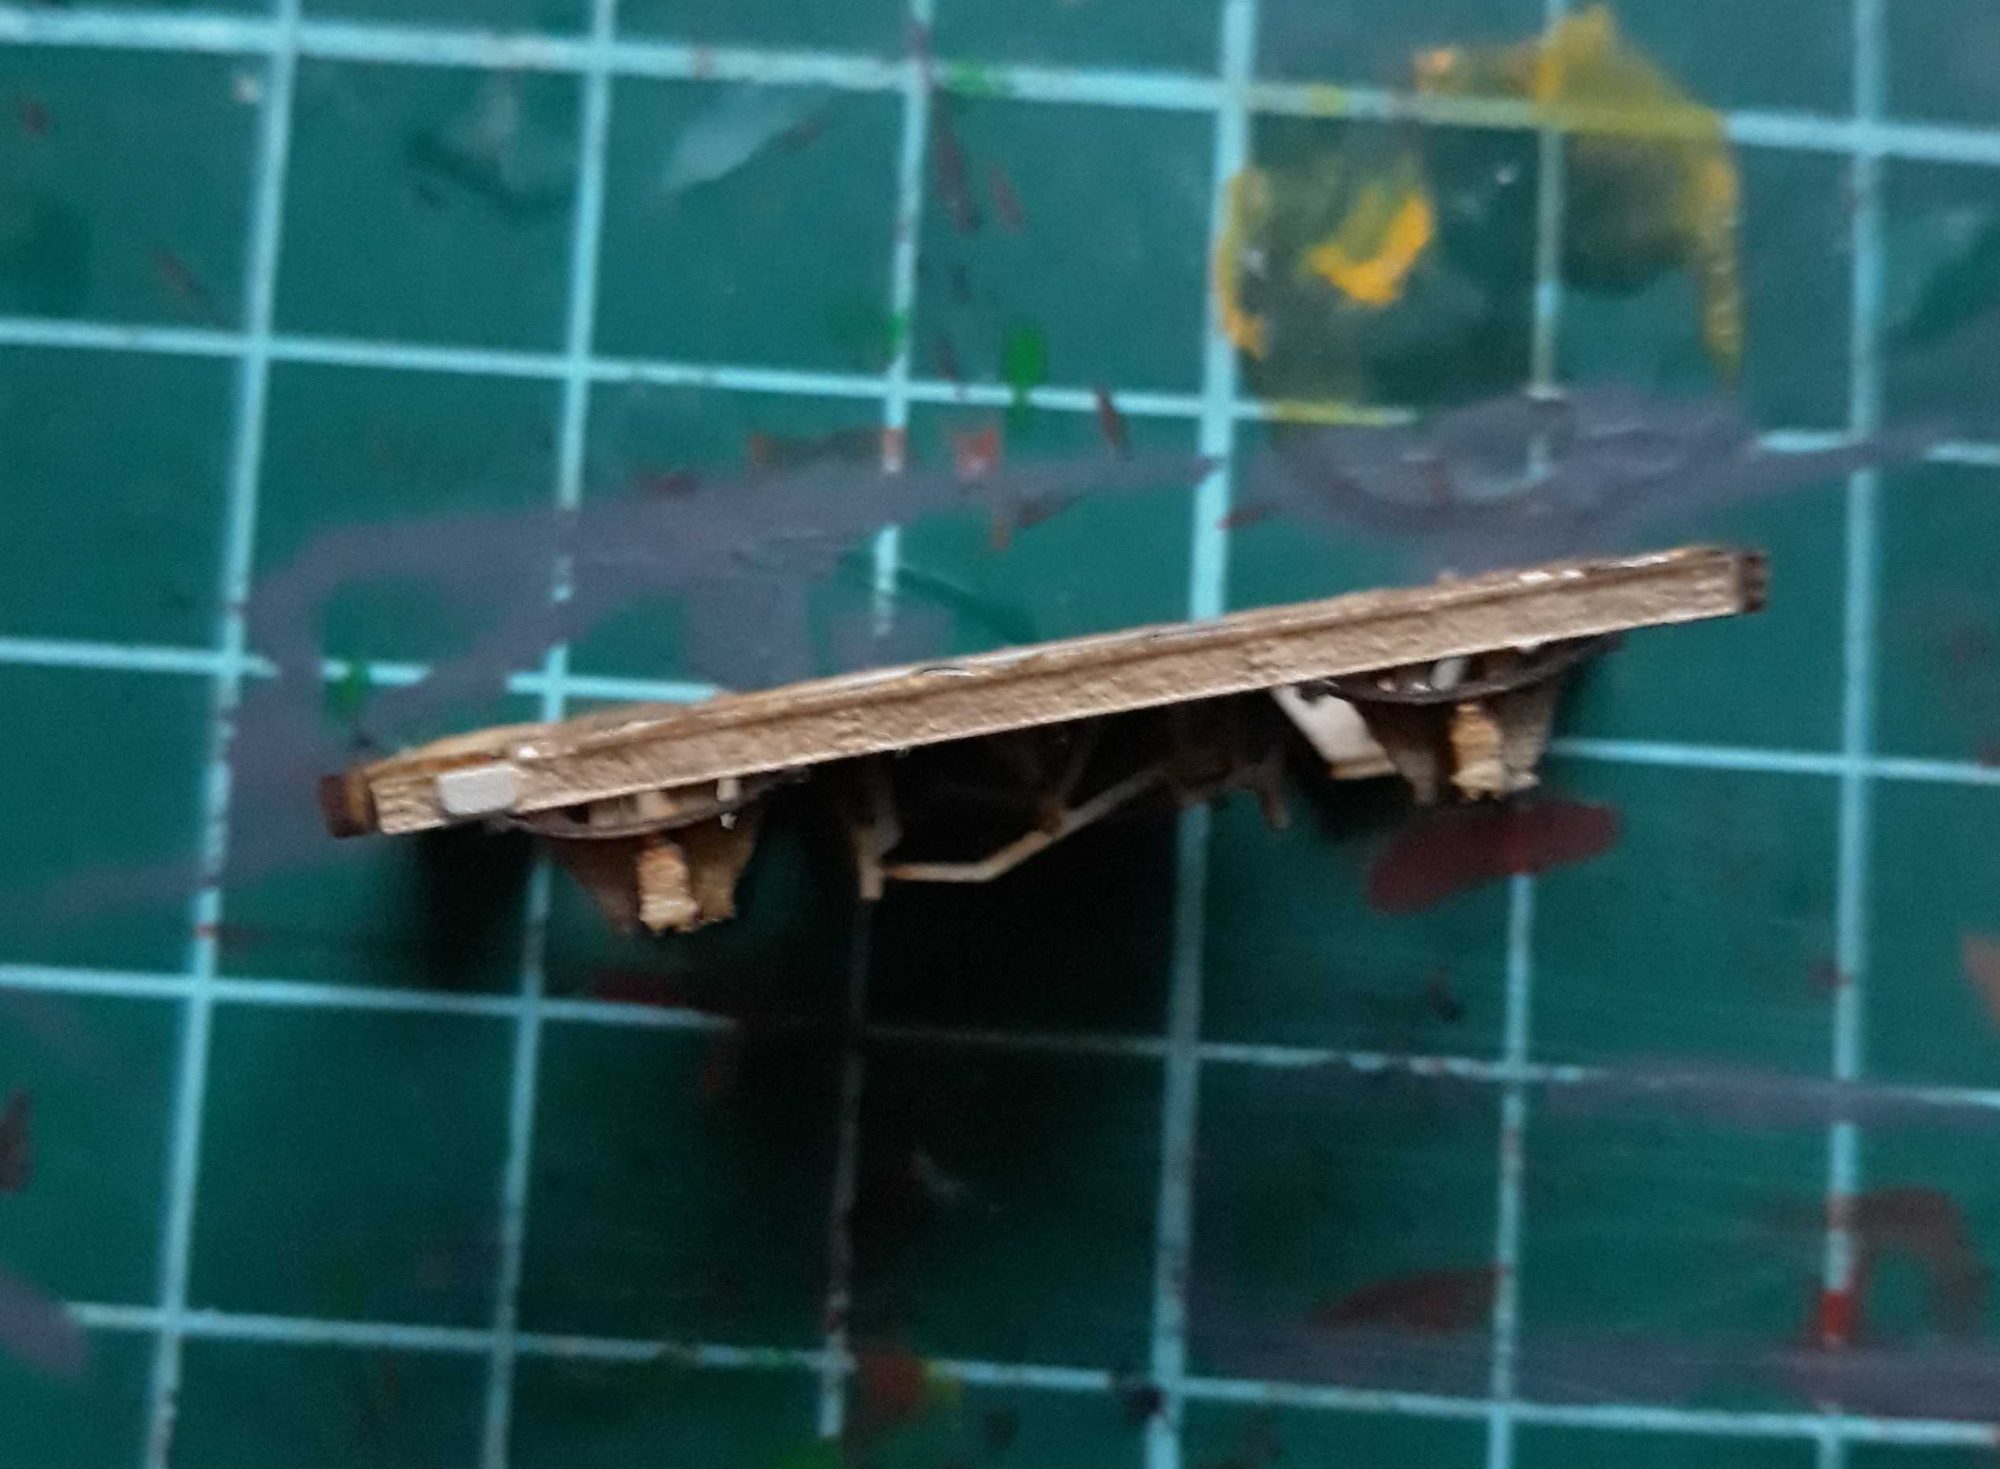
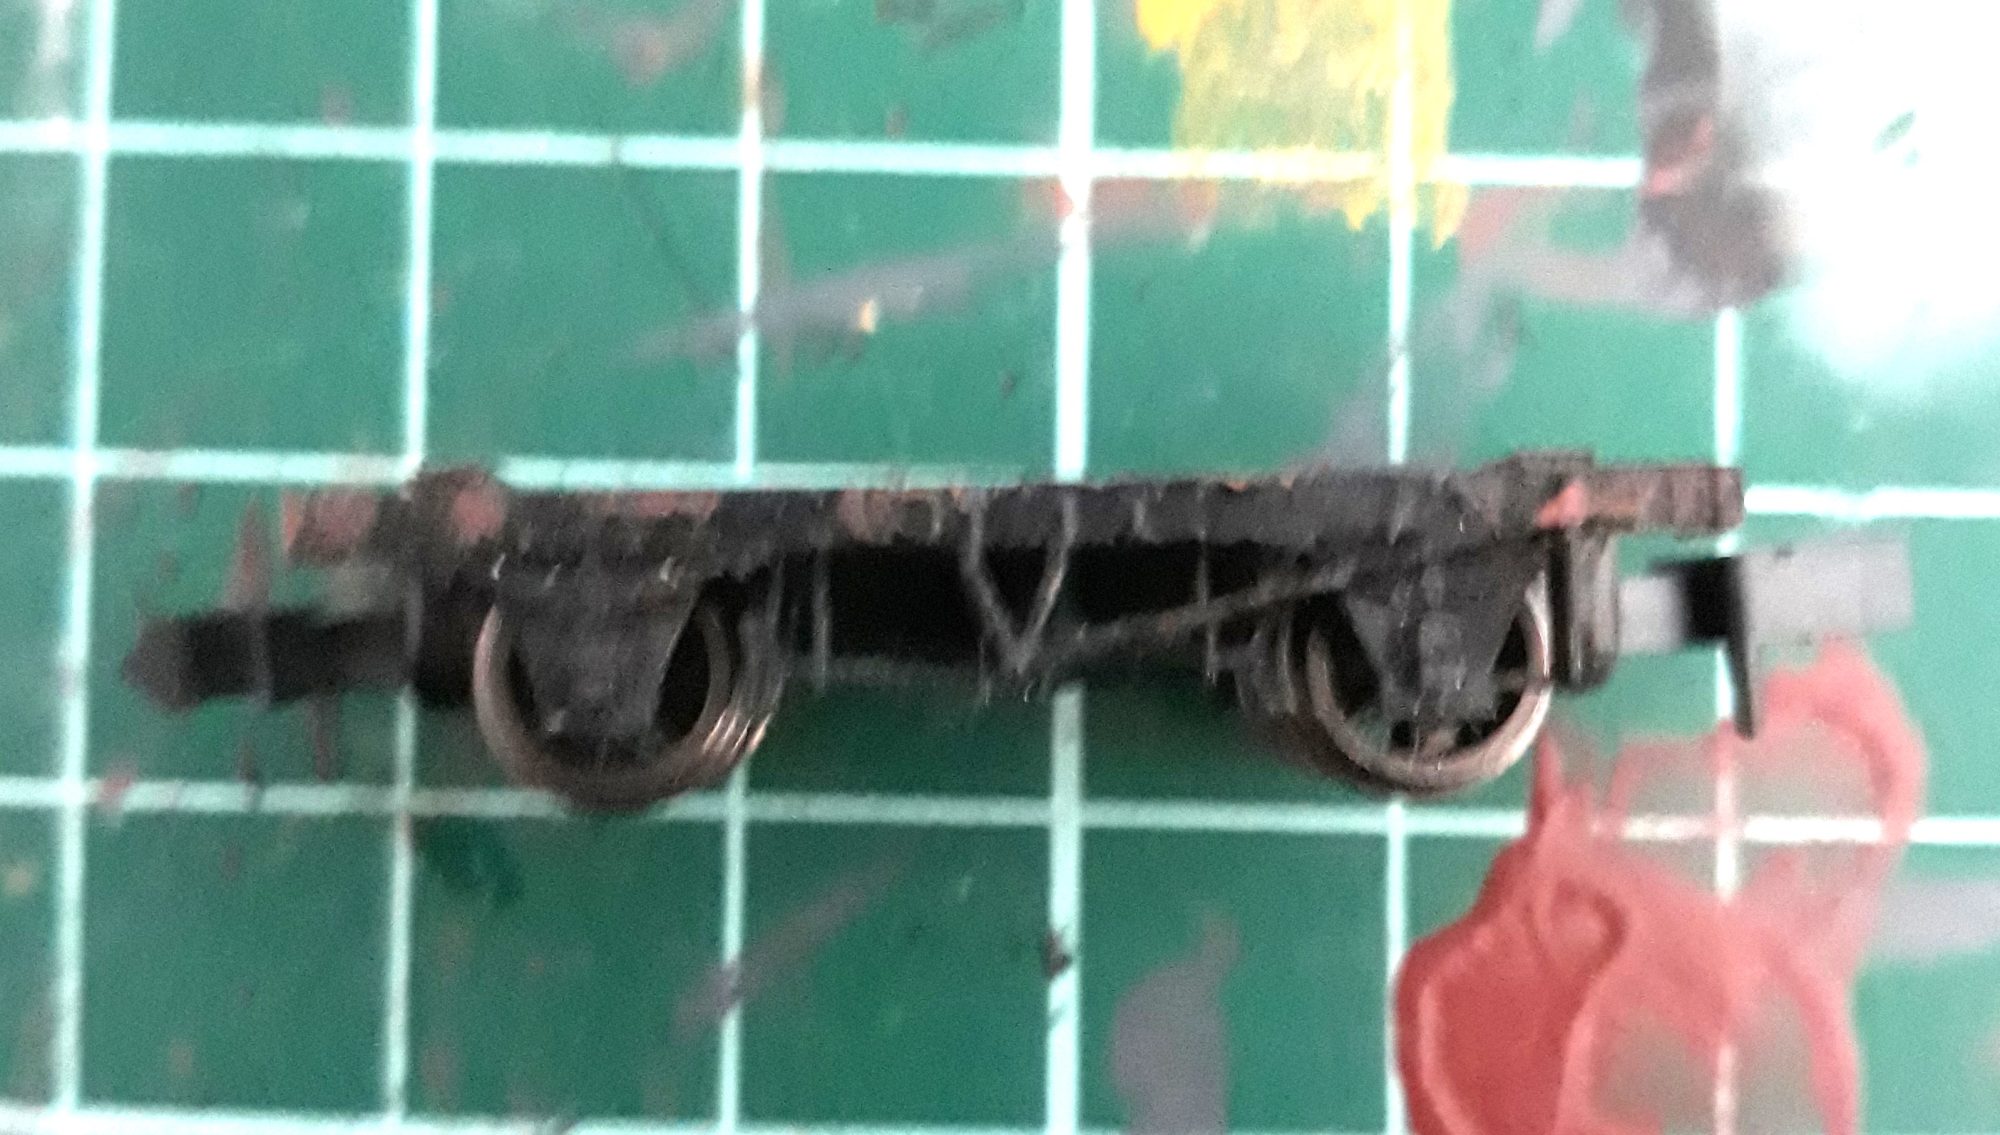
The chassis is formed from 2 side frames, which are formed of 3 parts; solebar, axelboxes & brake lever. Note that one side has 2 v hangers and this has the 'bent' brake lever.
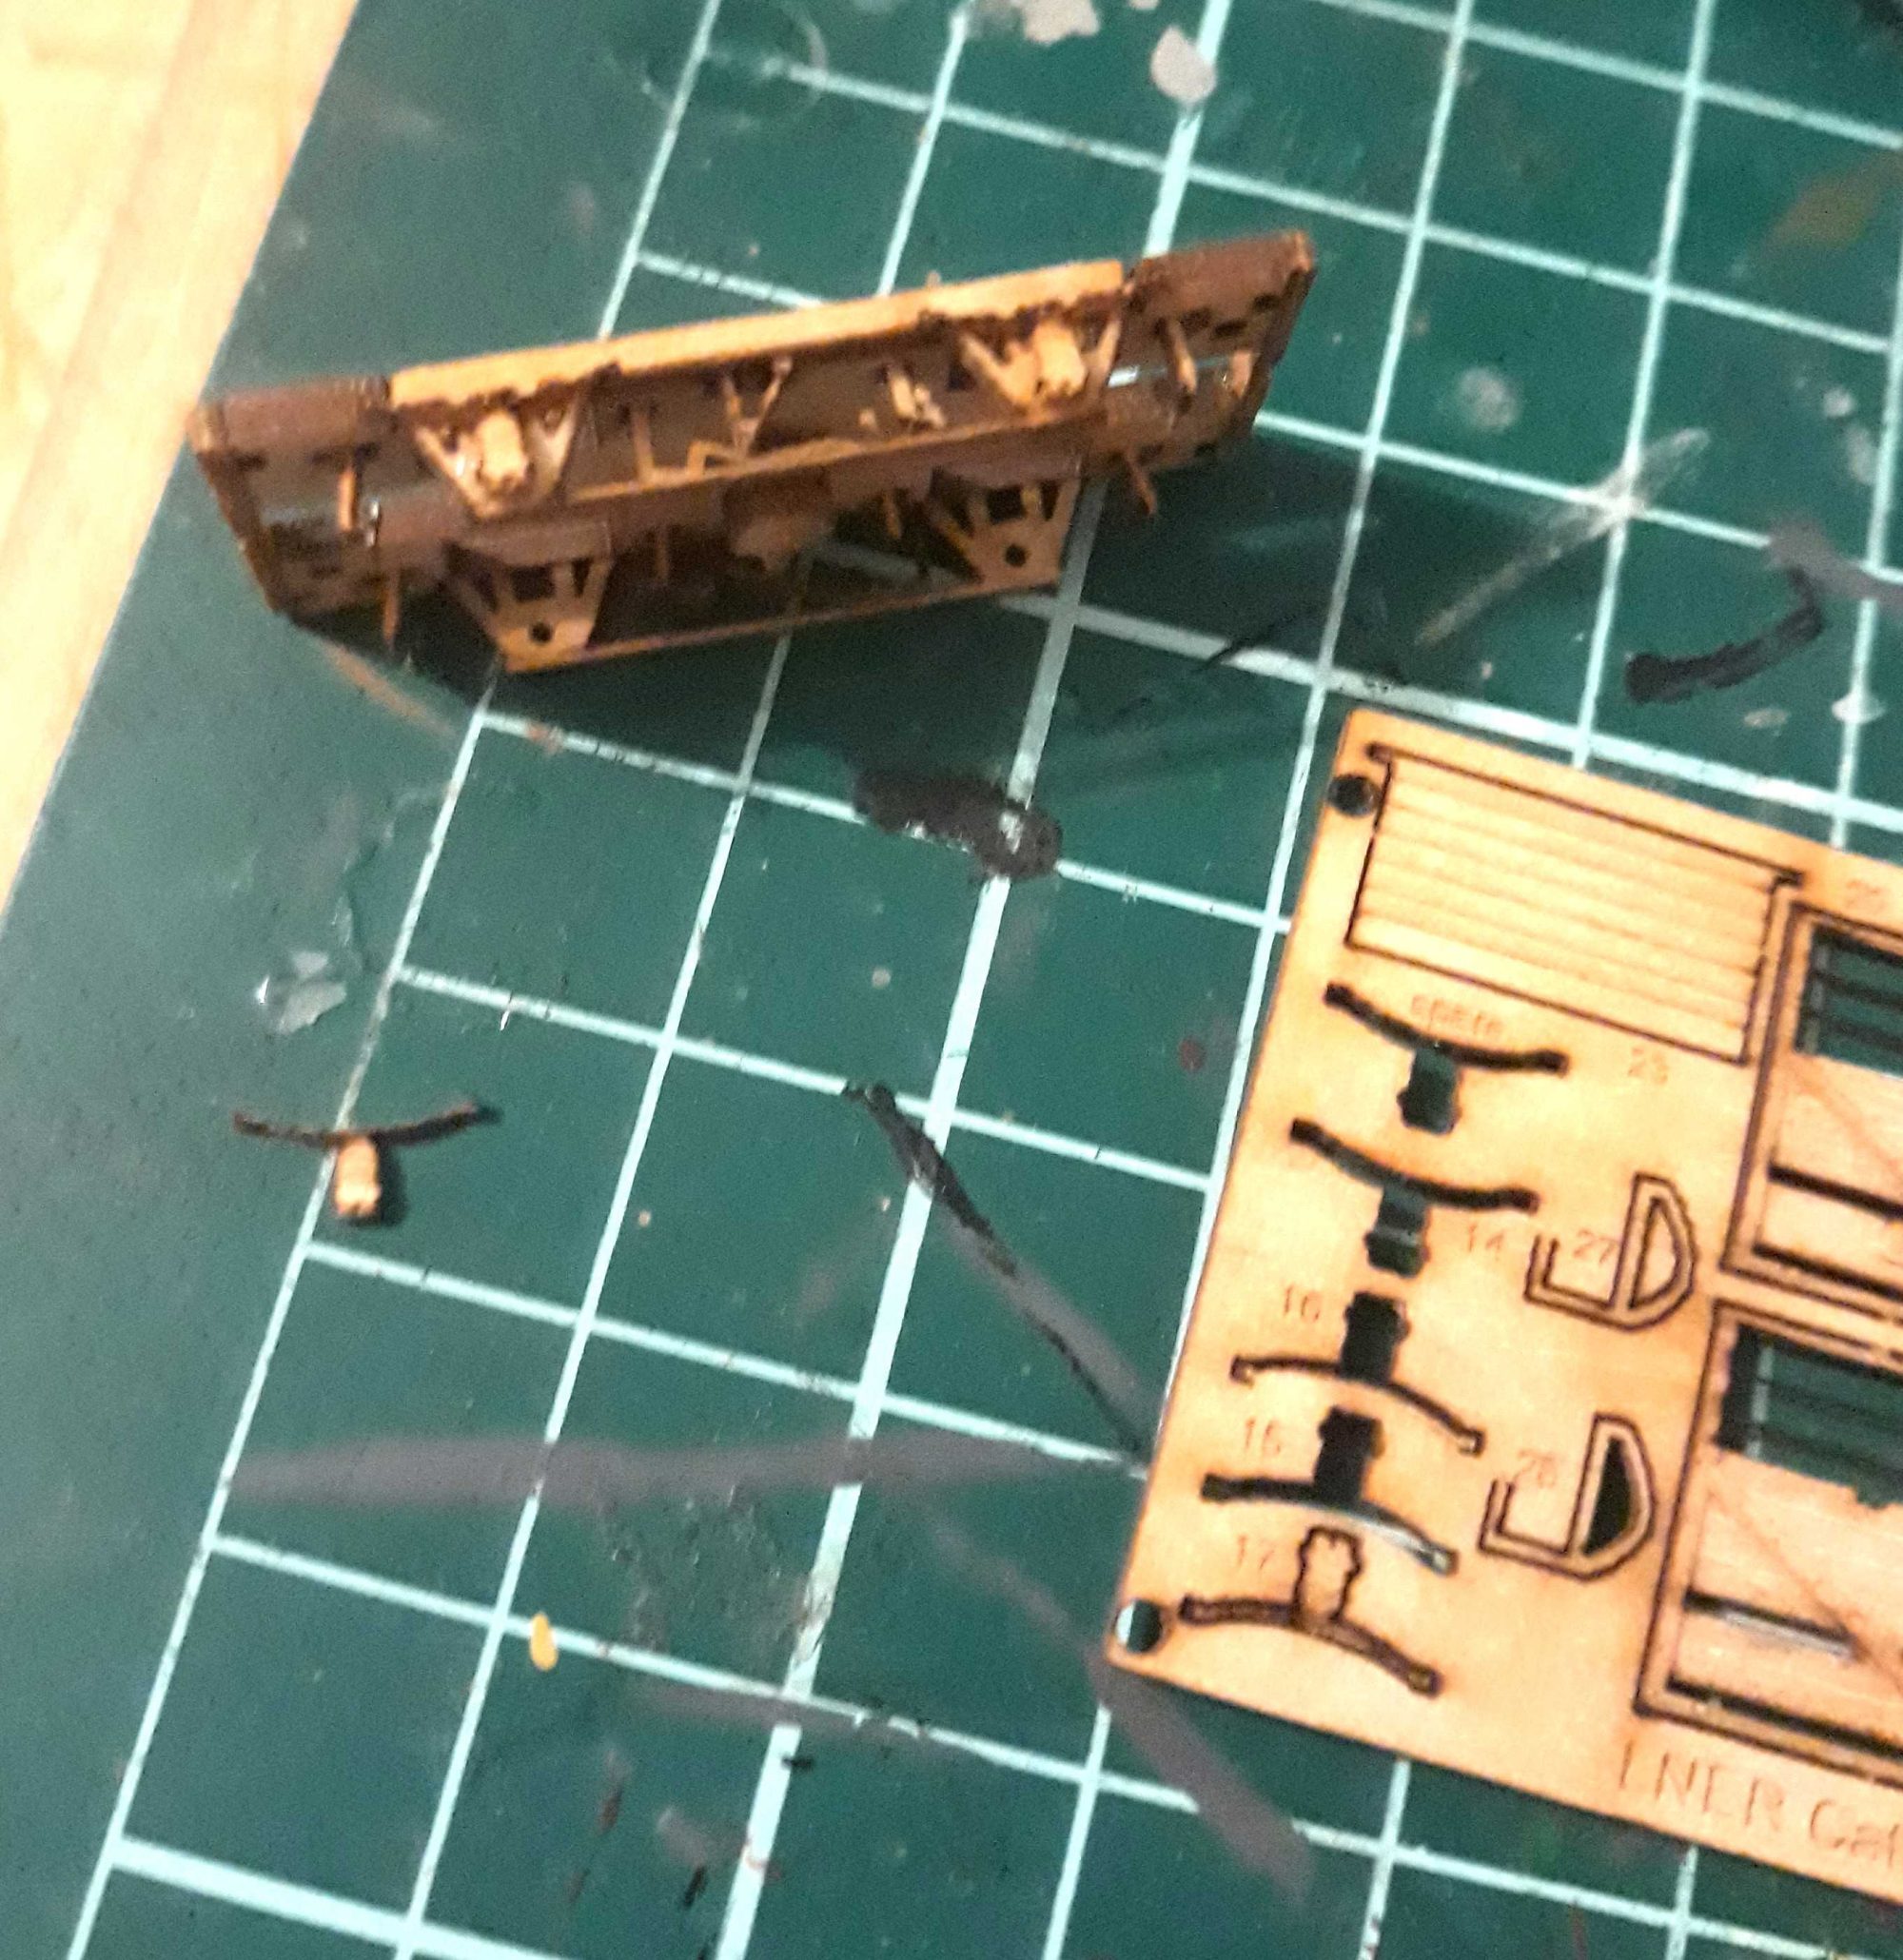
Once assembled, these slot into the lip of the buffer beam. These can be a bit tricky to allow for smooth running. I had a few issues with some of mine, but a file to the ends of the axel smoothed it out.
Last thing to do is fix the 4 brass buffers and the kits complete! :)
Image
Image
Image
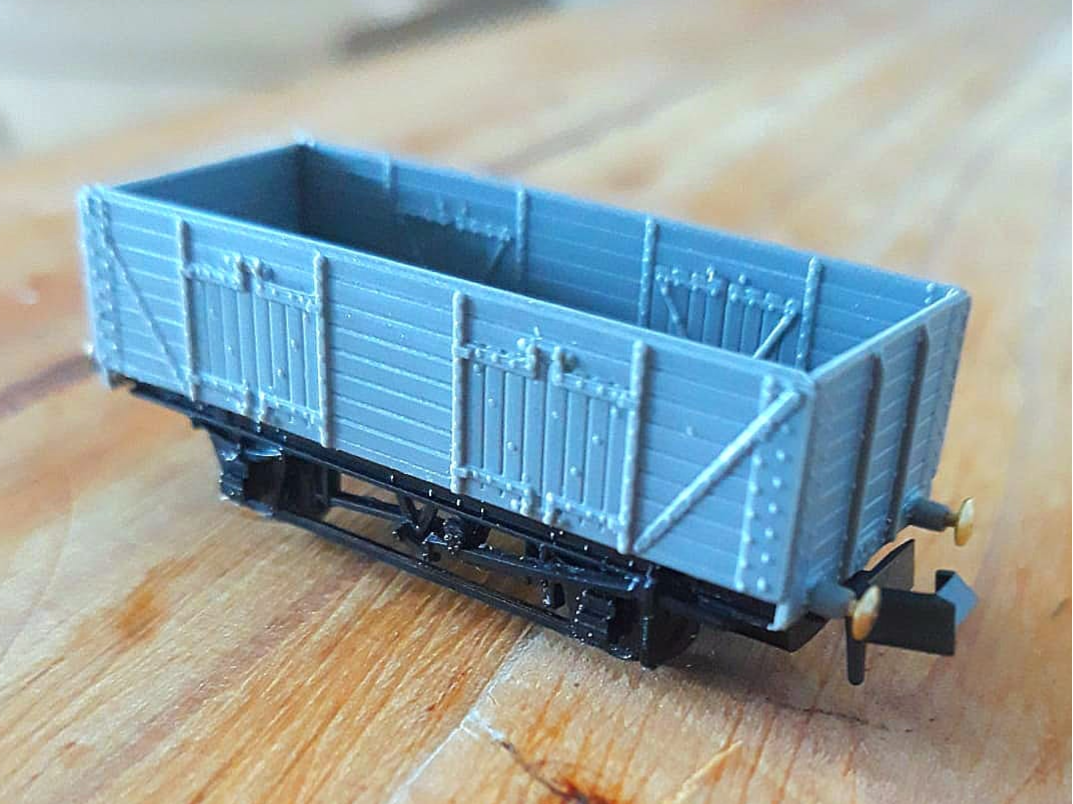
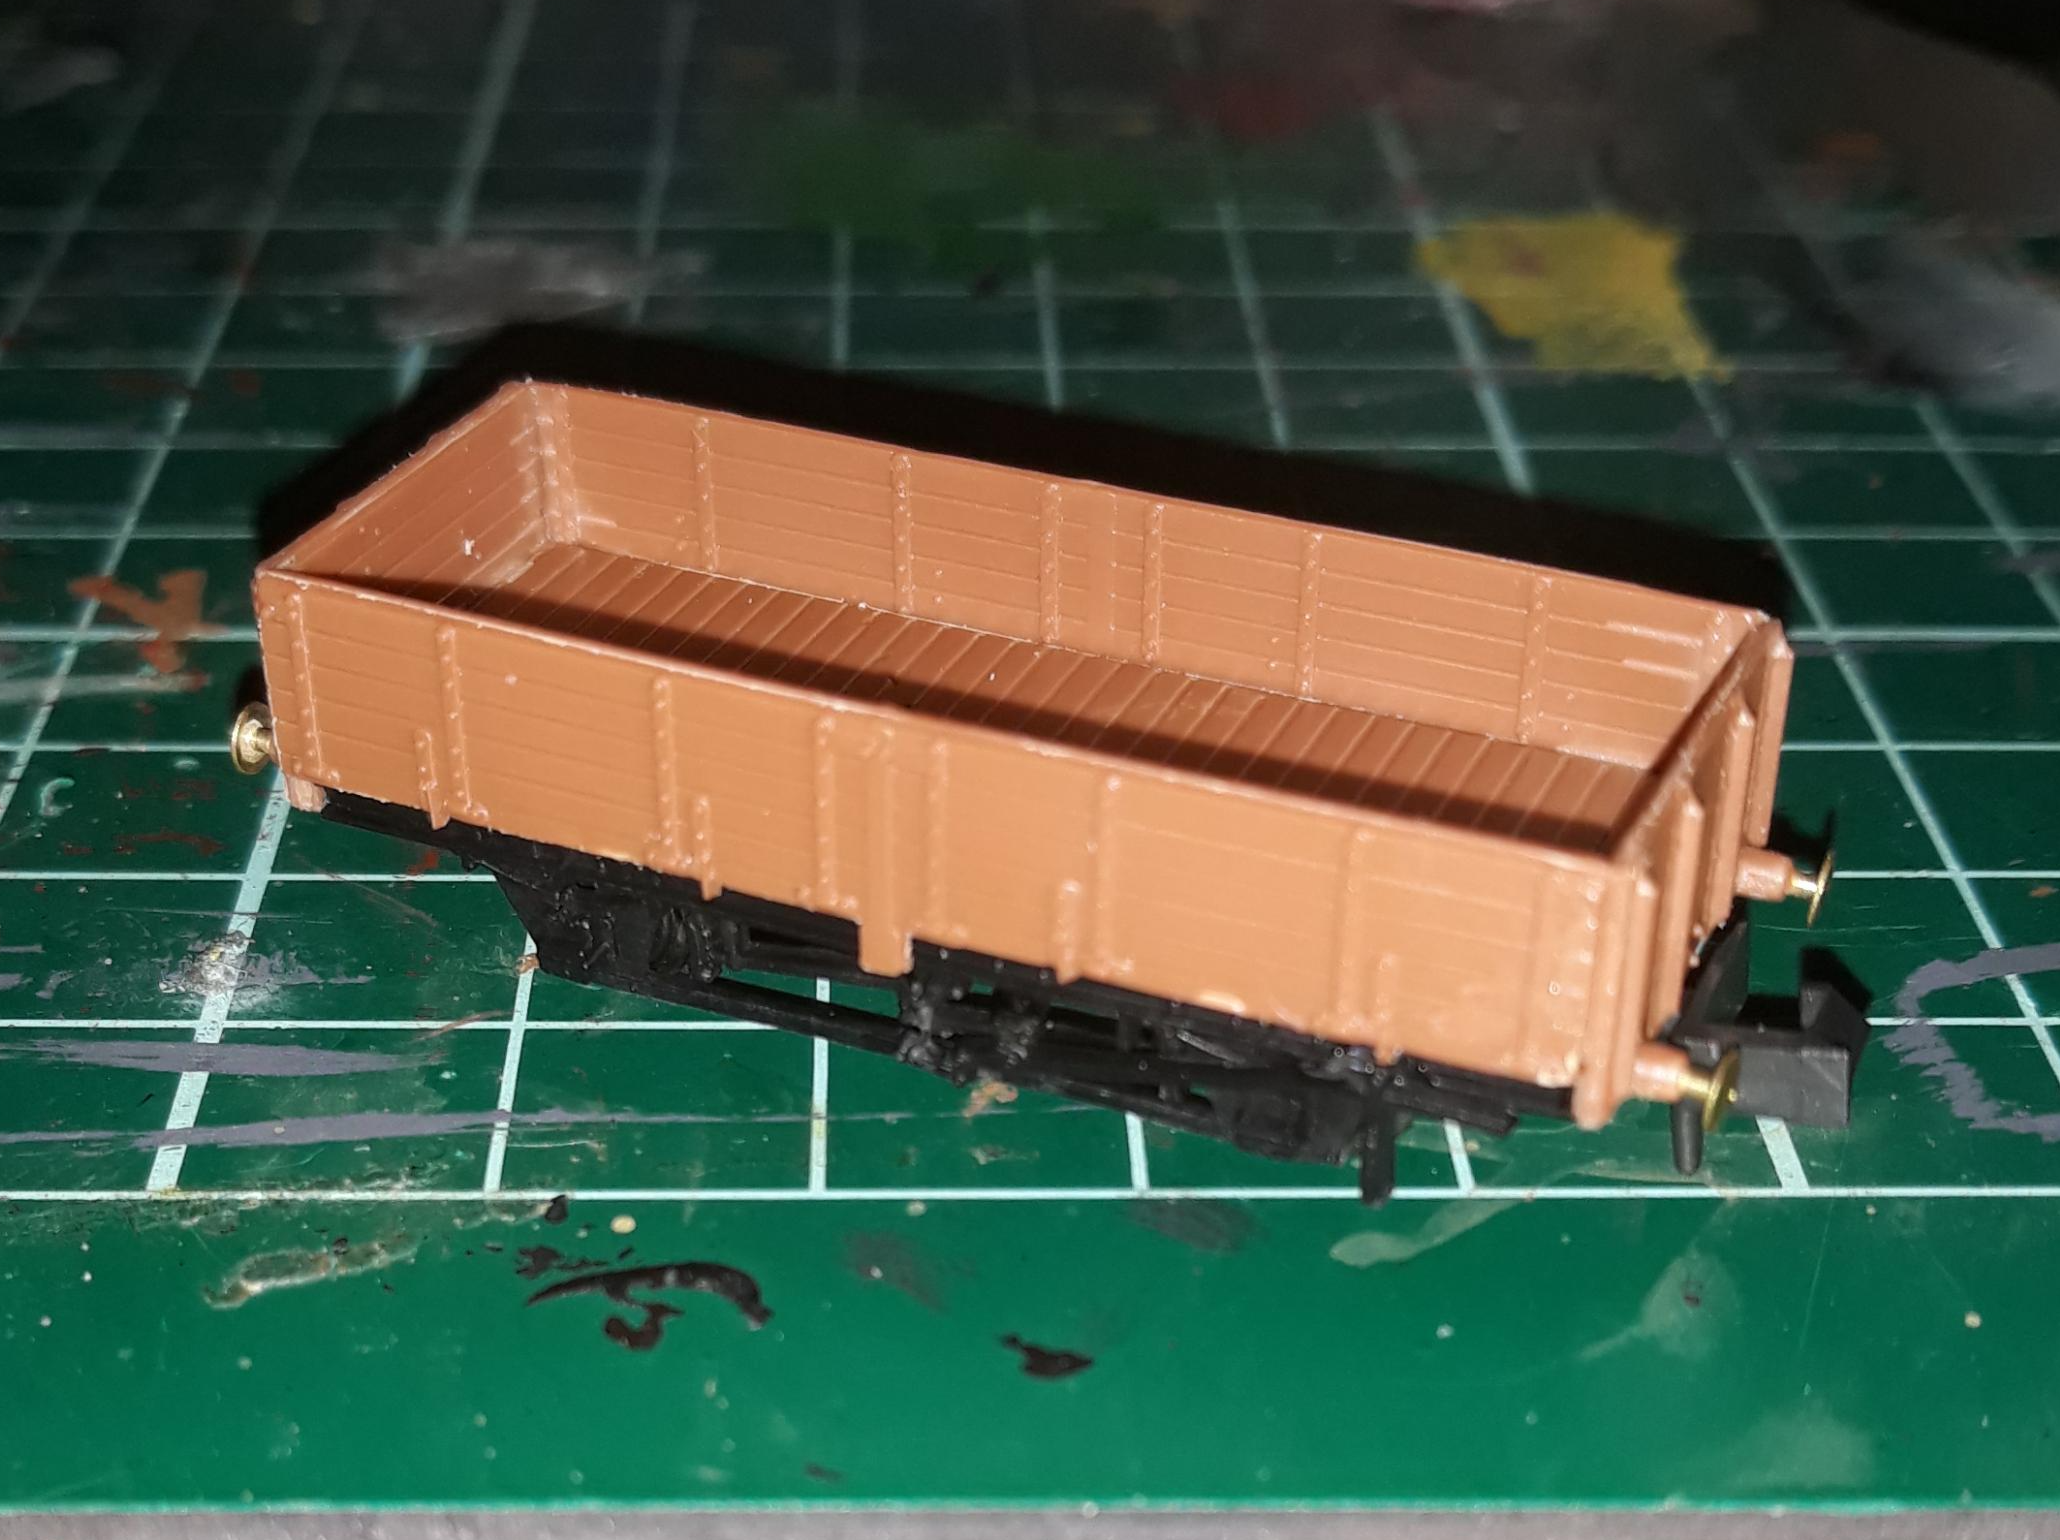
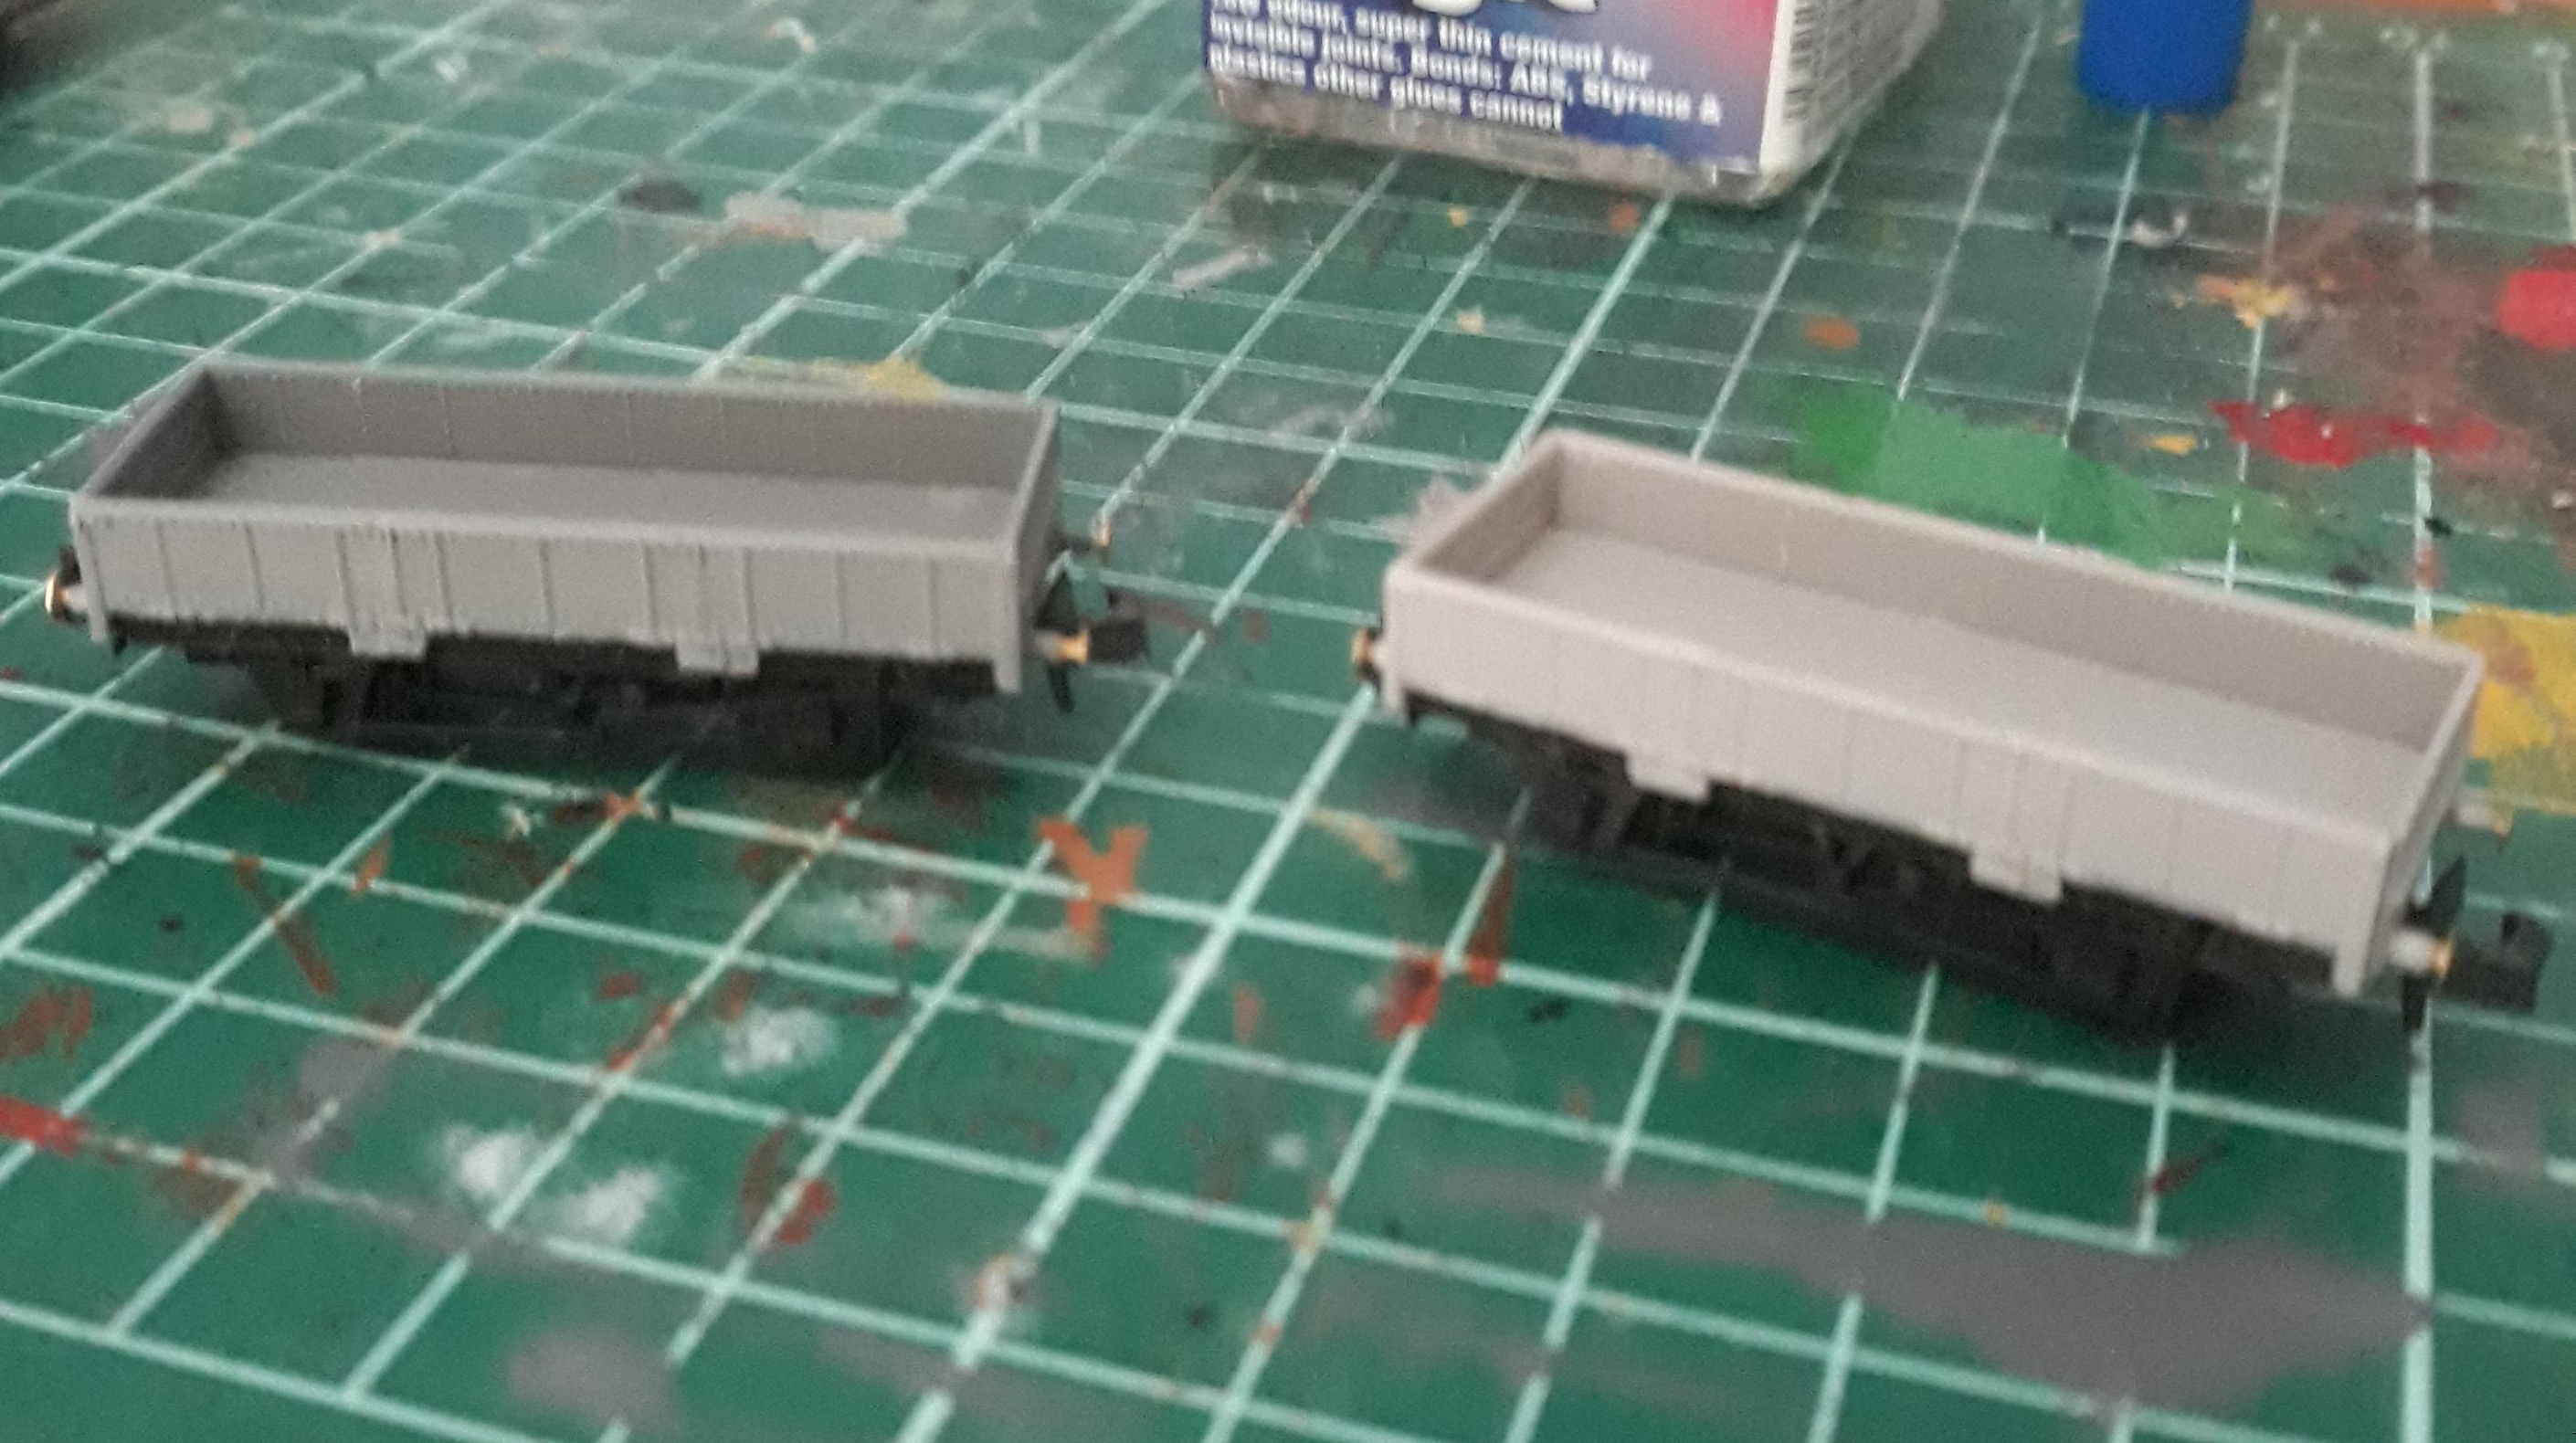
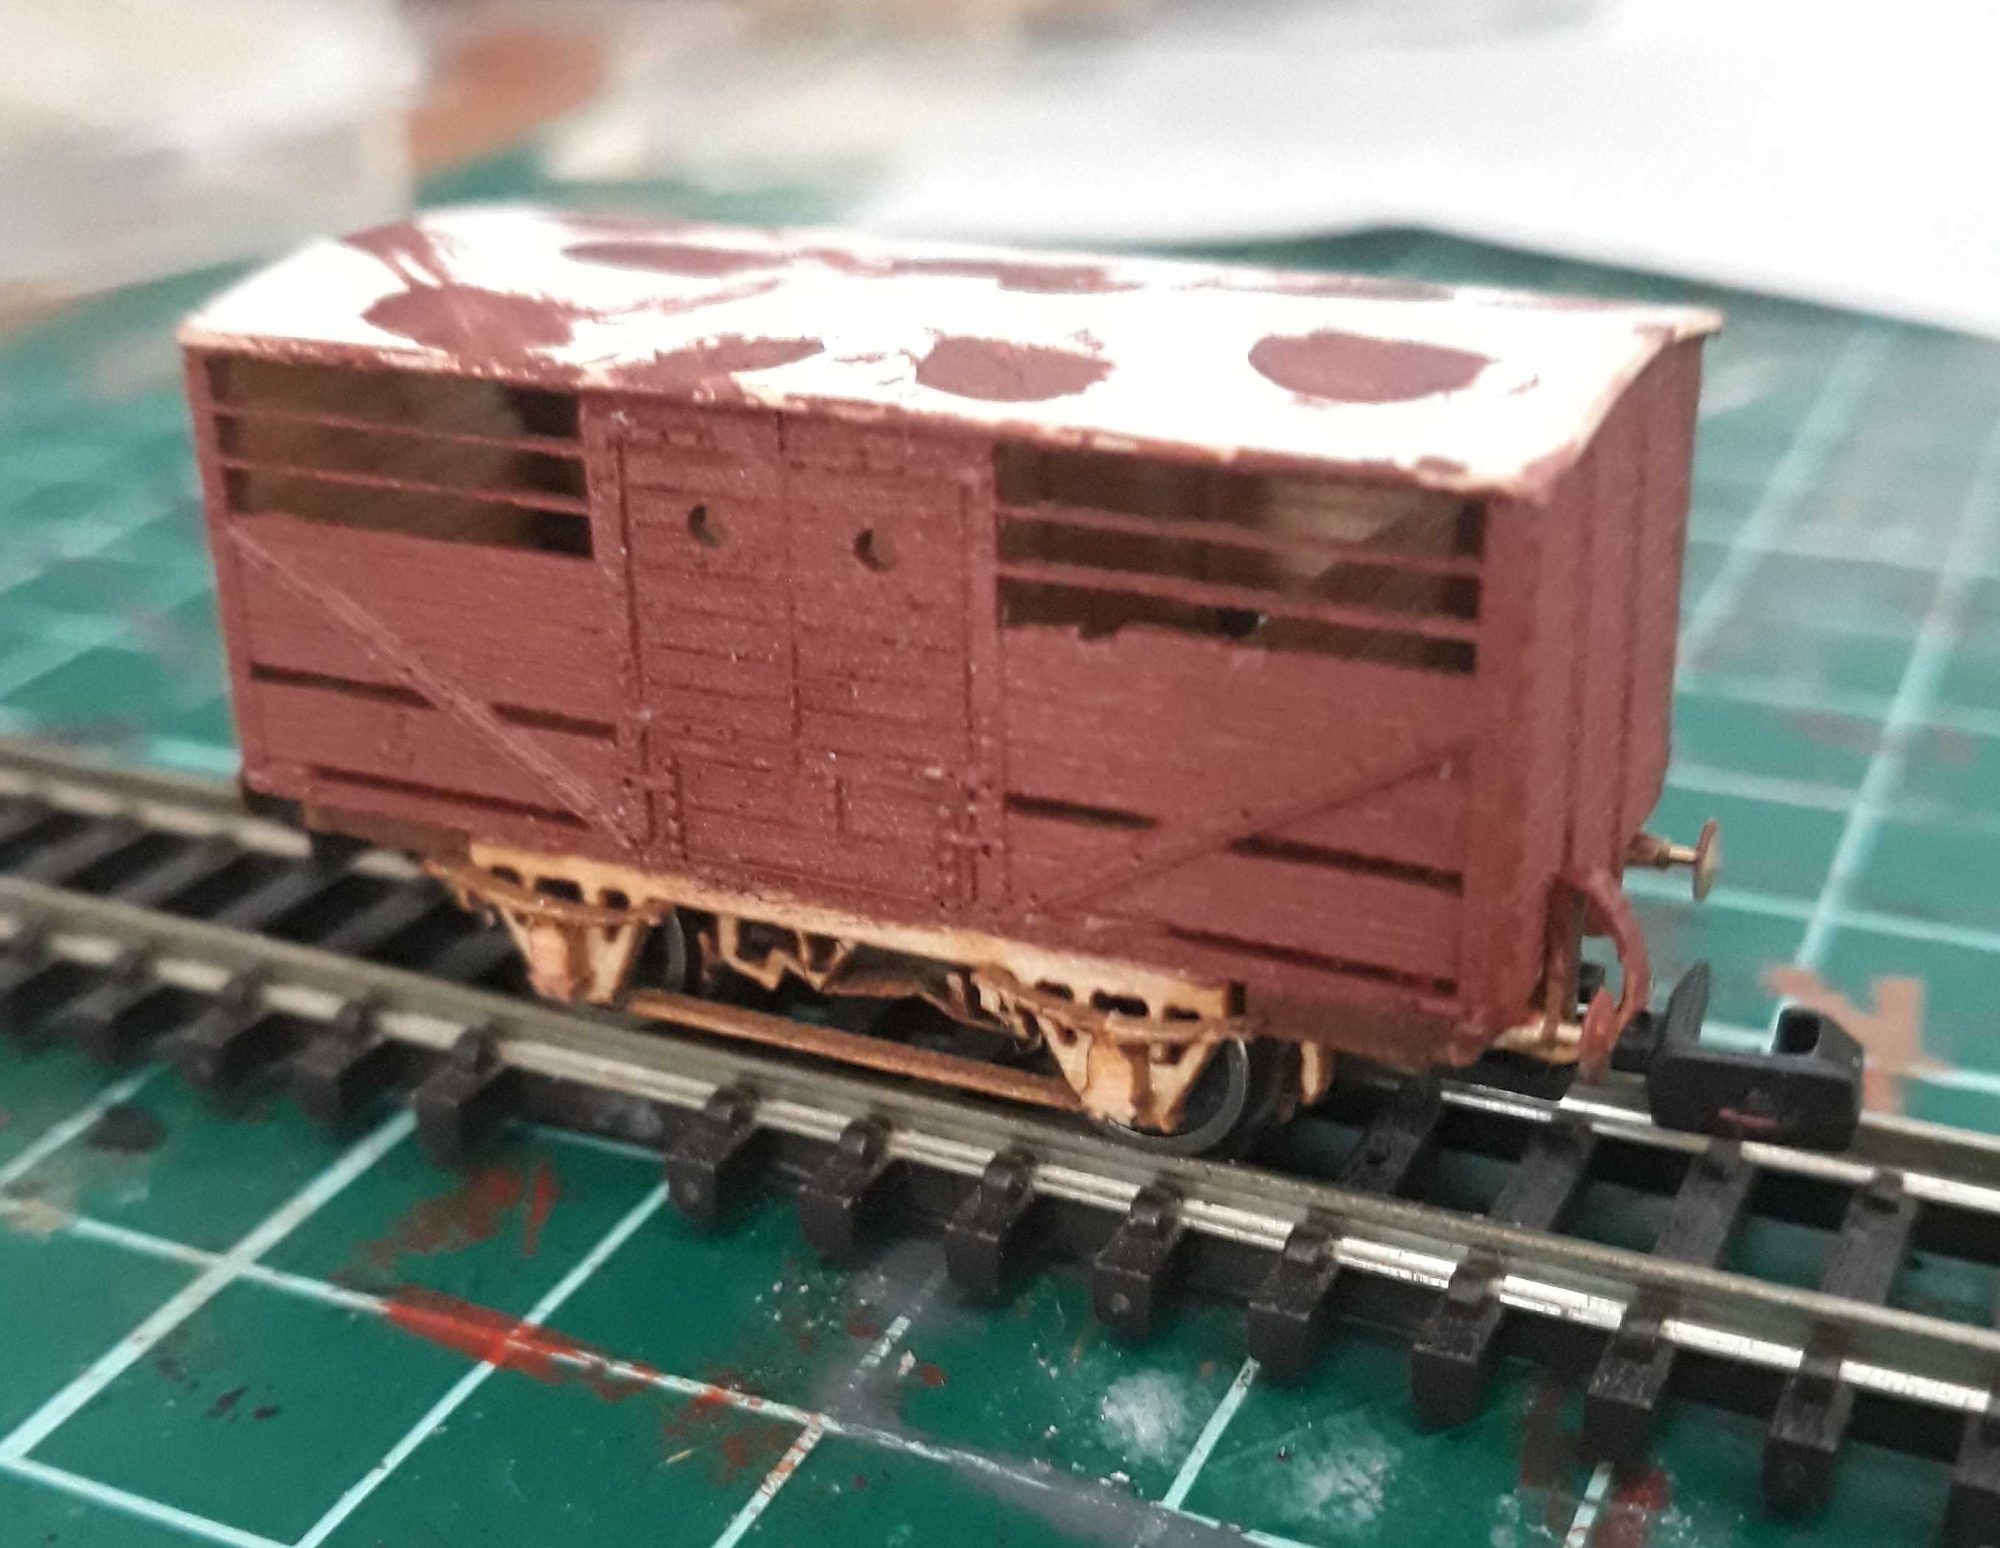
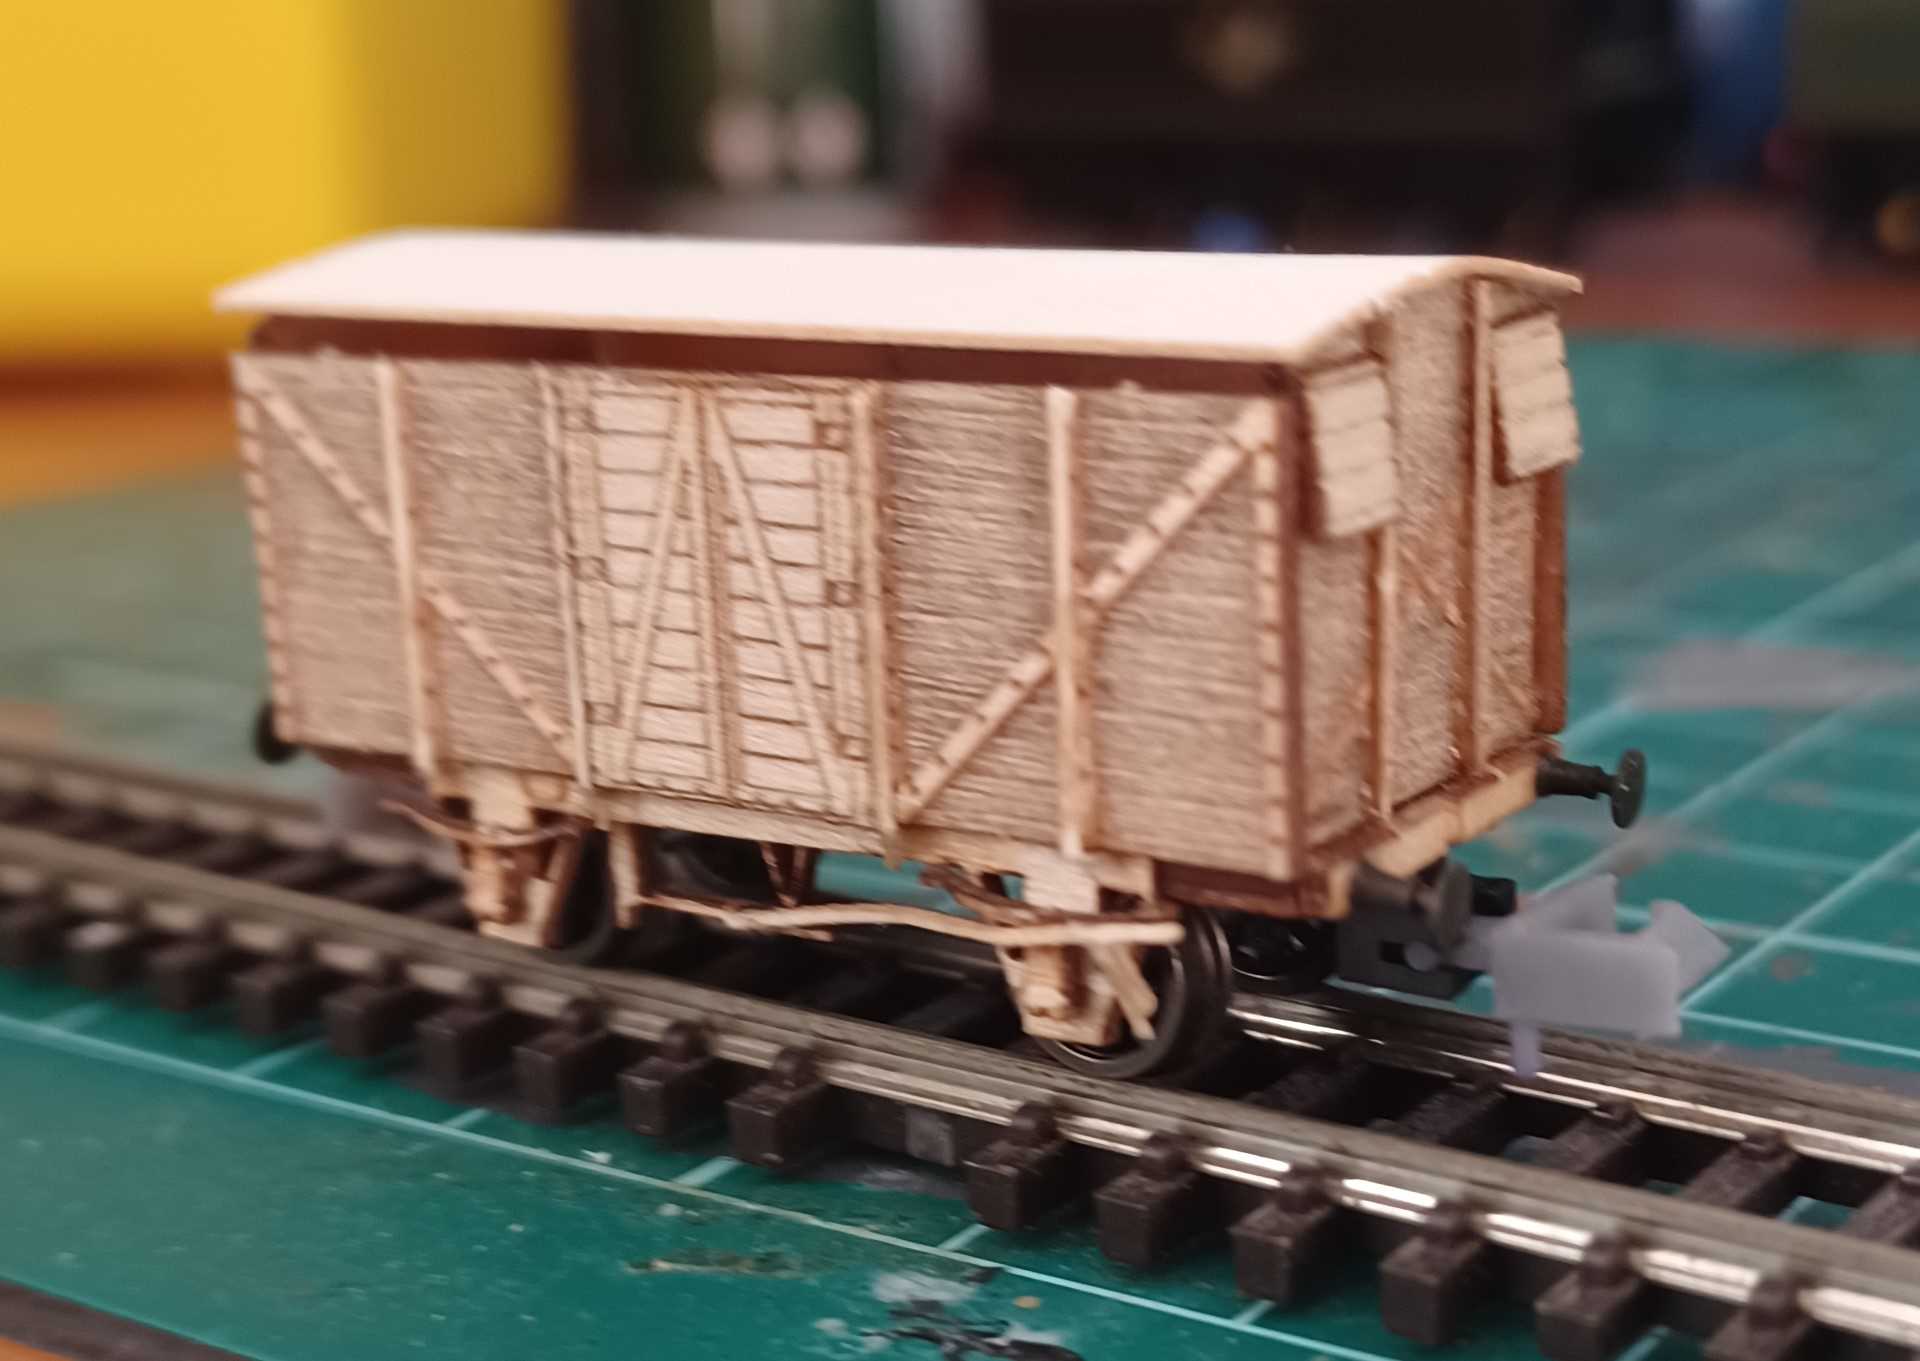
All the finished wagons waiting for the paint shop. The Pipe open will be gray, as a number were unfitted. The LNER open is going to take some research, Loco coal opens were painted Black by BR, as they were classes as service wagons, but at some point they were transferred to capital stock and were painted unfitted grey. So if anyone knows when the date of change was, i'd appreciate it. :thumbsup:

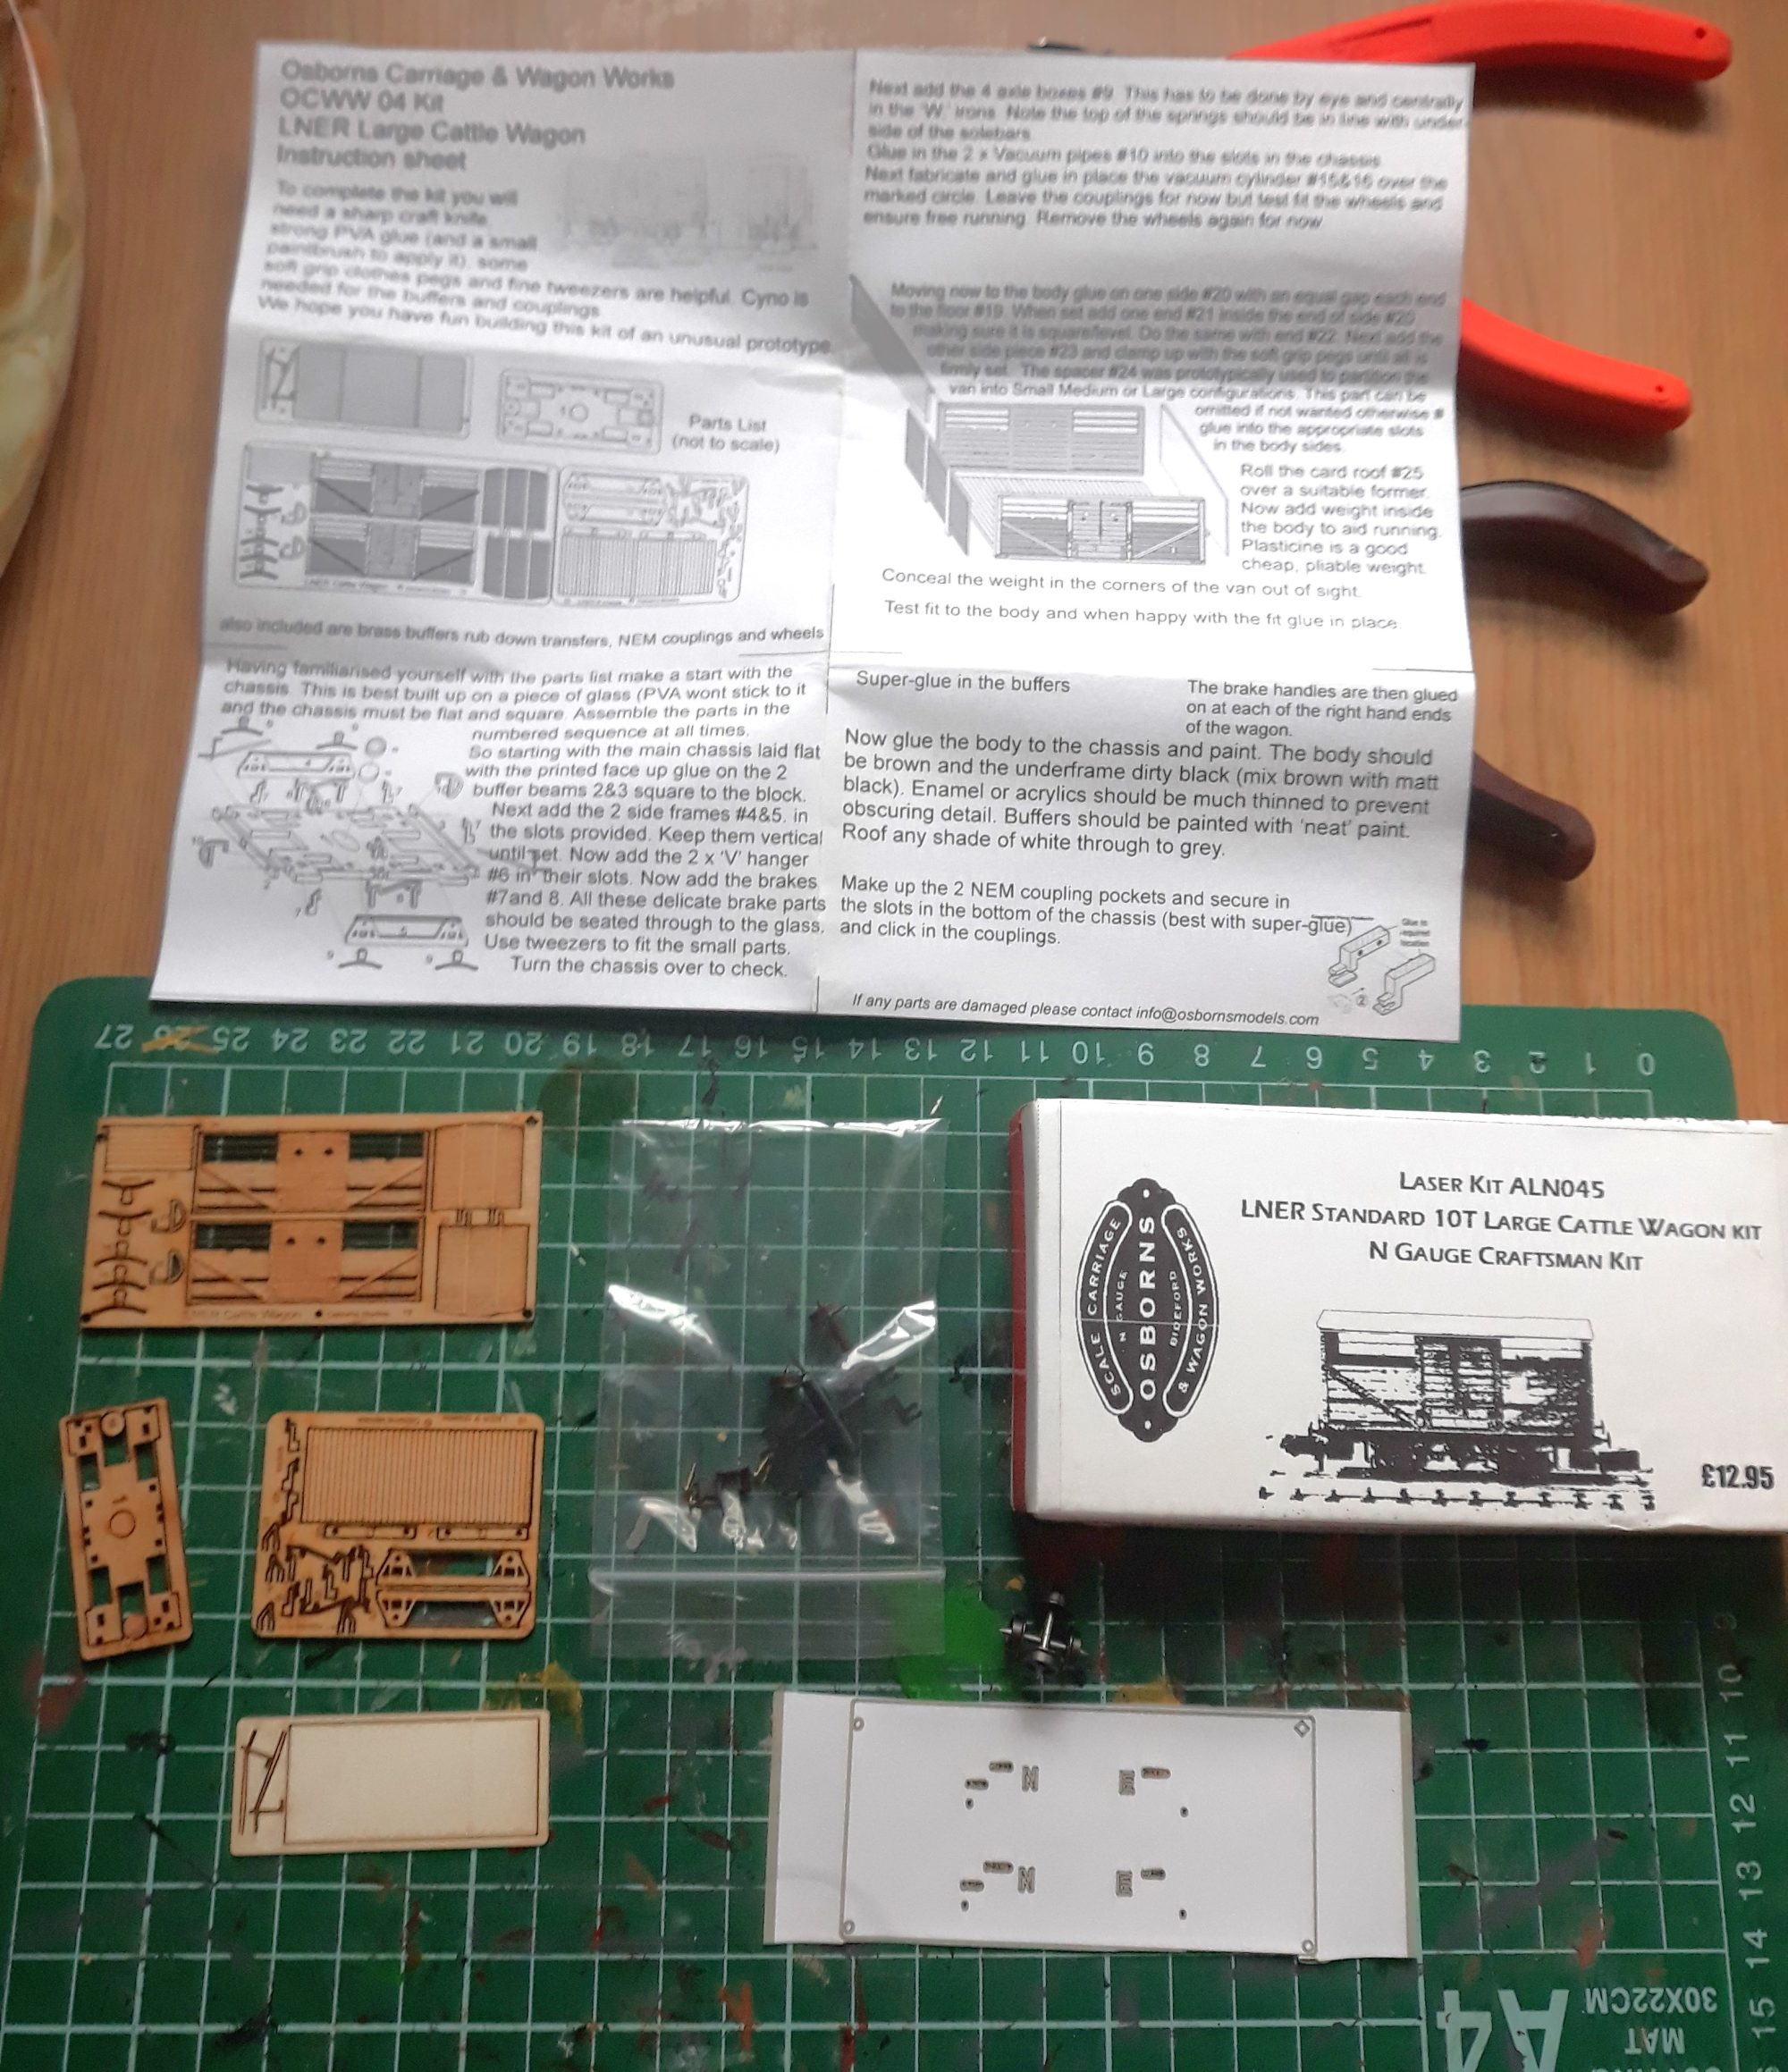
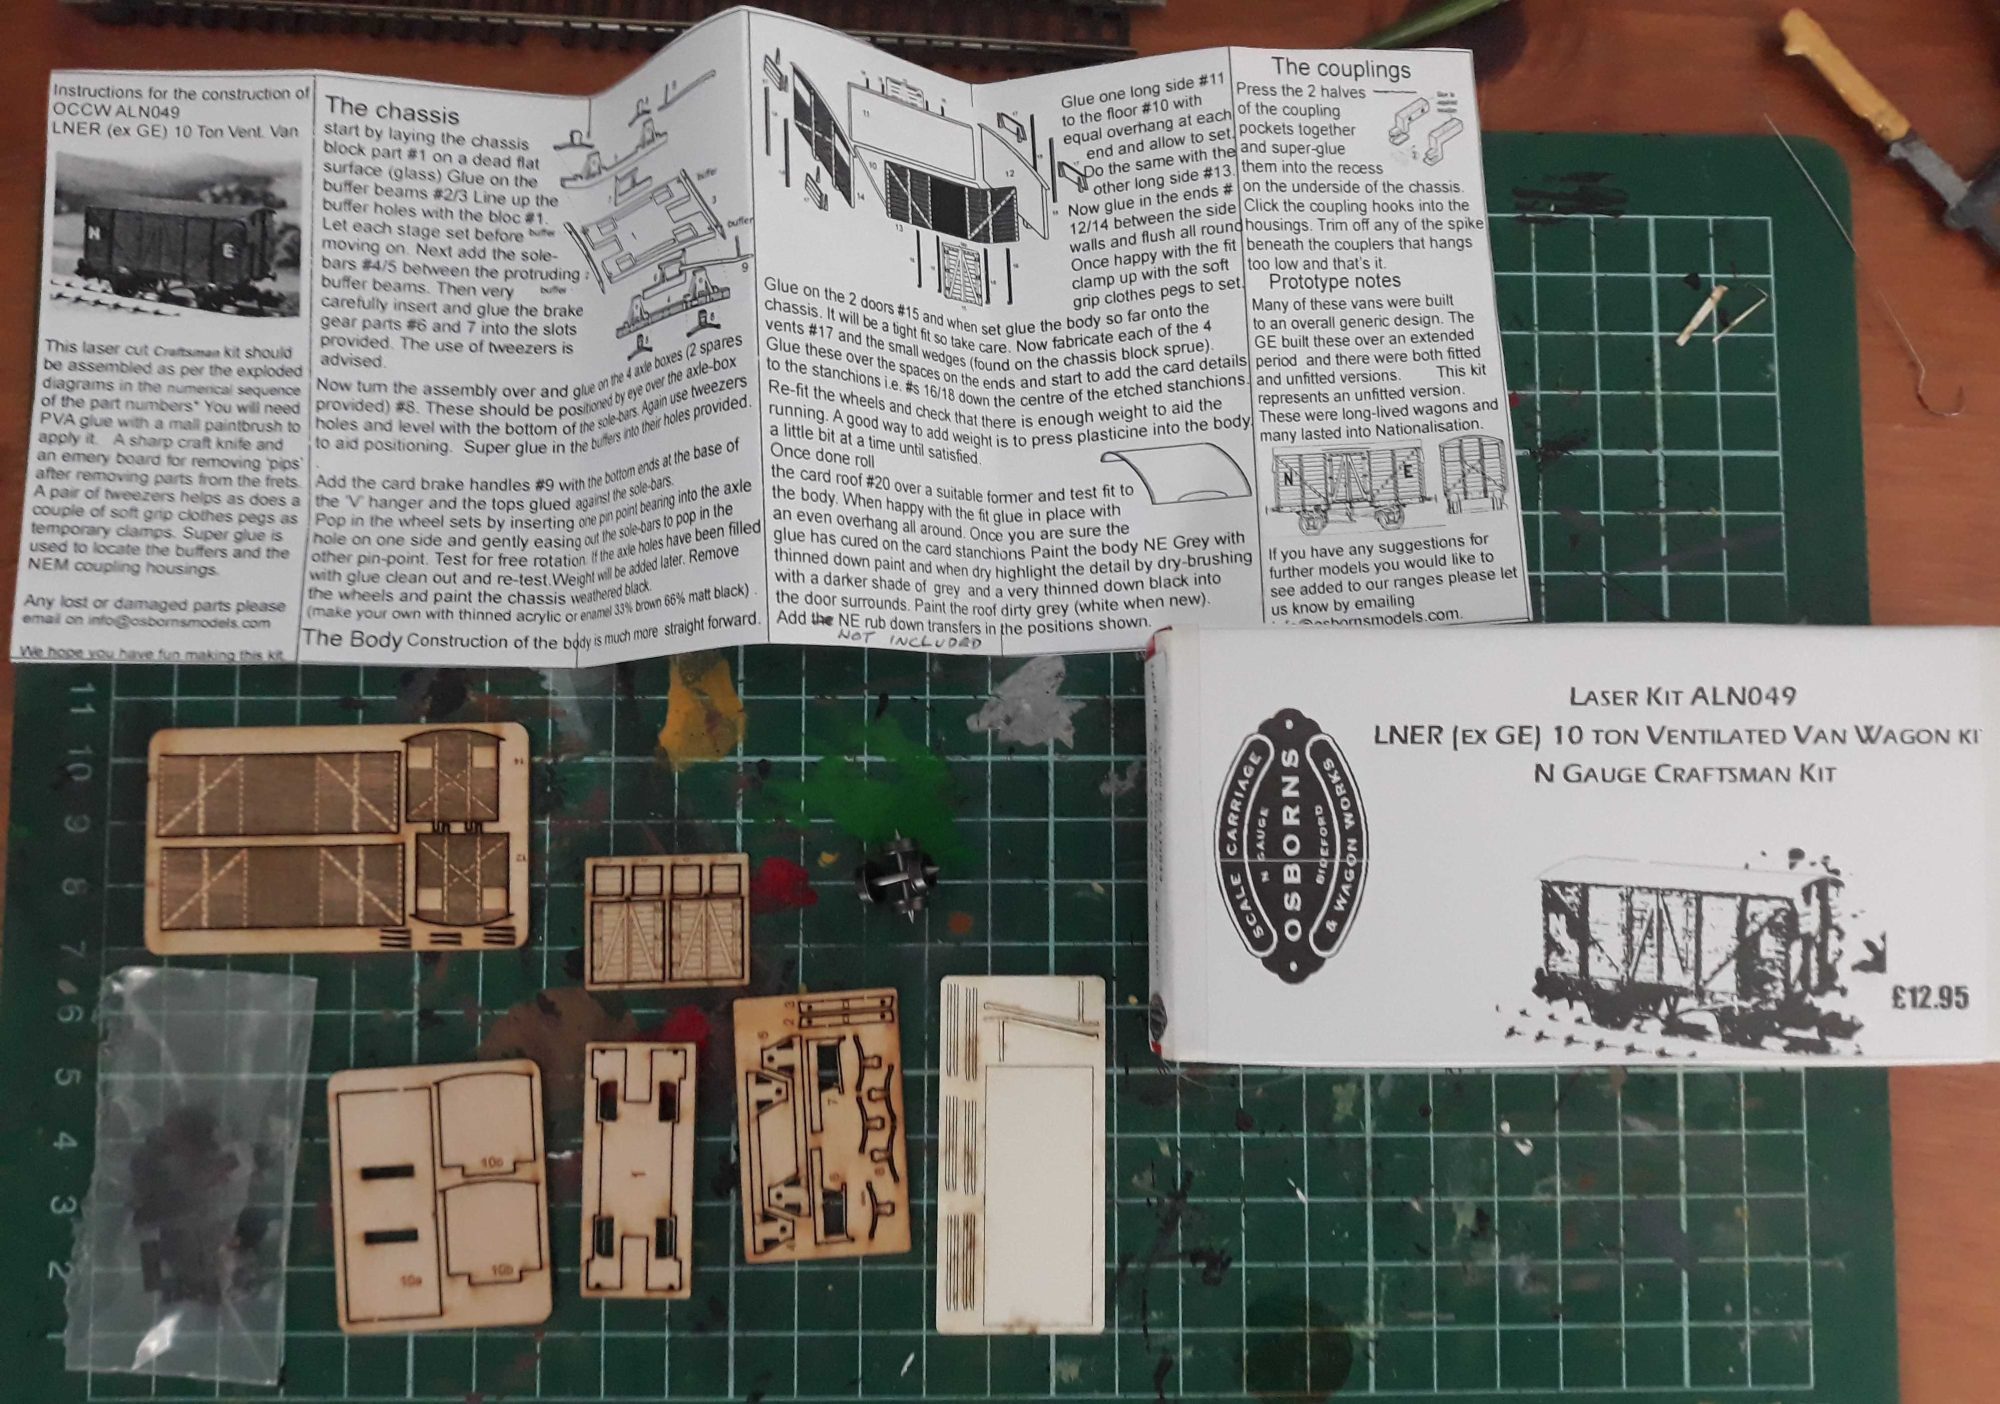
Next up are the Osbornes kits, which I think Ill do as separate posts.

Stu
On Instagram: woodbourne_modelrailway.
03piggs
NBR J36 0-6-0
Posts: 112
Joined: Fri Jul 30, 2021 8:44 pm
Contact:

Re: Woodbourne; The Lea Valley(ish) in N Gauge

Post by 03piggs »

Hi everyone.

Sorry this has taken so long to add another update.

So here is the Osbornes Models LNER 10t Large Cattle Van. Here is what comes in the box..
Image
The Kit is laser cut wood with card roof & brake handles, brass buffers and plastic NEM couplings & wheels. Was looking forward to building this one, as it was my 1st attempt at laser cut wood.
First thing to do was to assemble the chassis, which was straightforward enough.
Image
The sides & buffer beams go on first, and then the brake gear, which is formed of 4 parts; a V hanger in the centre, a section of brake cranks and brake shoes on each side, and then a individual brake shoe for the outside of each wheel. I assembled them as per the instructions, which shows the V hangers to be both the same way on each side, but after assembly, I found they should be opposite to each other as otherwise one side would of had a longer brake handle.
Image
The axle box covers were a little fiddly to put on but are worth the effort. These will need a wee scrape out behind as some of the glue will get in the hole for the axle.

The finished chassis with floor & vac pipes added. The vac pipes are a little thick and square, but could always be replaced by plastic or white-metal parts. I swapped out the plastic Peco wheels for Farish 3-hole disk metal wheels.
Image
I was happy with the chassis as this when together well. The only issue I had was that the card brake handles broke when I tried to remove them from their frets, so these weren't fitted.

Moving on to the body of the Wagon. This also went together well, with 1 minor issue. The ends of the wagon have 2 reenforcing bars/straps which are the full thickness of the end, which also sit on the front of the buffer beam. When I tried to get the ends to sit square with the sides, these parts got in the way of the buffer beam and prevented a square fit. I only solved this by fileling about half of the thickness off of these parts to allow a sung fit on the buffer beam.
Image
Final step was to add the card roof, and brass buffers, then the wagon is complete. I added a strip of lead inside just to add a small bit of weight.
Image
I enjoyed this kit a lot more than I thought I was going to. I thought it was a well thought out kit, and will be building it again in the future.
I would give it a good 8/10. Most of the kit works well, but a couple of niggles that could improved on.

Next will be the GER Van kit.

Stu

Ps- Hope this made some sense. Also sorry for the fuzzy photos. Rushed through taking them but will learn for next time.
On Instagram: woodbourne_modelrailway.
03piggs
NBR J36 0-6-0
Posts: 112
Joined: Fri Jul 30, 2021 8:44 pm
Contact:

Re: Woodbourne; The Lea Valley(ish) in N Gauge

Post by 03piggs »

Hi all!

Another post thats taken me ages to put up, even though the work has been done for months... :roll:

So this time its the Osbornes GER 10t Vent Van Kit. Full contents is below..
Image
This is in the same format as the LNER Cattle Wagon, with Laser Cut wood for the chassis & body; card roof & brake handles, brass buffers; plastic NEM couplings & wheels.
I again started with the Chassis and this was very straight forward, I even managed to get the brake handles on this time without any damage. (Sorry I forgot to take pictures)
After adding the floor, I started on the body..which is where things started to go downhill. Attached to the floor are 2 supports for both the roof & the sides (They look like undetailed ends) These sit in the floor via a slot. So these were glued in place and then the 1st side attached...
Image
Hopefully you can see in the above picture the result. These supports were slightly too tall. They need to have had removed from them the thickness of the floor piece, and they would have fitted perfectly. (If that made any sense) The next picture is my remedy to this problem.
Image
These were cut in half, with the top half used to help hold the sides in. You can also see here a problem i would encounter later, that the floor is too small. So when I tried to attach the ends, They had nothing to attach to except the sides..that kept springing away at the ends. :thumbsdown:
Speaking of the ends, these needed to have the vents added, which were a sub-assembly of 3 parts-2 of them being small wedge-shaped pieces that were very fiddly.
Image
So after fighting to get these ends to stay attached to the sides of the van (I ended up using an elastic band and flooding the joins with glue), I had to add some thin strips to the ends & sides to give relief detail to the strapping (to give it an inverted 't' shape). These were also fiddly to add.. >:( I also had to trim the bottom part off of the ends due to them not lining up with the buffer beams.
Image
Finally, it was to add the roof, although it ended up with some gaps between the sides. Buffers and the coupling pockets were also added and I swapped out the wheels for Farish spoked metal wheels.
Image
Overall, I would give this kit 3/10. I might of had a bit of a pain with it, but I might have another go again at some point. At least I know what to do for next time!

Next is the GER Cattle Van kit.

Stu

PS-I have emailed the problems that I had with these kits to Osbornes and they said they would look into the issues.
On Instagram: woodbourne_modelrailway.
03piggs
NBR J36 0-6-0
Posts: 112
Joined: Fri Jul 30, 2021 8:44 pm
Contact:

Re: Woodbourne; The Lea Valley(ish) in N Gauge

Post by 03piggs »

Hi all again! :wave:

Haven't posted in ages and then twice in 2 days! :shock: Just trying to clear a backlog of posts I should of put up ages ago! :doh:

So the next kit was Osbornes GER Cattle Wagon. This is a kit I had some help in getting produced as I was asked if there were any gaps that they could fill when I produced my 2nd edition of my digital booklet on Modelling the GE in N. (Shameless Plug :D) So I've been really looking forward to building this kit.
Image
Here is what you get in the kit. Laser cut body & chassis; Laser cut card roof, brake handles & solebar overlay; Brass buffers, and Plastic NEM couplings & wheels. I again swapped out the wheels for Farish ones, spoked this time. There are also some 'GE' & 'NE' stencils that can be used but are designed to overlay the sprue.

Again, started with the chassis. The main piece has slots cut into it, which the main solebar & axle 'W' irons to fit into and also the brake gear just slot into. This is similar to the GER Van.
Image
This was quite streight forward, and so was adding the axle box covers. I had a small issue with making the wheels spin freely, but this was solved by filing off a bit more of the point on the axle ends, and spinning a drill bit in the hole too. Final part was to add the solebar overlay, which I think looks great. I especially love the works plate being etched into the card. I also added the brake handles & floor after the photo.
Image
Next step was the body. This is formed of 8 pieces; the main body piece and a outside frame overlay. I attached the overlays and then started to build them around the floor. I started with one end, then added one side and the other end.
Image
The roof is supported by to strips that slot into each end above the external frame. These were then added. I also added some weight in the centre of the floor. This is a strip of lead with double sided sticky tape added to the back. I got these from the NGS, when they stocked non-society items but can remember who sells them. Does anybody know?
Image
All that was left to do was add the final side, and then the roof.
Image
Overall, I would rate this kit 9/10. I had one or two issues, but they were sorted relatively quickly. All the parts fitted together like you would want them to, and was completely the opposite to the GER Vent Van.
I would build this again, but Tatlow indicates that around 50 odd made it into BR service, which is my era. This is also a unbraked van, as these would of had their vacuum brakes removed by the time of BR. Interestingly, the GERS journal does mention BR gray as conjecture, so 1 or 2 may have had a repaint.

Next will be a Brass kit of a GCR Fish Van from BH Enterprises.

Stu
On Instagram: woodbourne_modelrailway.
03piggs
NBR J36 0-6-0
Posts: 112
Joined: Fri Jul 30, 2021 8:44 pm
Contact:

Re: Woodbourne; The Lea Valley(ish) in N Gauge

Post by 03piggs »

hi all

Finally reaching the end of these posts that I should of put up ages ago. :)

This kit that I built was the BH Enterprises LNER Fish Van. I bought this kit, as I wanted a simple kit to get used to Brass, as I've never used it before. Also because I have a Ultima Thompson BZ to build!
Image
This is what you get in the kit. One sheet of Brass, with all the etches on and simple instructions, with a exploded diagram to help construction. Only additional parts were the turned brass buffers. The kit doesn't come with a chassis, but requires a Peco 10ft wooden chassis. This does required some modification.

So I started with the chassis. This was under a Peco 'Warburton's' GWR Van, and was spare after replacing it with a 9ft steel chassis. All the chassis needs is to have the buffers removed and then to glue the inserts that hold the couplings in.
Image
This was done fairly quickly, and was finished of by adding some Farish spoked wheels.

Now to turn attention to the Body. This is a single etch, with both sides and the floor. These were simply bent into position, as well as the roof tabs. The ends were then added to these to form a 'box'. I used Superglue for all the Brass construction, as I'm too scared to try soldering it! :uneasy: (This post is not sponsored by Locktight)
Image
Once you have the basic box, you can then add the overlays. These were outside framed vans, so the side overlay has the etch for the door, as well as the etch for the framing. The Ends just have a overlay of the framing.
Image
Final etch to add is the overlay with the door framing as well as the door runners.
Image
Now all that is left to do is to bend and attach the roof and then attach the chassis, which should just slot between the 2 etched buffer beams. Once this is done, the buffers can be fixed in place, though the chassis will need some holes drilled in to accommodate this.
Image
Now all ready to be primed and painted!

I would rate this kit 9/10. Very simple to build, and you get a very pleasing result at the end. The use of a Peco chassis ensures it will run well, and the brass body means it has plenty of weight! The only criticism I would give it are that the instructions are just for the general building and don't give any real info on the prototype, such as if the van was vacuum braked (They were btw).
As I have since found out, this represents not an LNER built Fish van, but really a GCR diagram 62 Fish Van. Tatlow shows that only 12 lasted till nationalization, and probably didn't last very long. So this is going to get a LNER livery thats faded and a patch painted BR number on the ends.

Next up, I'll start describing the construction of the BZ, mentioned earlier.

Stu
On Instagram: woodbourne_modelrailway.
User avatar
kimballthurlow
GCR D11 4-4-0 'Improved Director'
Posts: 433
Joined: Wed Apr 29, 2009 10:58 am
Location: Brisbane, Australia
Contact:

Re: Woodbourne; The Lea Valley(ish) in N Gauge

Post by kimballthurlow »

Thank you Stu for an interesting description for N gauge builds.
I like your approach and could have been encouraged to build the GCR fish van if available in OO.
There is a picture of that wagon in Great Central Album by George Dow on page 113.

Kimball
03piggs
NBR J36 0-6-0
Posts: 112
Joined: Fri Jul 30, 2021 8:44 pm
Contact:

Re: Woodbourne; The Lea Valley(ish) in N Gauge

Post by 03piggs »

Hi All!

Sorry for the lack of posts.
I was planning to show the finished Thompson BZ, but I had a few issues with it. I hope to put up what I have done so far, so look out for that when I get a chance to put it up.

Good news for you all is that I will soon be able to put up some proper construction updates as we are in the process of moving from South London to the Lea Valley. I will have the use of the 2nd bedroom, although I need to make the layout more like modules, as they will need to be taken down when we have guests.

I have worked out how the boards I have already will fit into the room, but will need some modification to the plan I had in my head. There will need to be 2 new scenic boards and some Fiddle Yard boards that will be narrow, possibly so I can use cassettes, but still not sure of this yet.

I will keep you all updated one here and I'm also thinking of documenting my progress on Youtube. I'll post the link to that, if I decide to do it.

Stu
On Instagram: woodbourne_modelrailway.
Post Reply