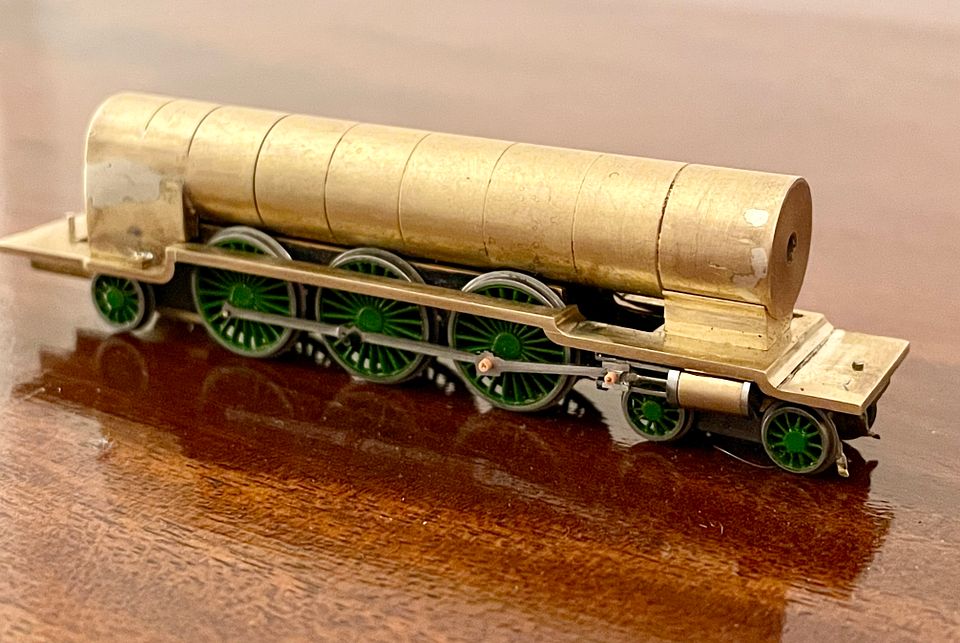
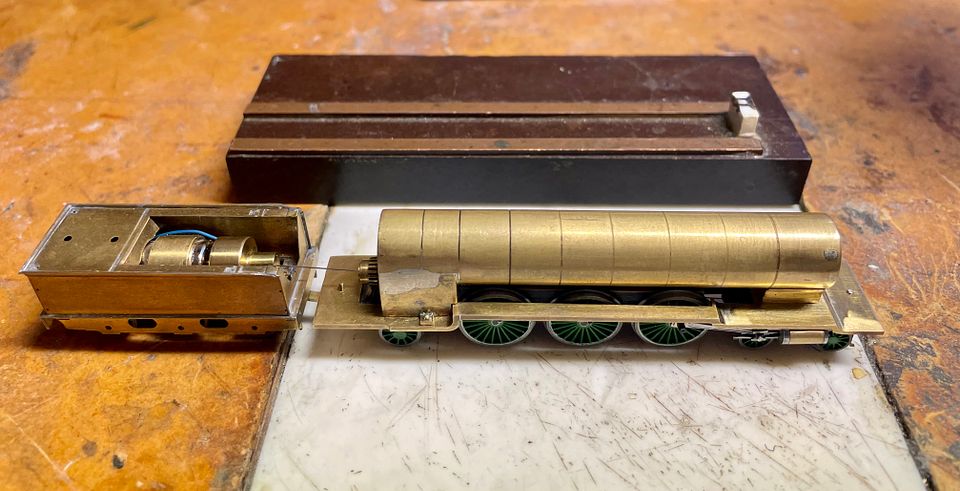
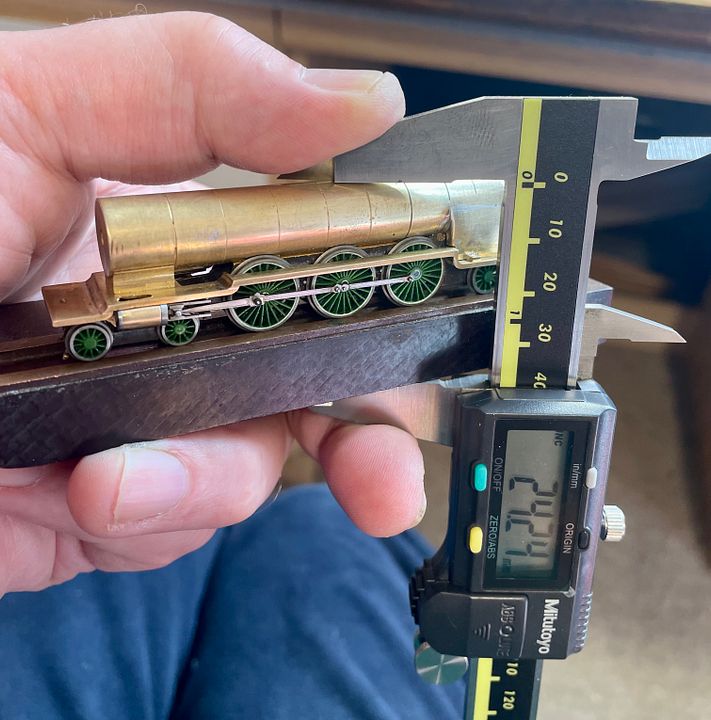
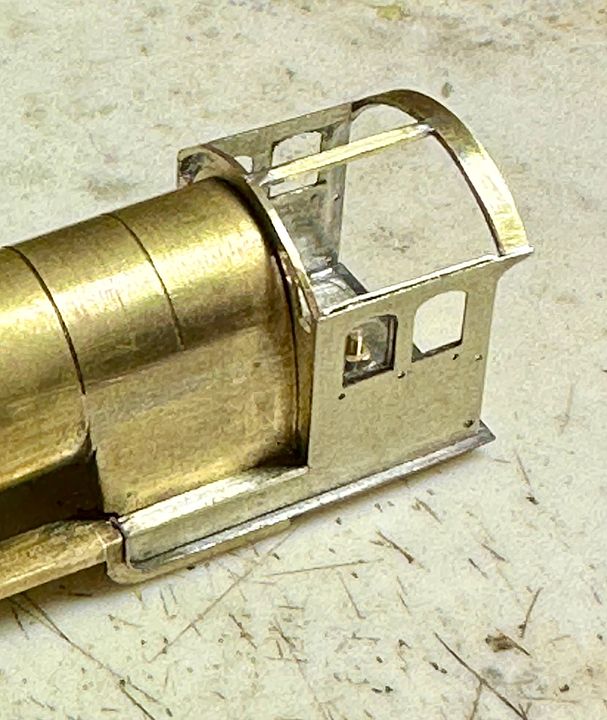
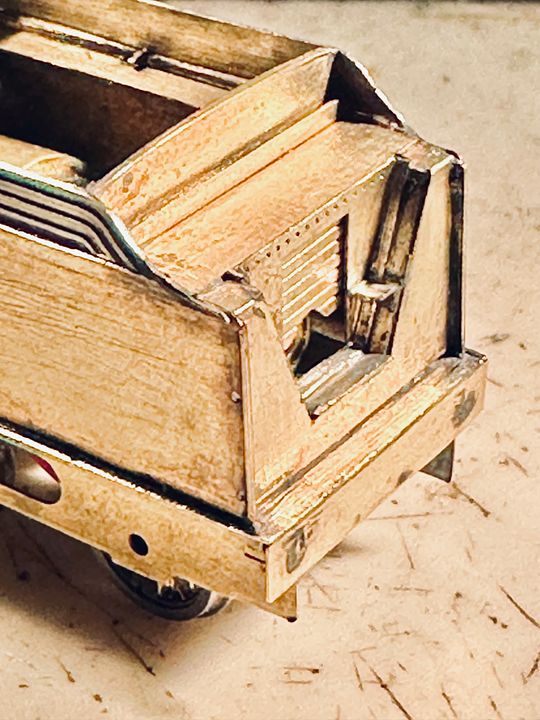
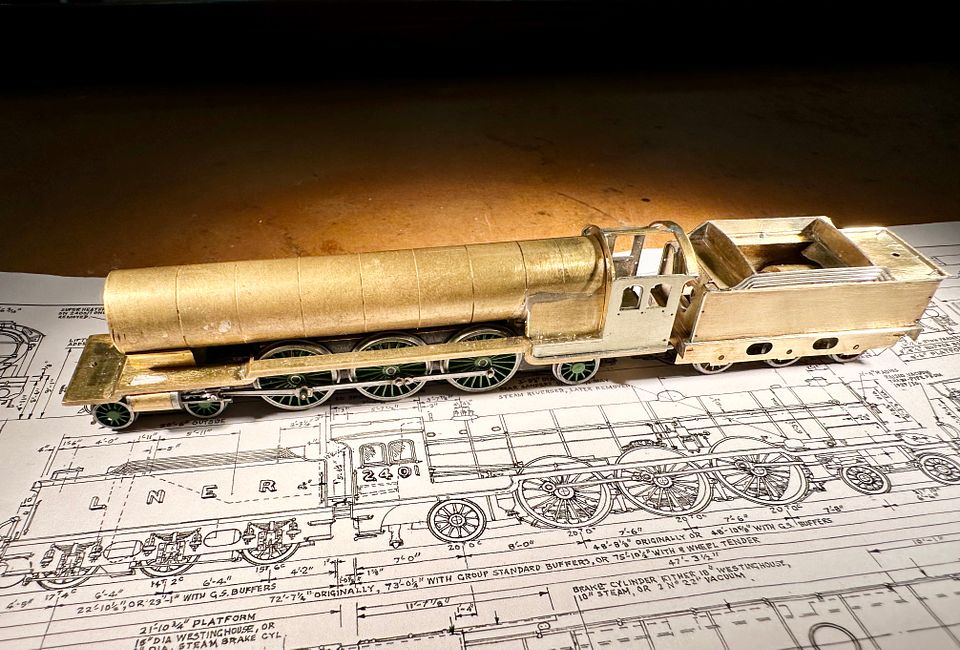
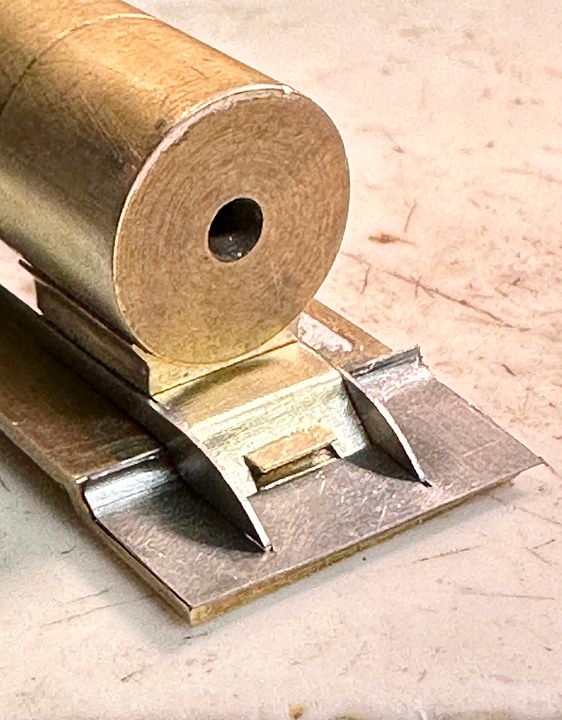
The Skittle Alley now has the beginning of an elegant front end with the frames, running plate, piano front and smokebox step made. The frames and piano front are removable, to aid painting and lining in the quite complex NER livery.
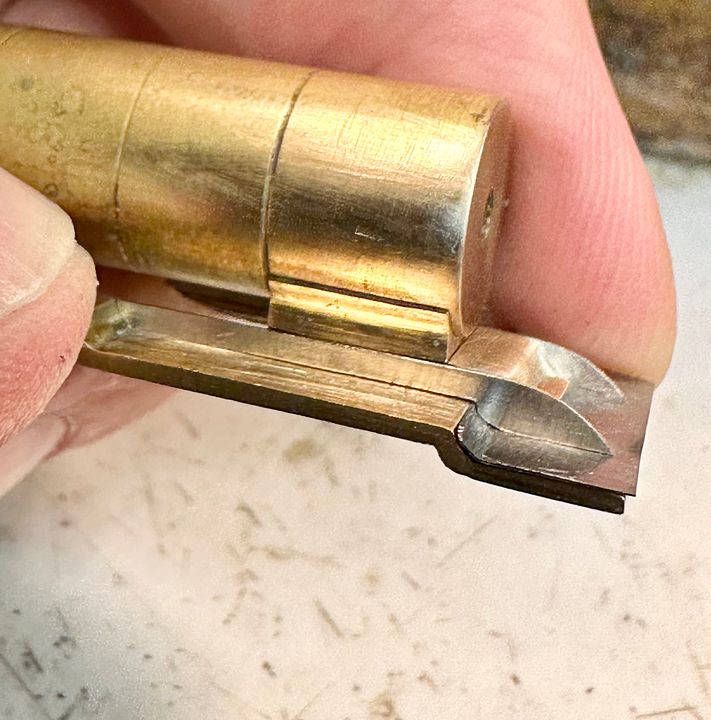
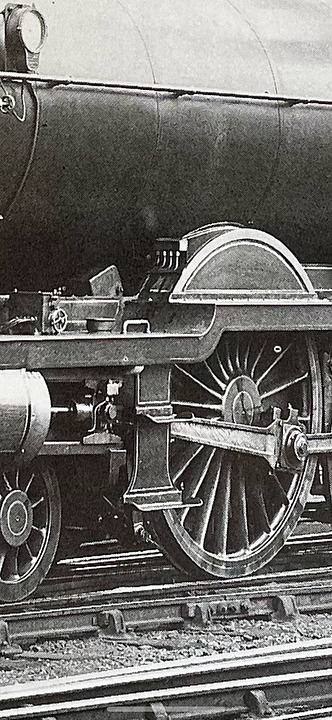
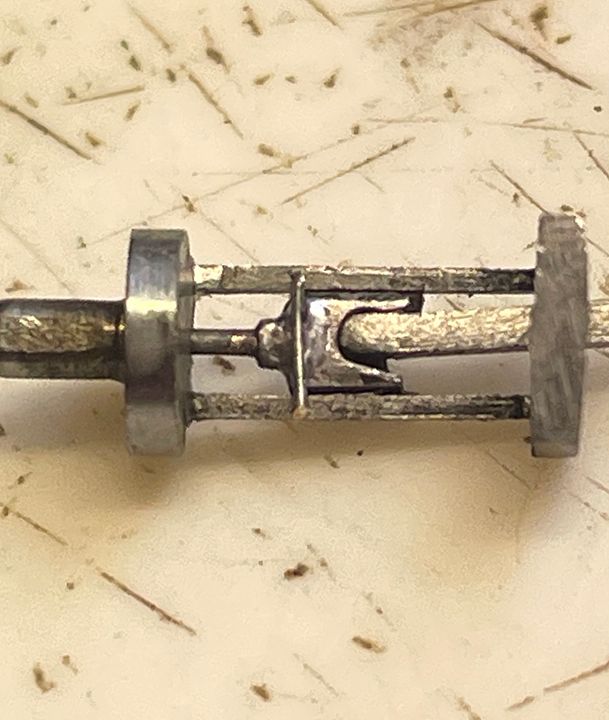
The prototype is very simple design, but has a tricky front step.
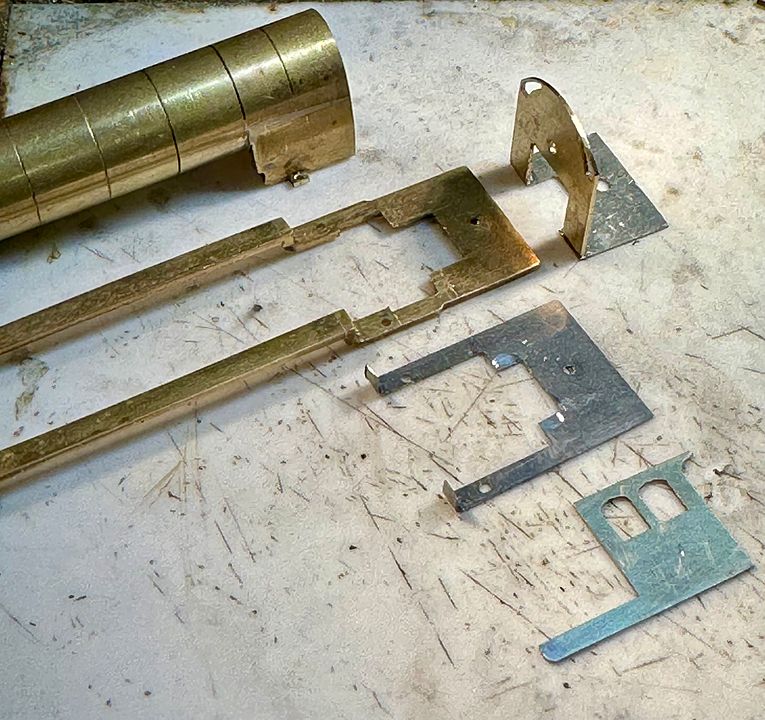
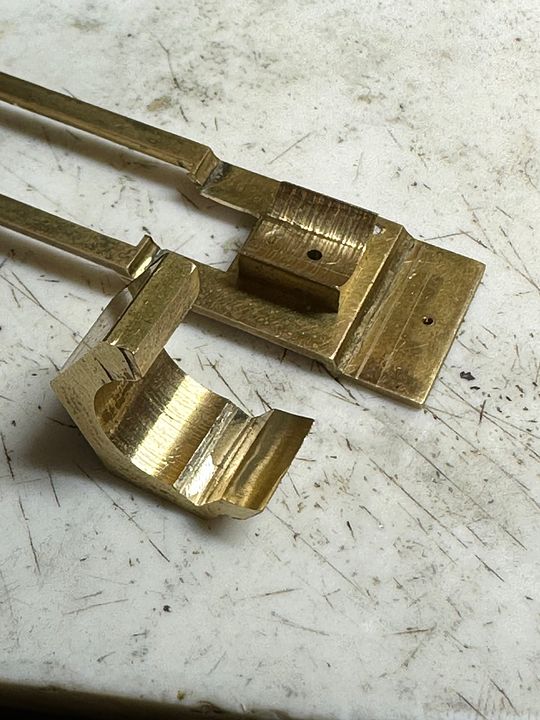
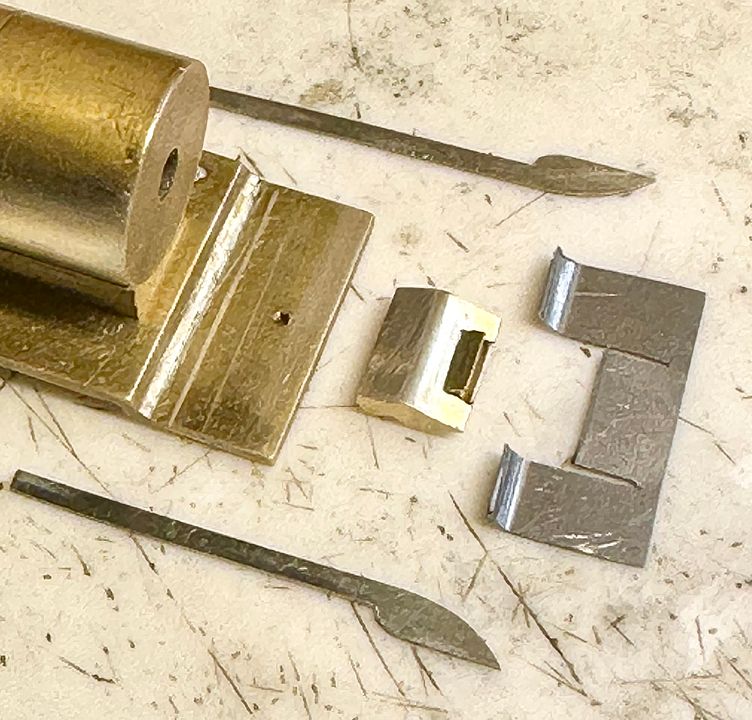
The piano front was milled from the same piece of brass used for the smokebox saddle.
The curved front was carved in using pink stones and a large abrasive rubber polishing point.
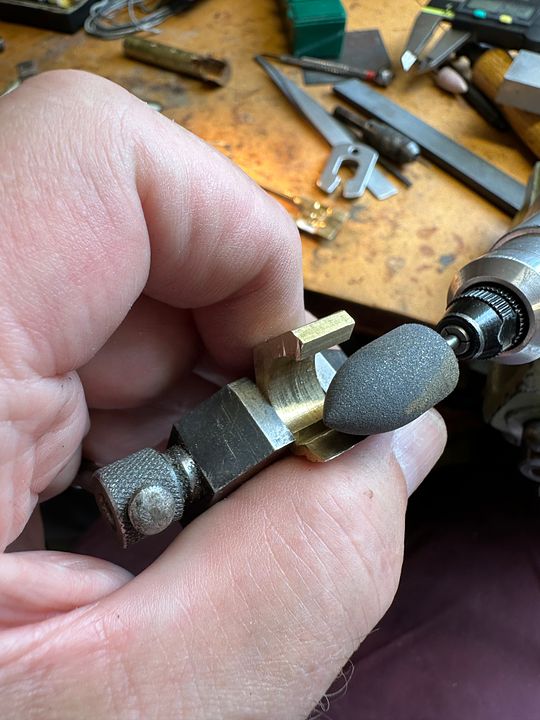
It was then cut off and rebated on the underside to fit the running plate.
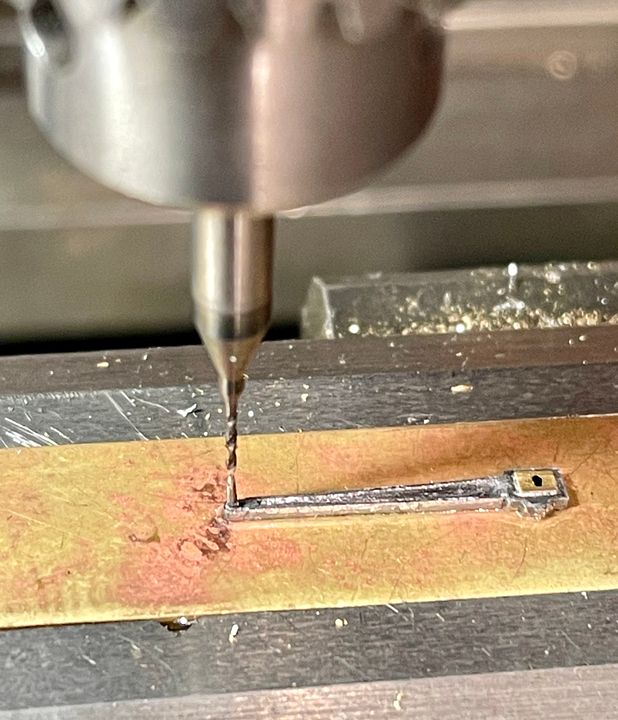
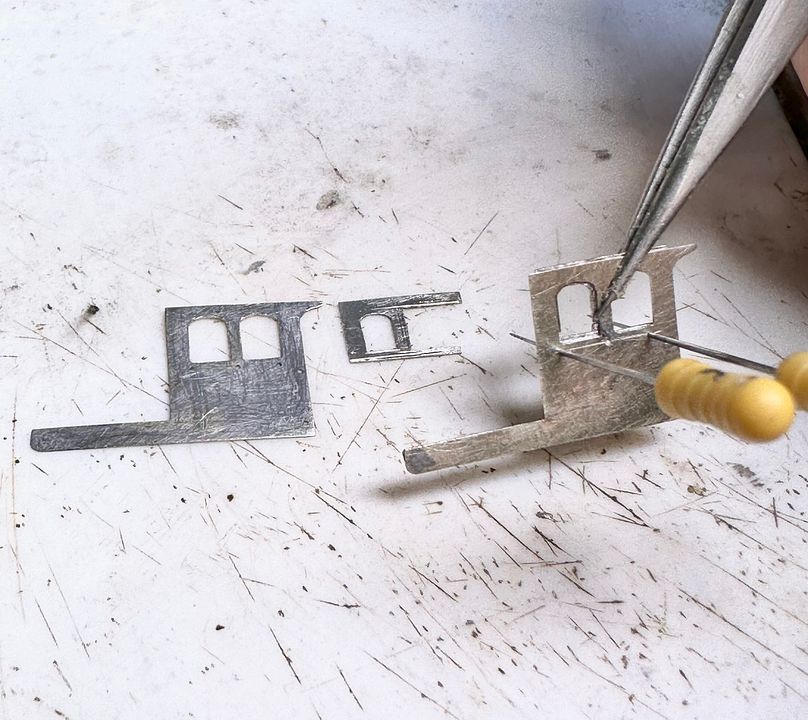
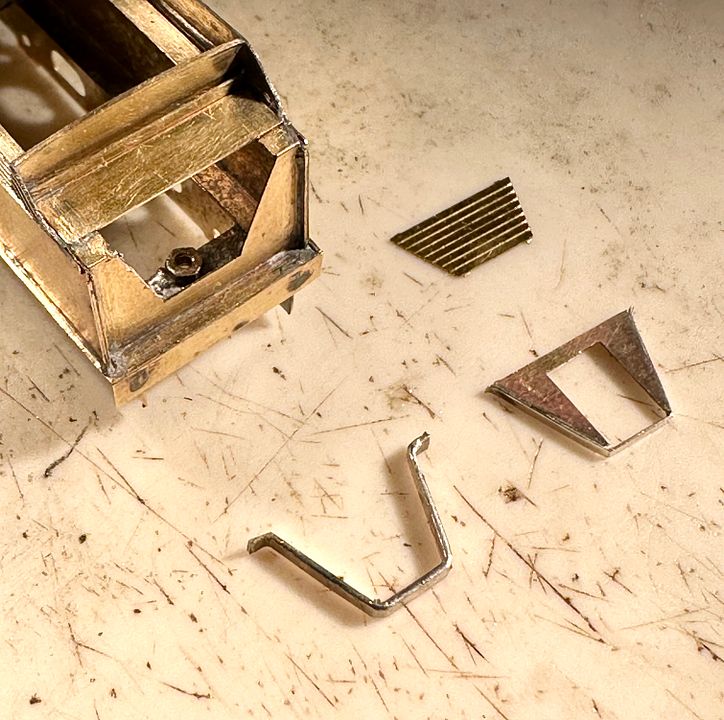
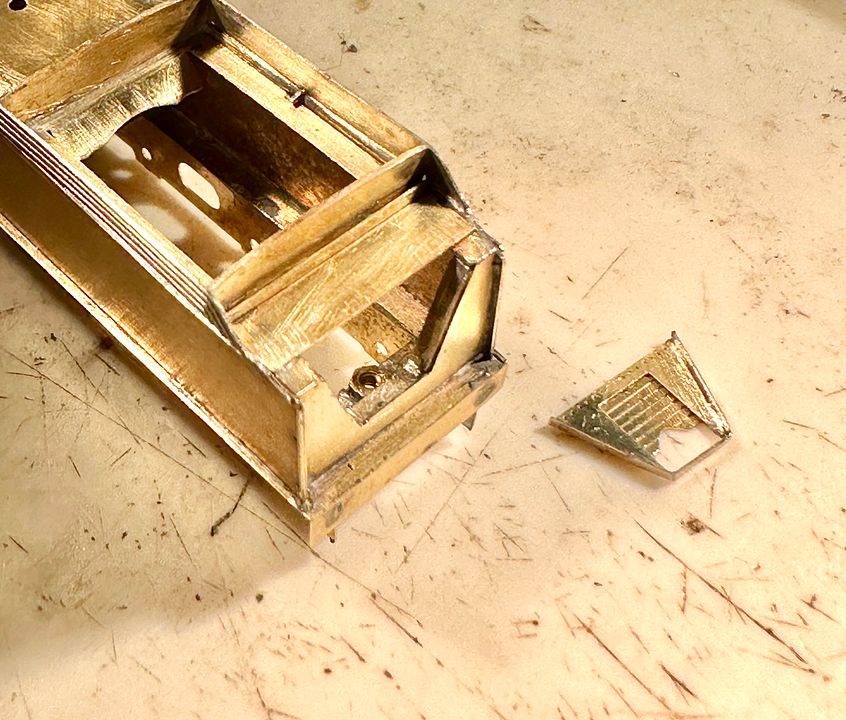
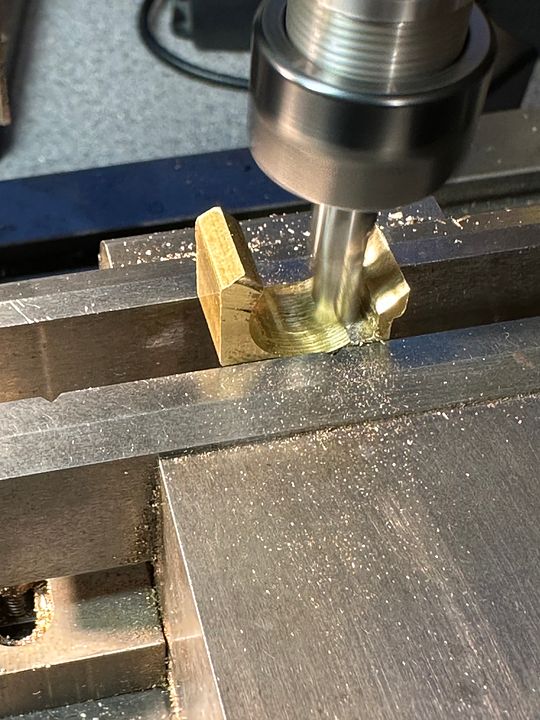
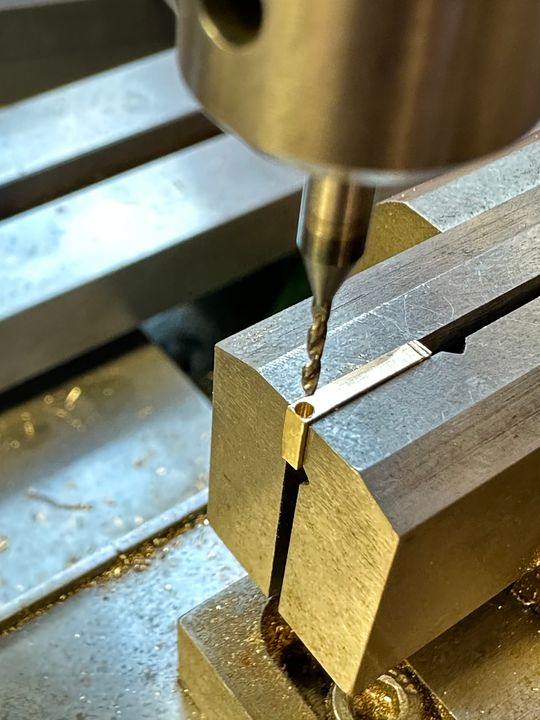
Meanwhile, the tricky little front step has a 6” diameter curved support and so this was made by drilling a 4mm-deep x 1mm diameter hole in some brass.
This was cut out, squared up and made to fit a recess cut into the piano front.

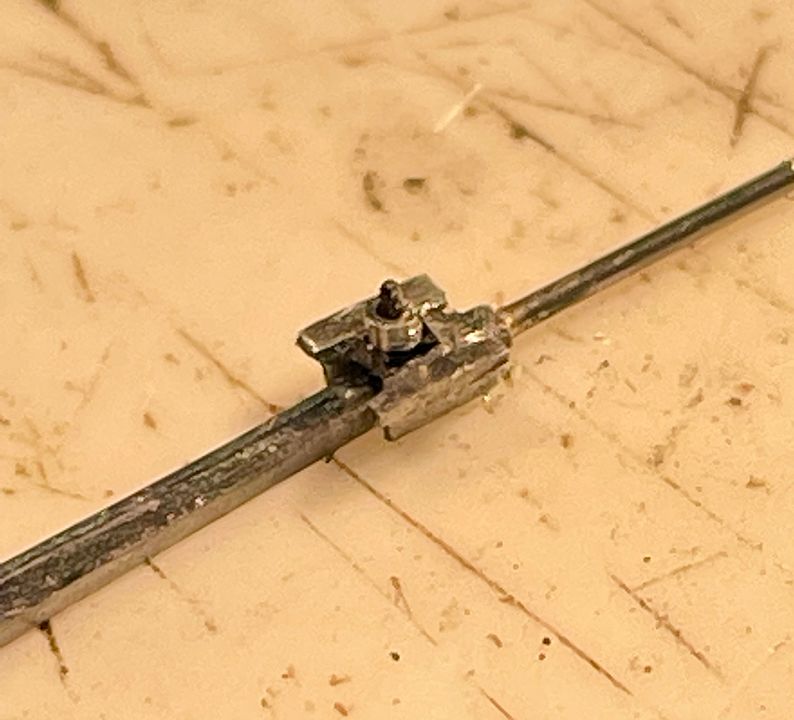
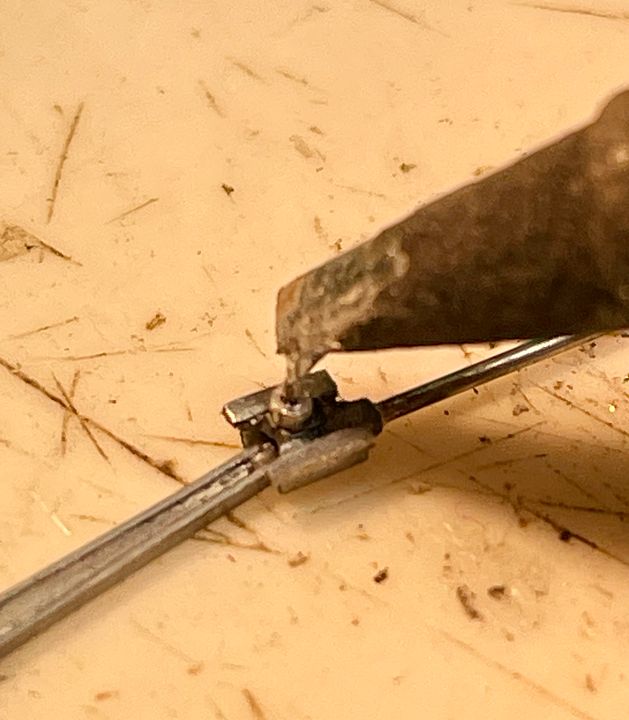
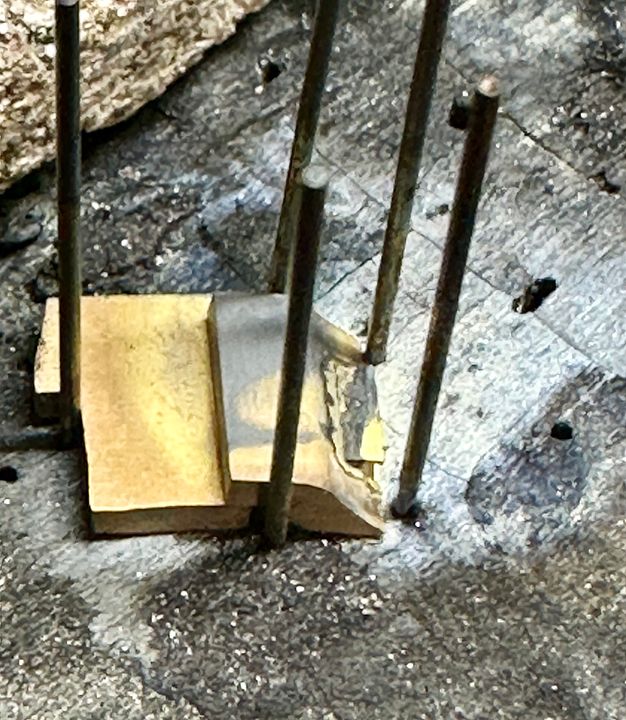
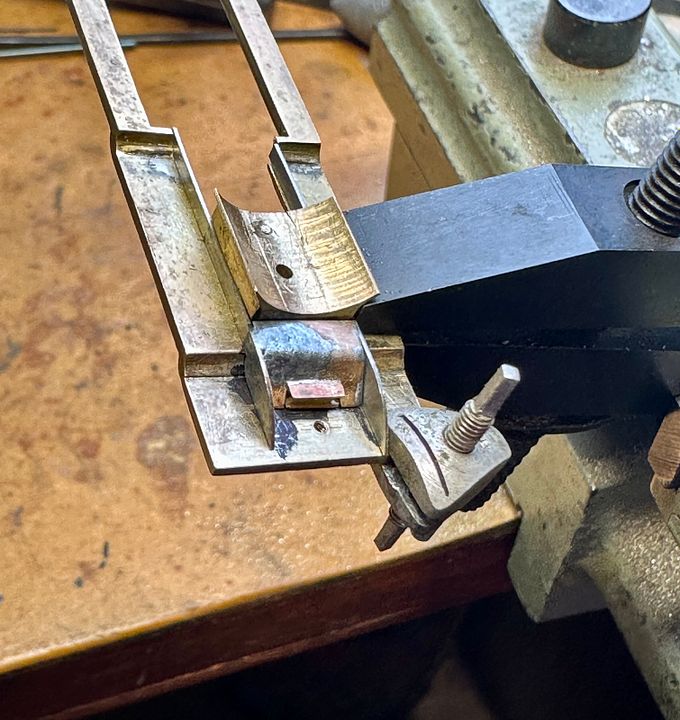
The two components were silver soldered together, taking care to heat up initially the large component from behind (silver solder saves problems with subsequent heating).
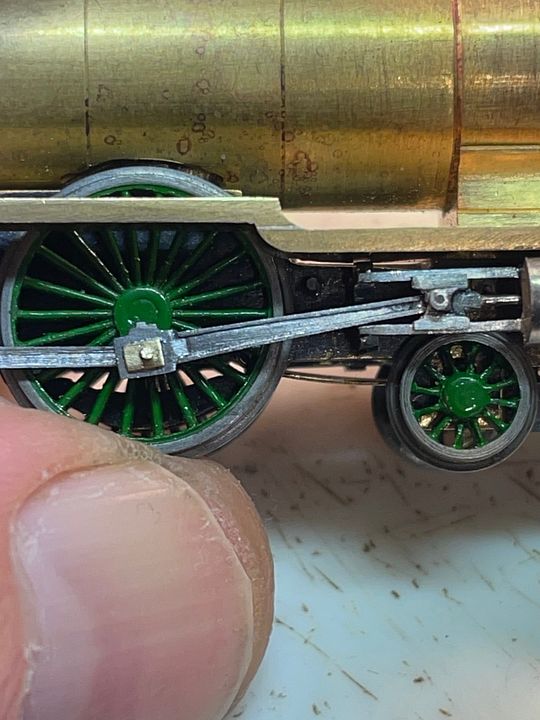
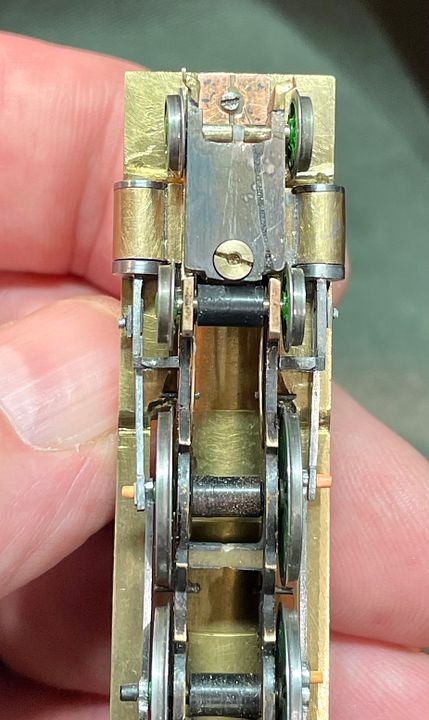
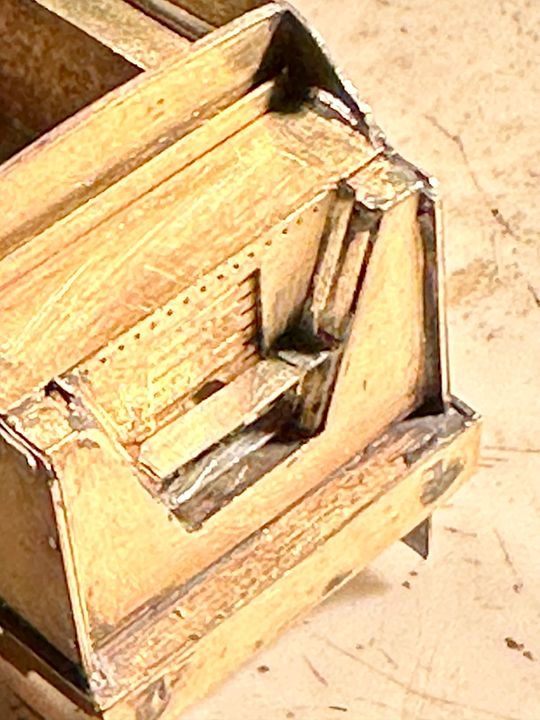
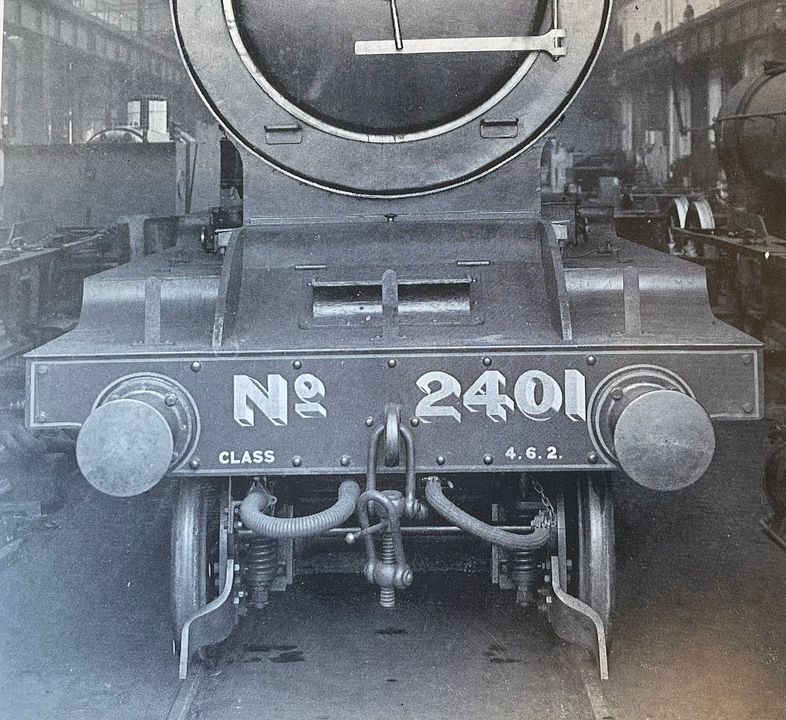
The frames were cut out from nickel silver, sweated together and then separated: there were no lifting holes in these engines when first built. The front running plate is a separate piece of steel. Why steel? It chemically black very well.
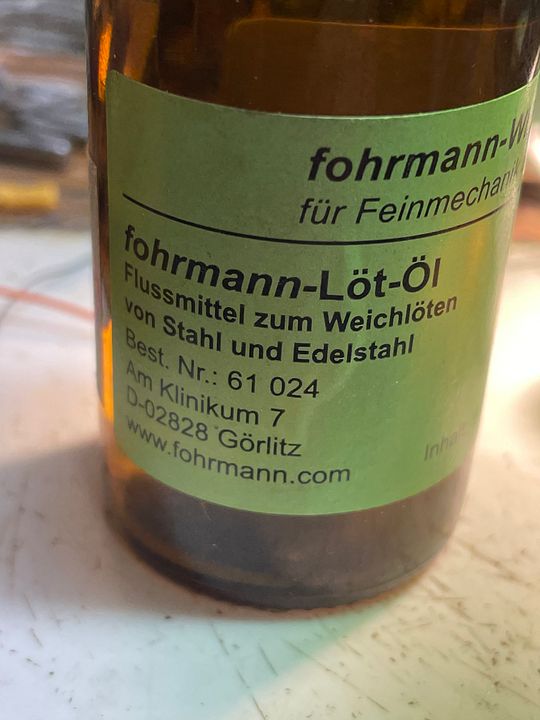
The assembly for holding everything in the correct place, whilst soft soldering the frames to the piano front, was quite tricky. The frames were pushed against the rebate previously formed in the smokebox saddle by means of a toolmakers clamp. The small front end clamp is an orthodontic device for expanding growing palates. Black marker pen anti-flux prevented bits being soldered where they shouldn’t, as can be seen. The sides to be joined were tinned and also the top of the piano box, so that the soldering iron tip had some solder to help transfer heat - a ‘dry’ iron is quite inefficient. With plenty of liquid flux and the iron cranked up to 450 deg C, the joint was soon made!
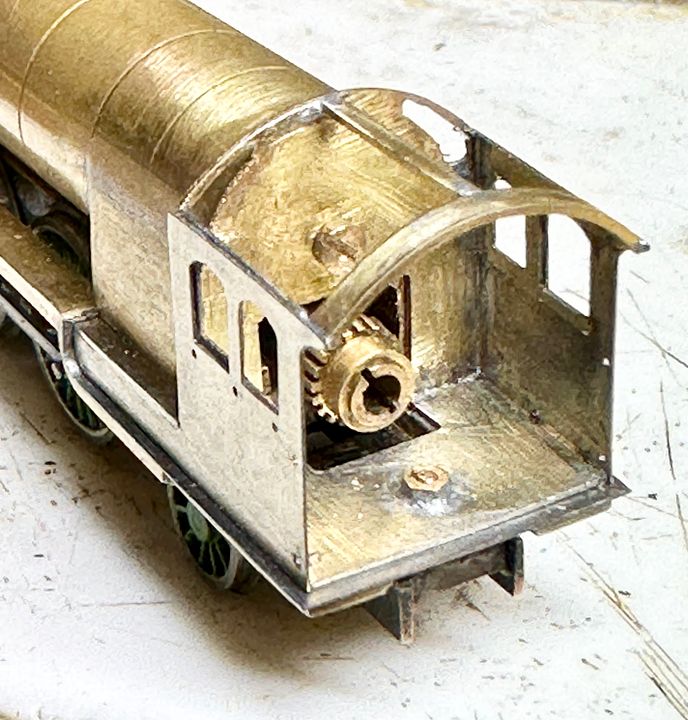
Painting and lining the frames will be a good deal easier with them dismountable.
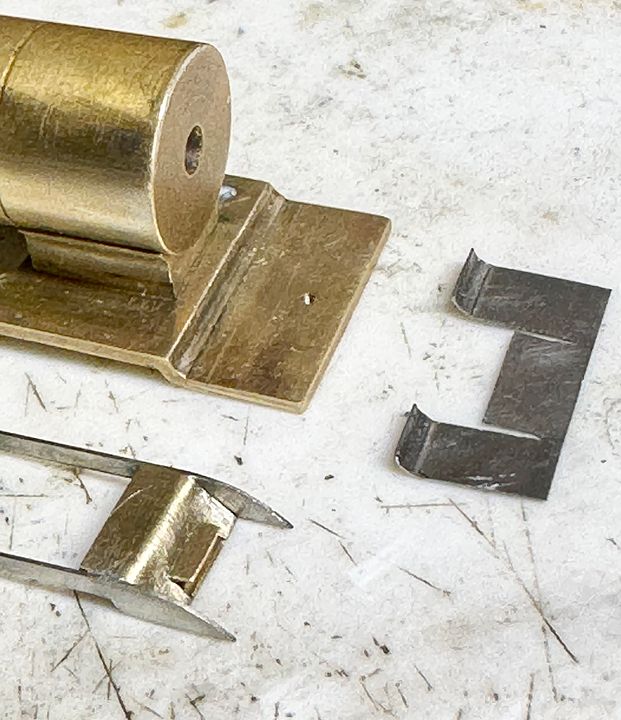
The separate running plate will eventually be soft soldered on to the brass base; previous use of silver soldering makes this all together more straightforward. The running plate is awaiting holes for the lamp irons.
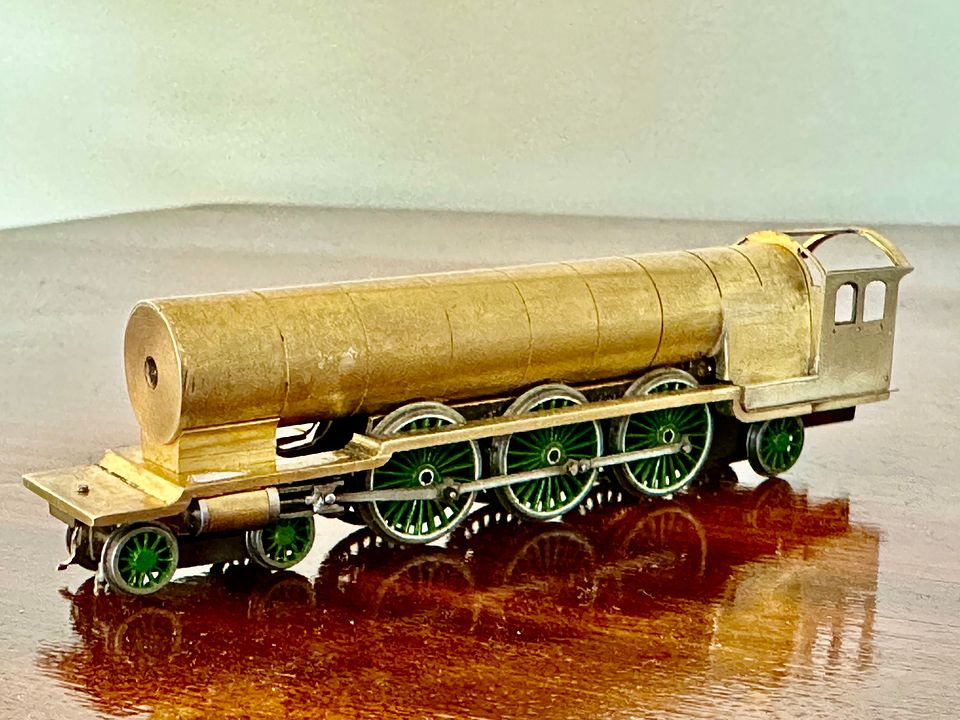
Quite a picture-heavy long post this one, but it starts to make the engine look a bit more elegant.
Tim