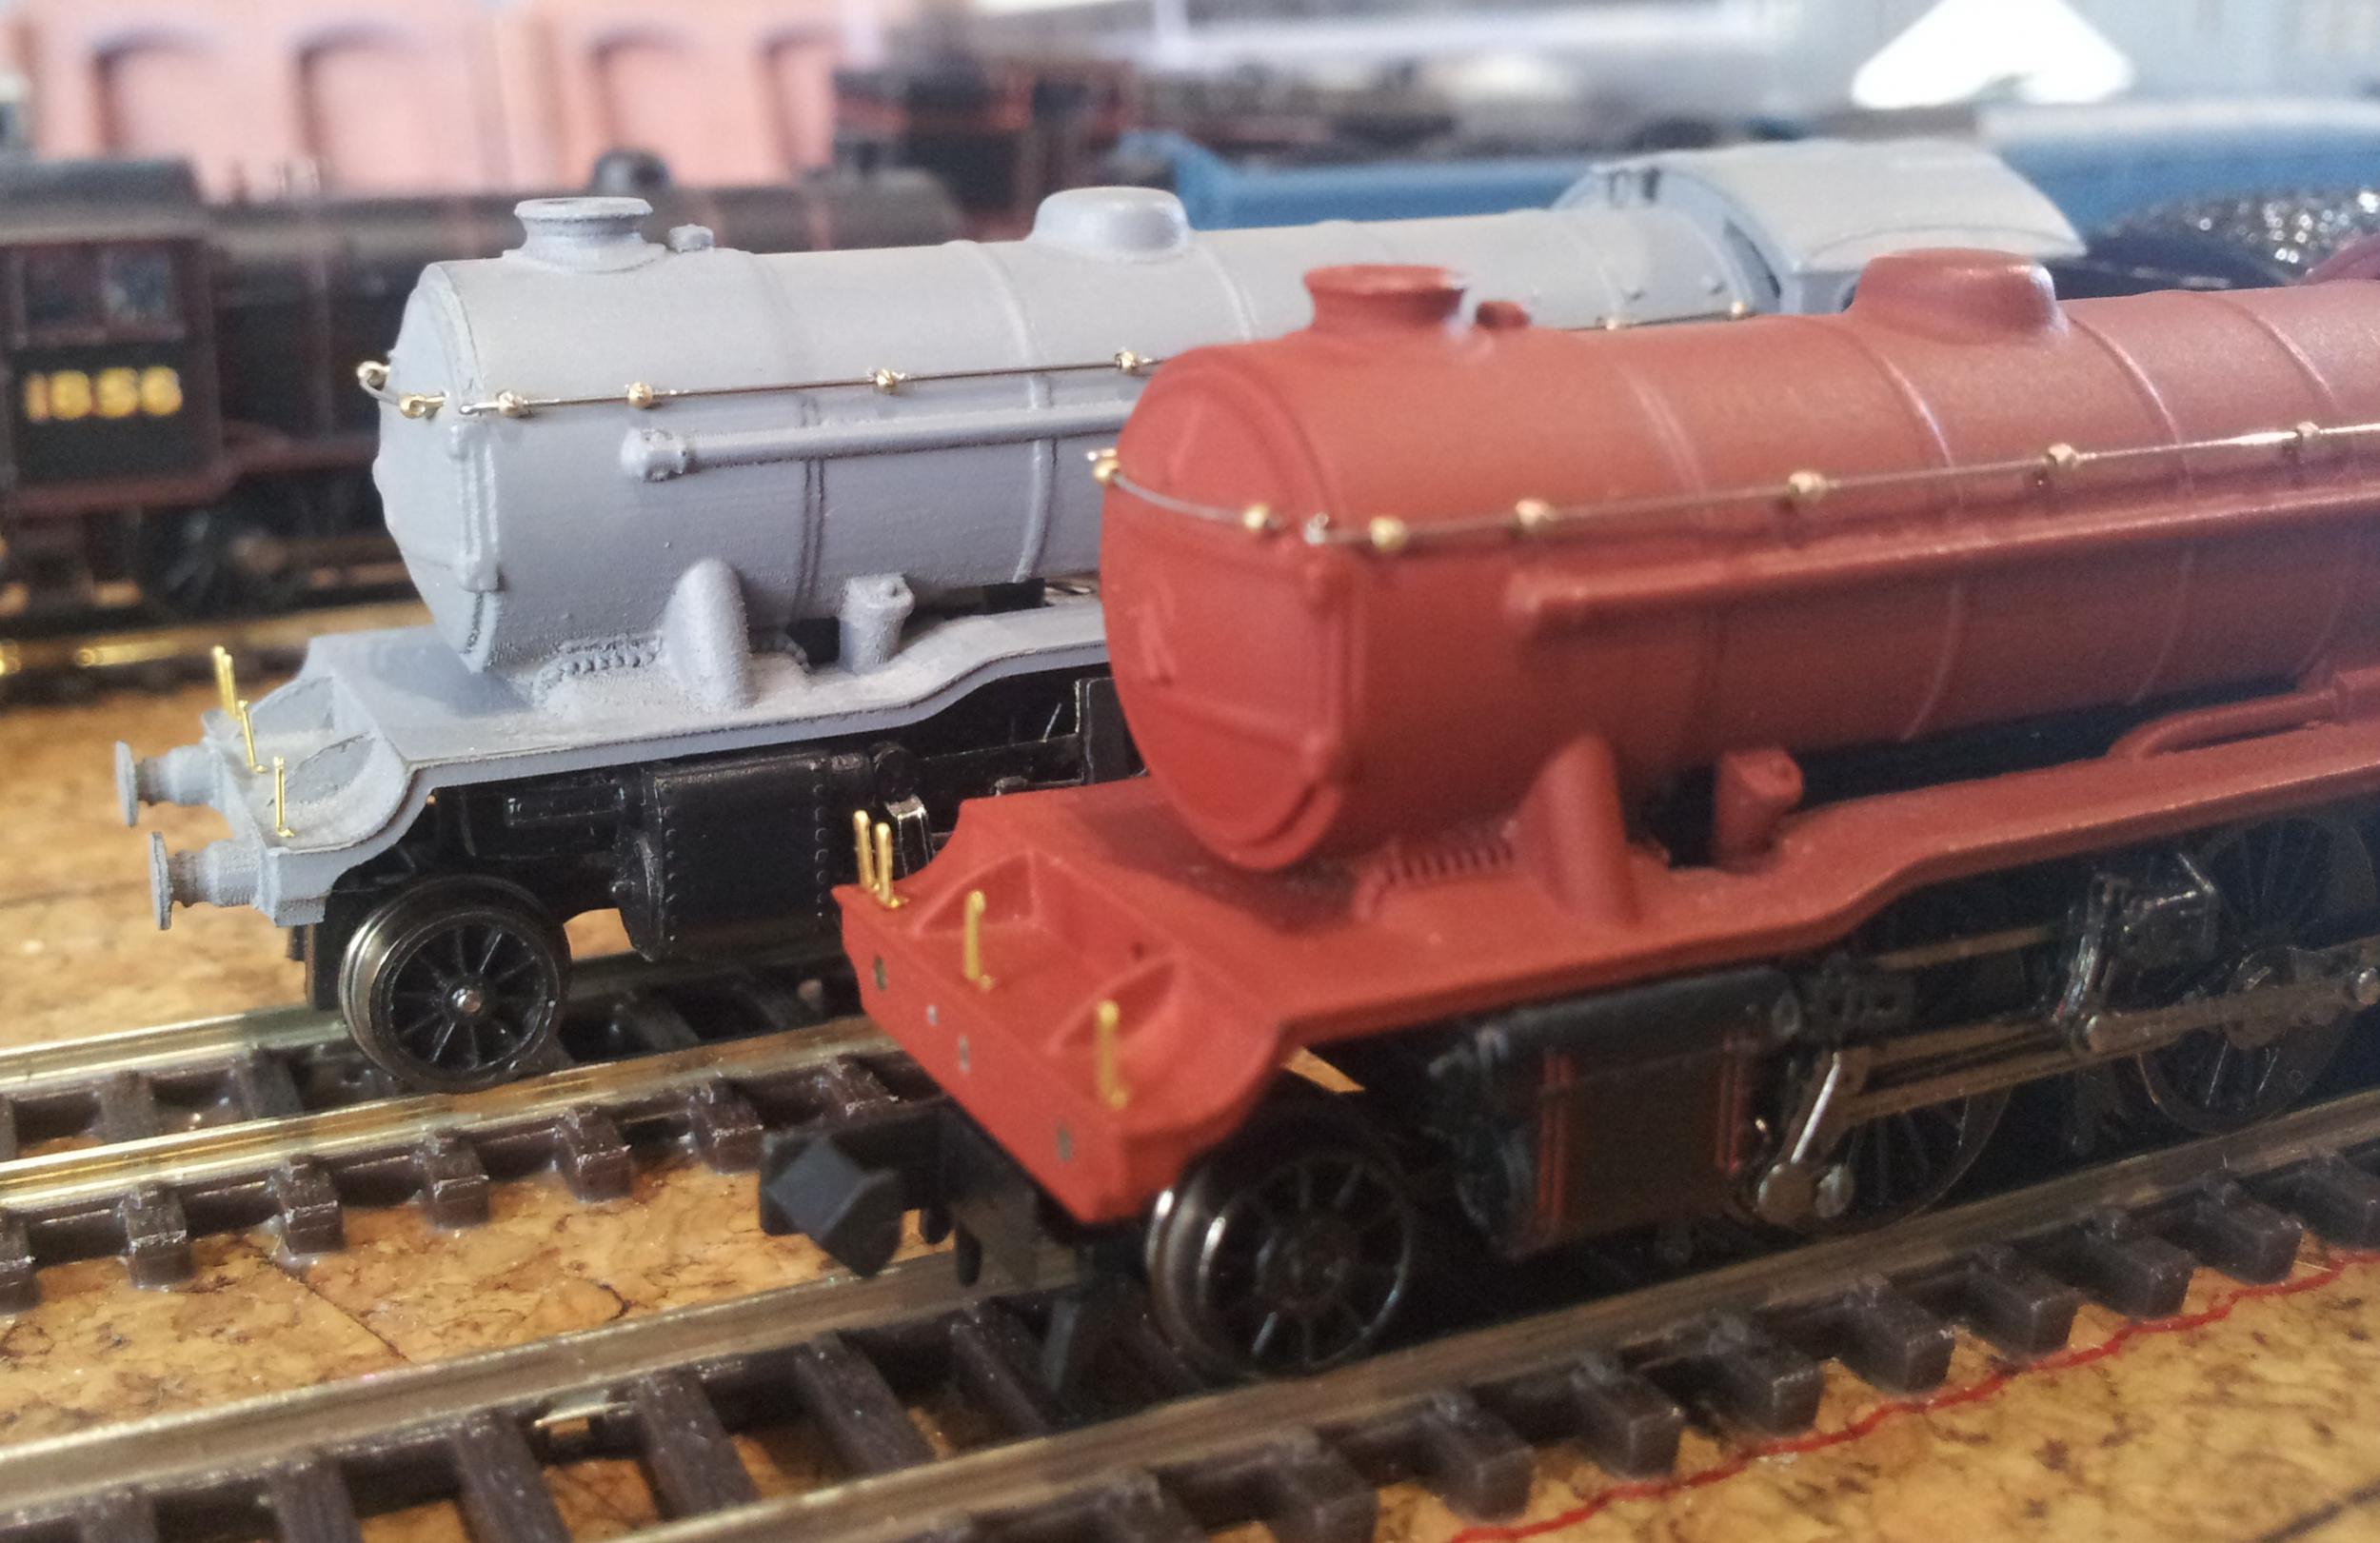
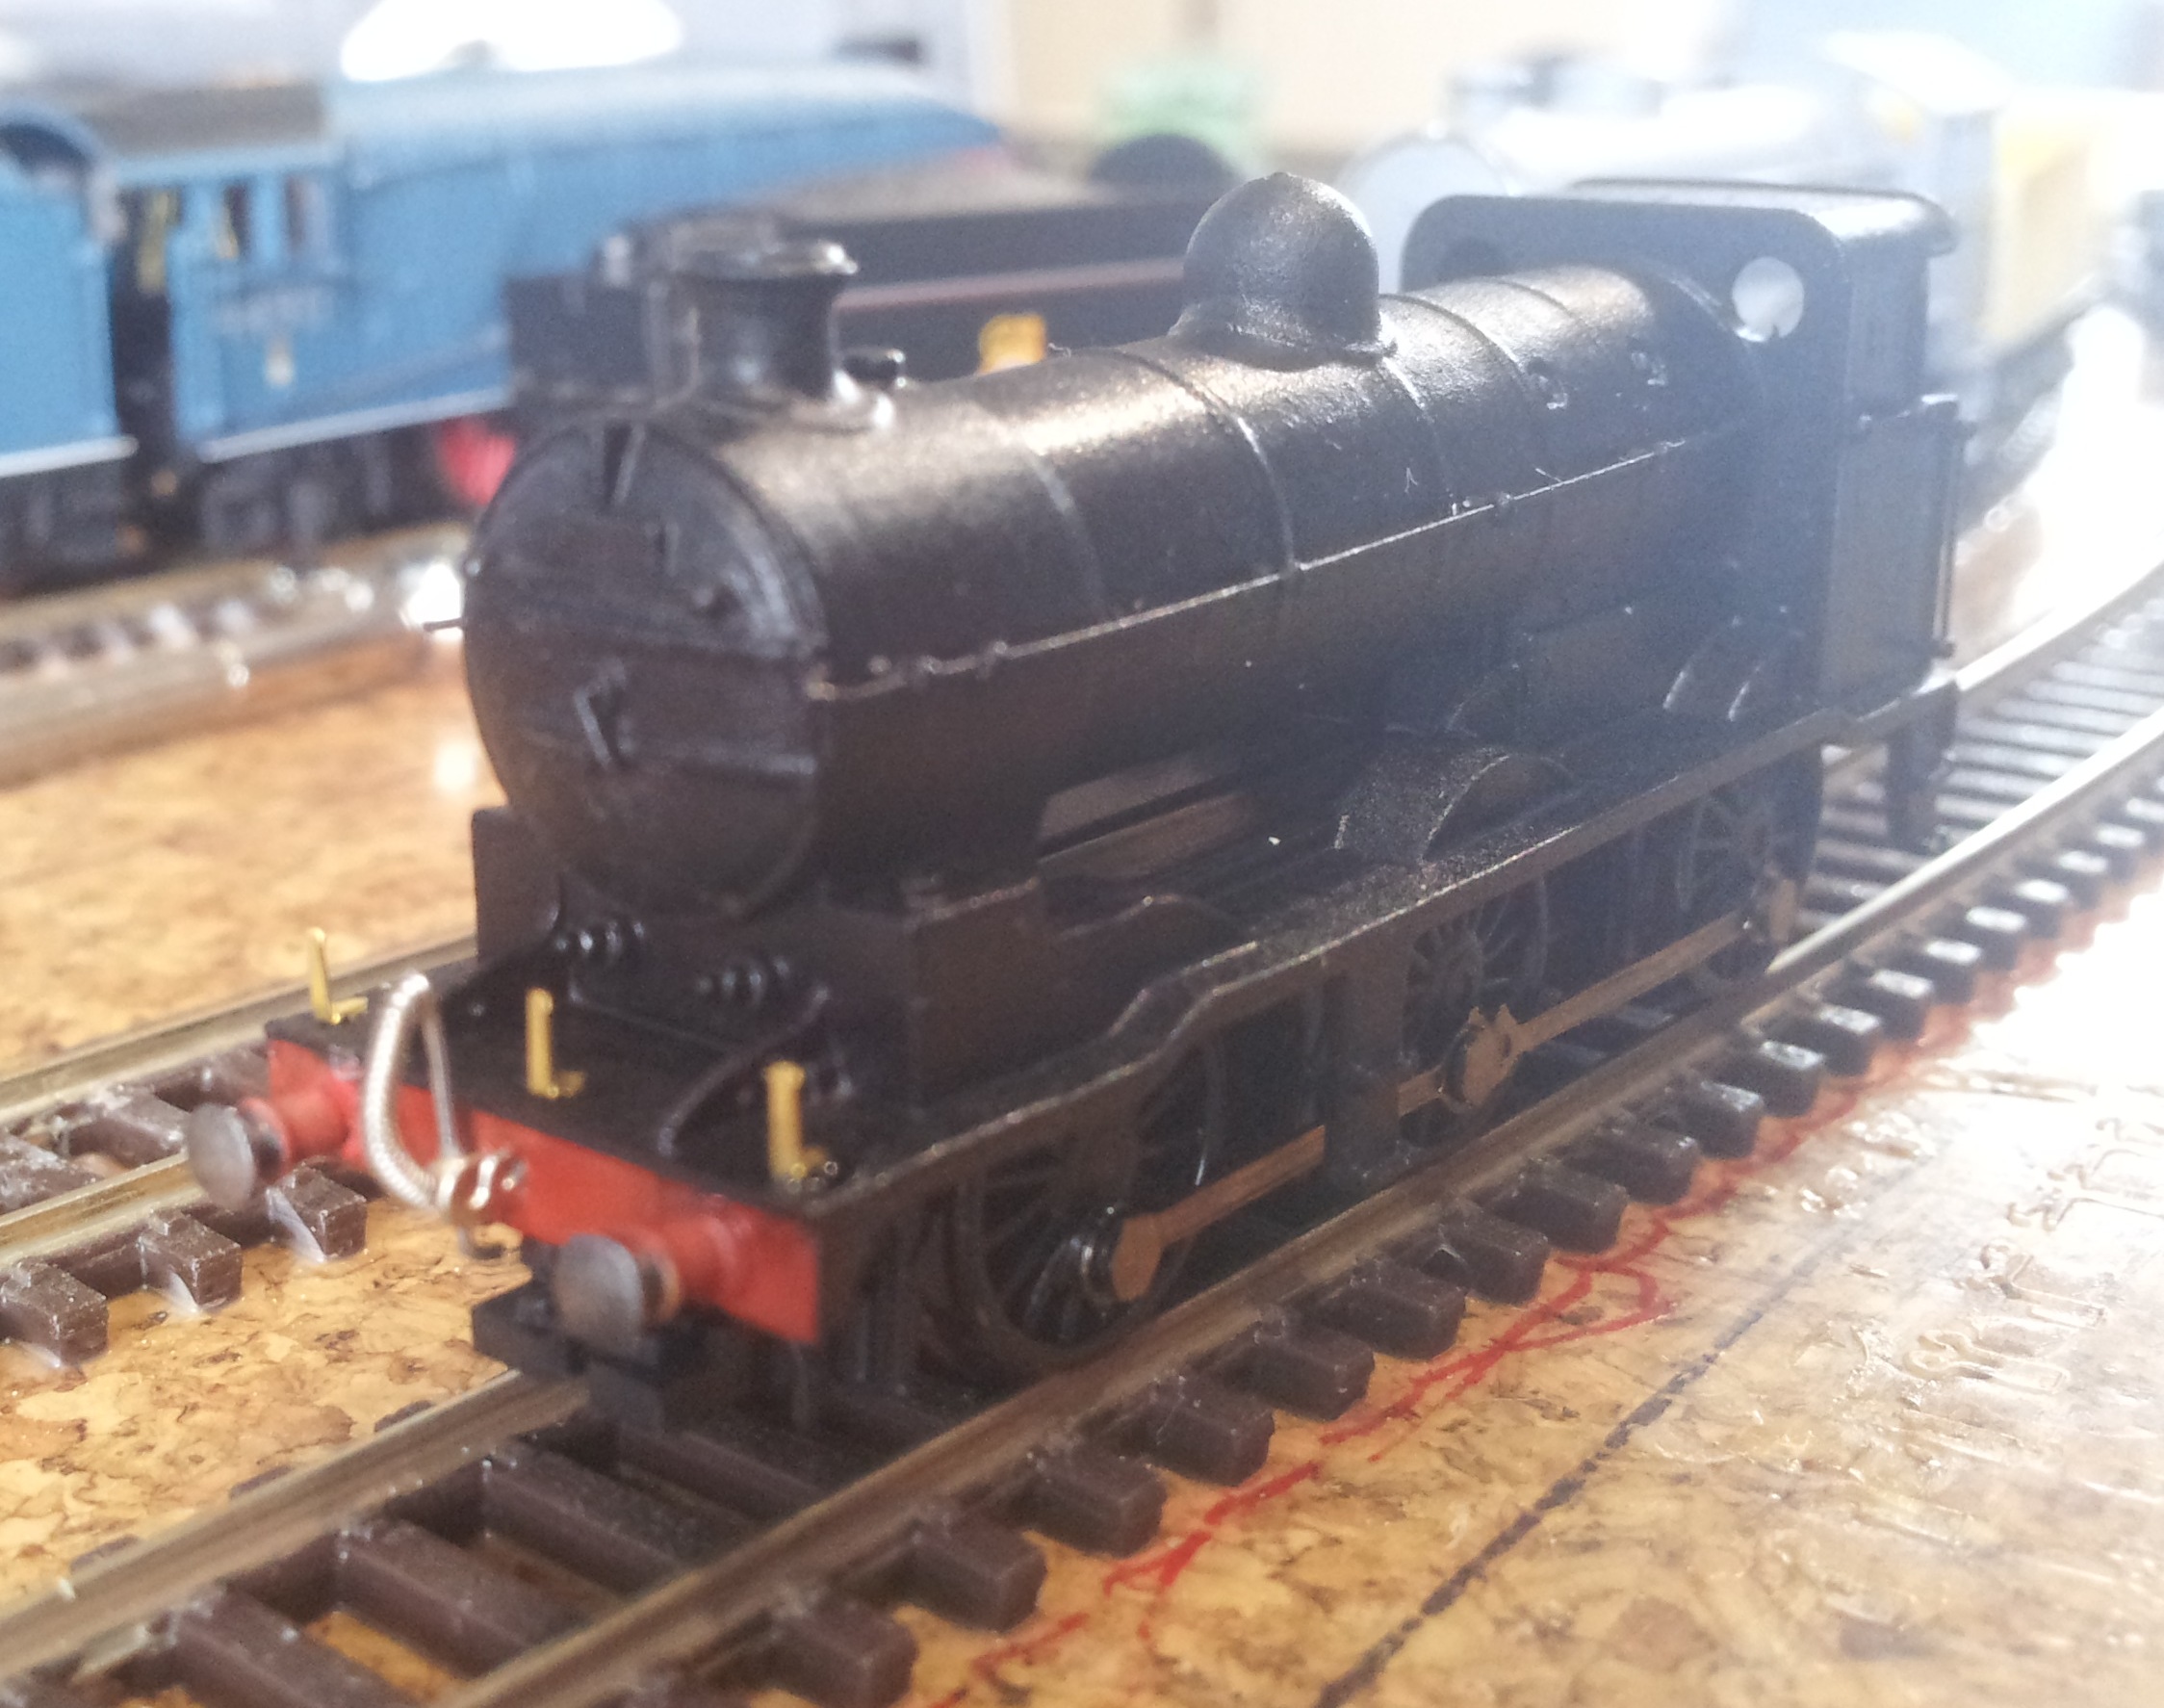
A little more progress on the models, namely fitting some lamp brackets which is a first for me.
First up is a picture of the front end of the K3s.
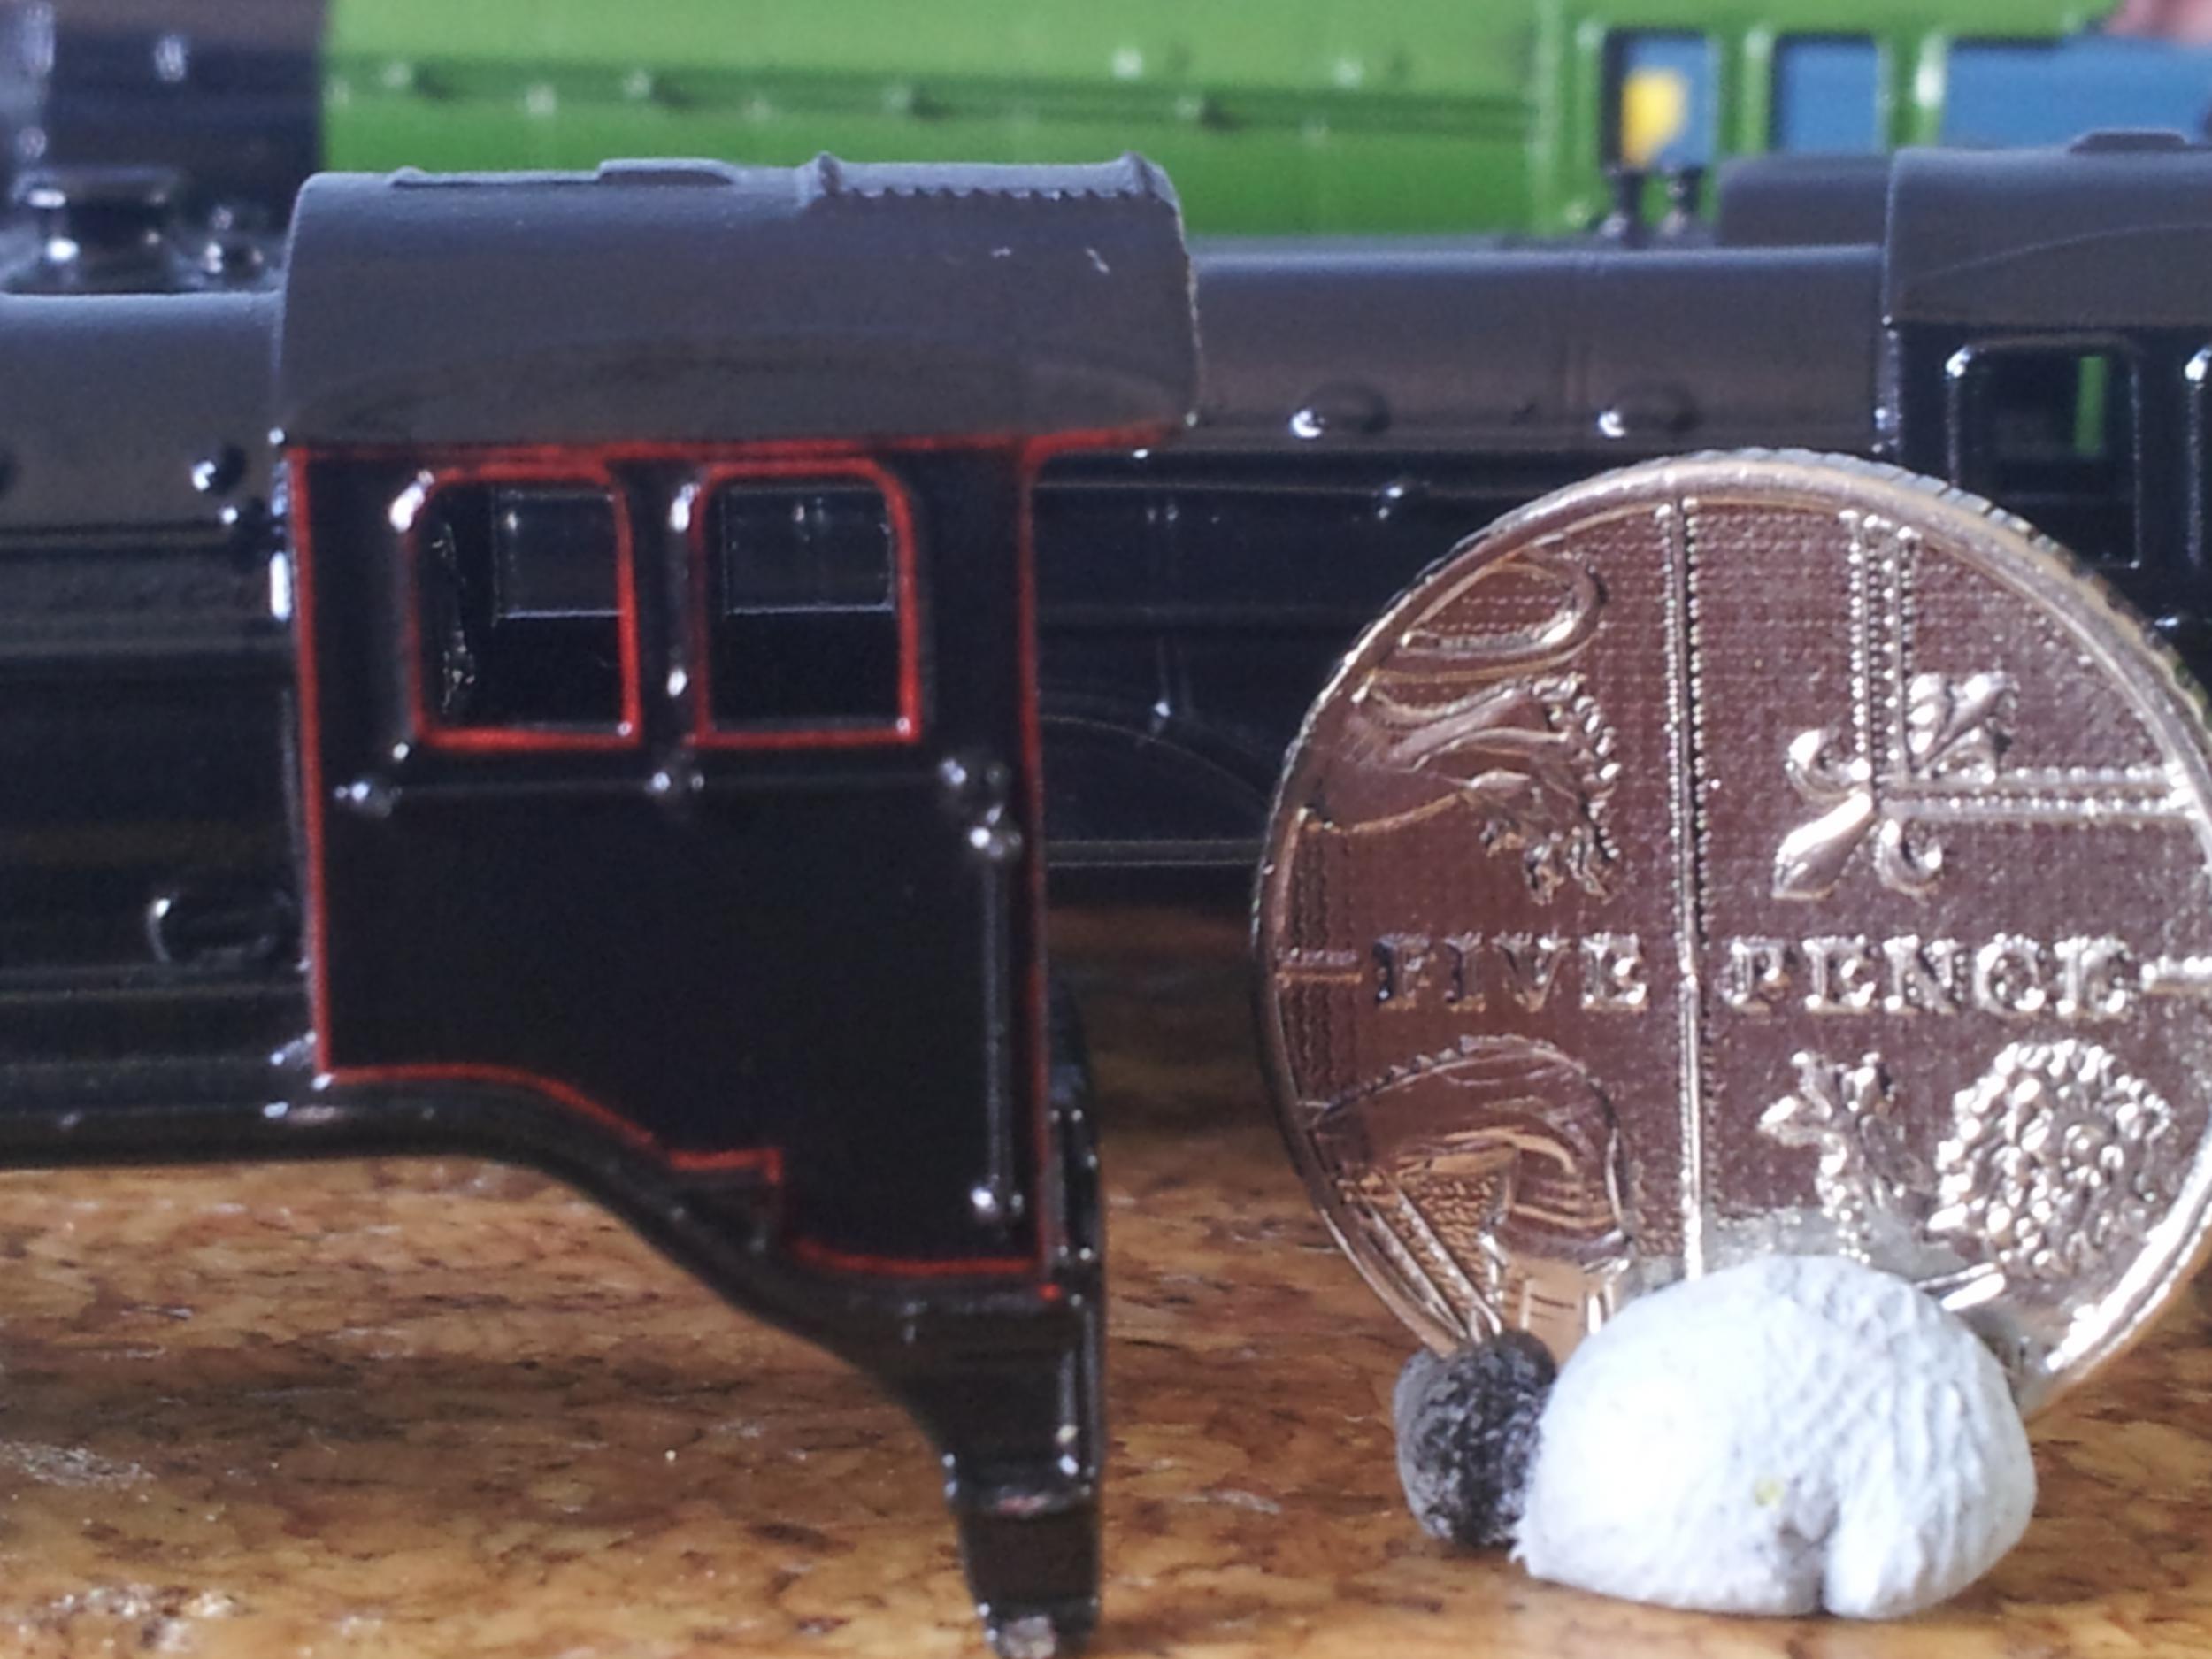
Then I did the D49 (Shire). I also drilled out some holes to fit the hand grabs at the front end - luckily I remembered to do this before fitting the lamp irons!
Looking at the cruel close up of the K3s, I think I might have to add a separate lamp iron on the smokebox door now...
Interesting to note that the most (but not all) of the reference pictures I found of the K3s show four lamp irons above the buffer beam while the D49s only seem to have ever had three... :hmmm:
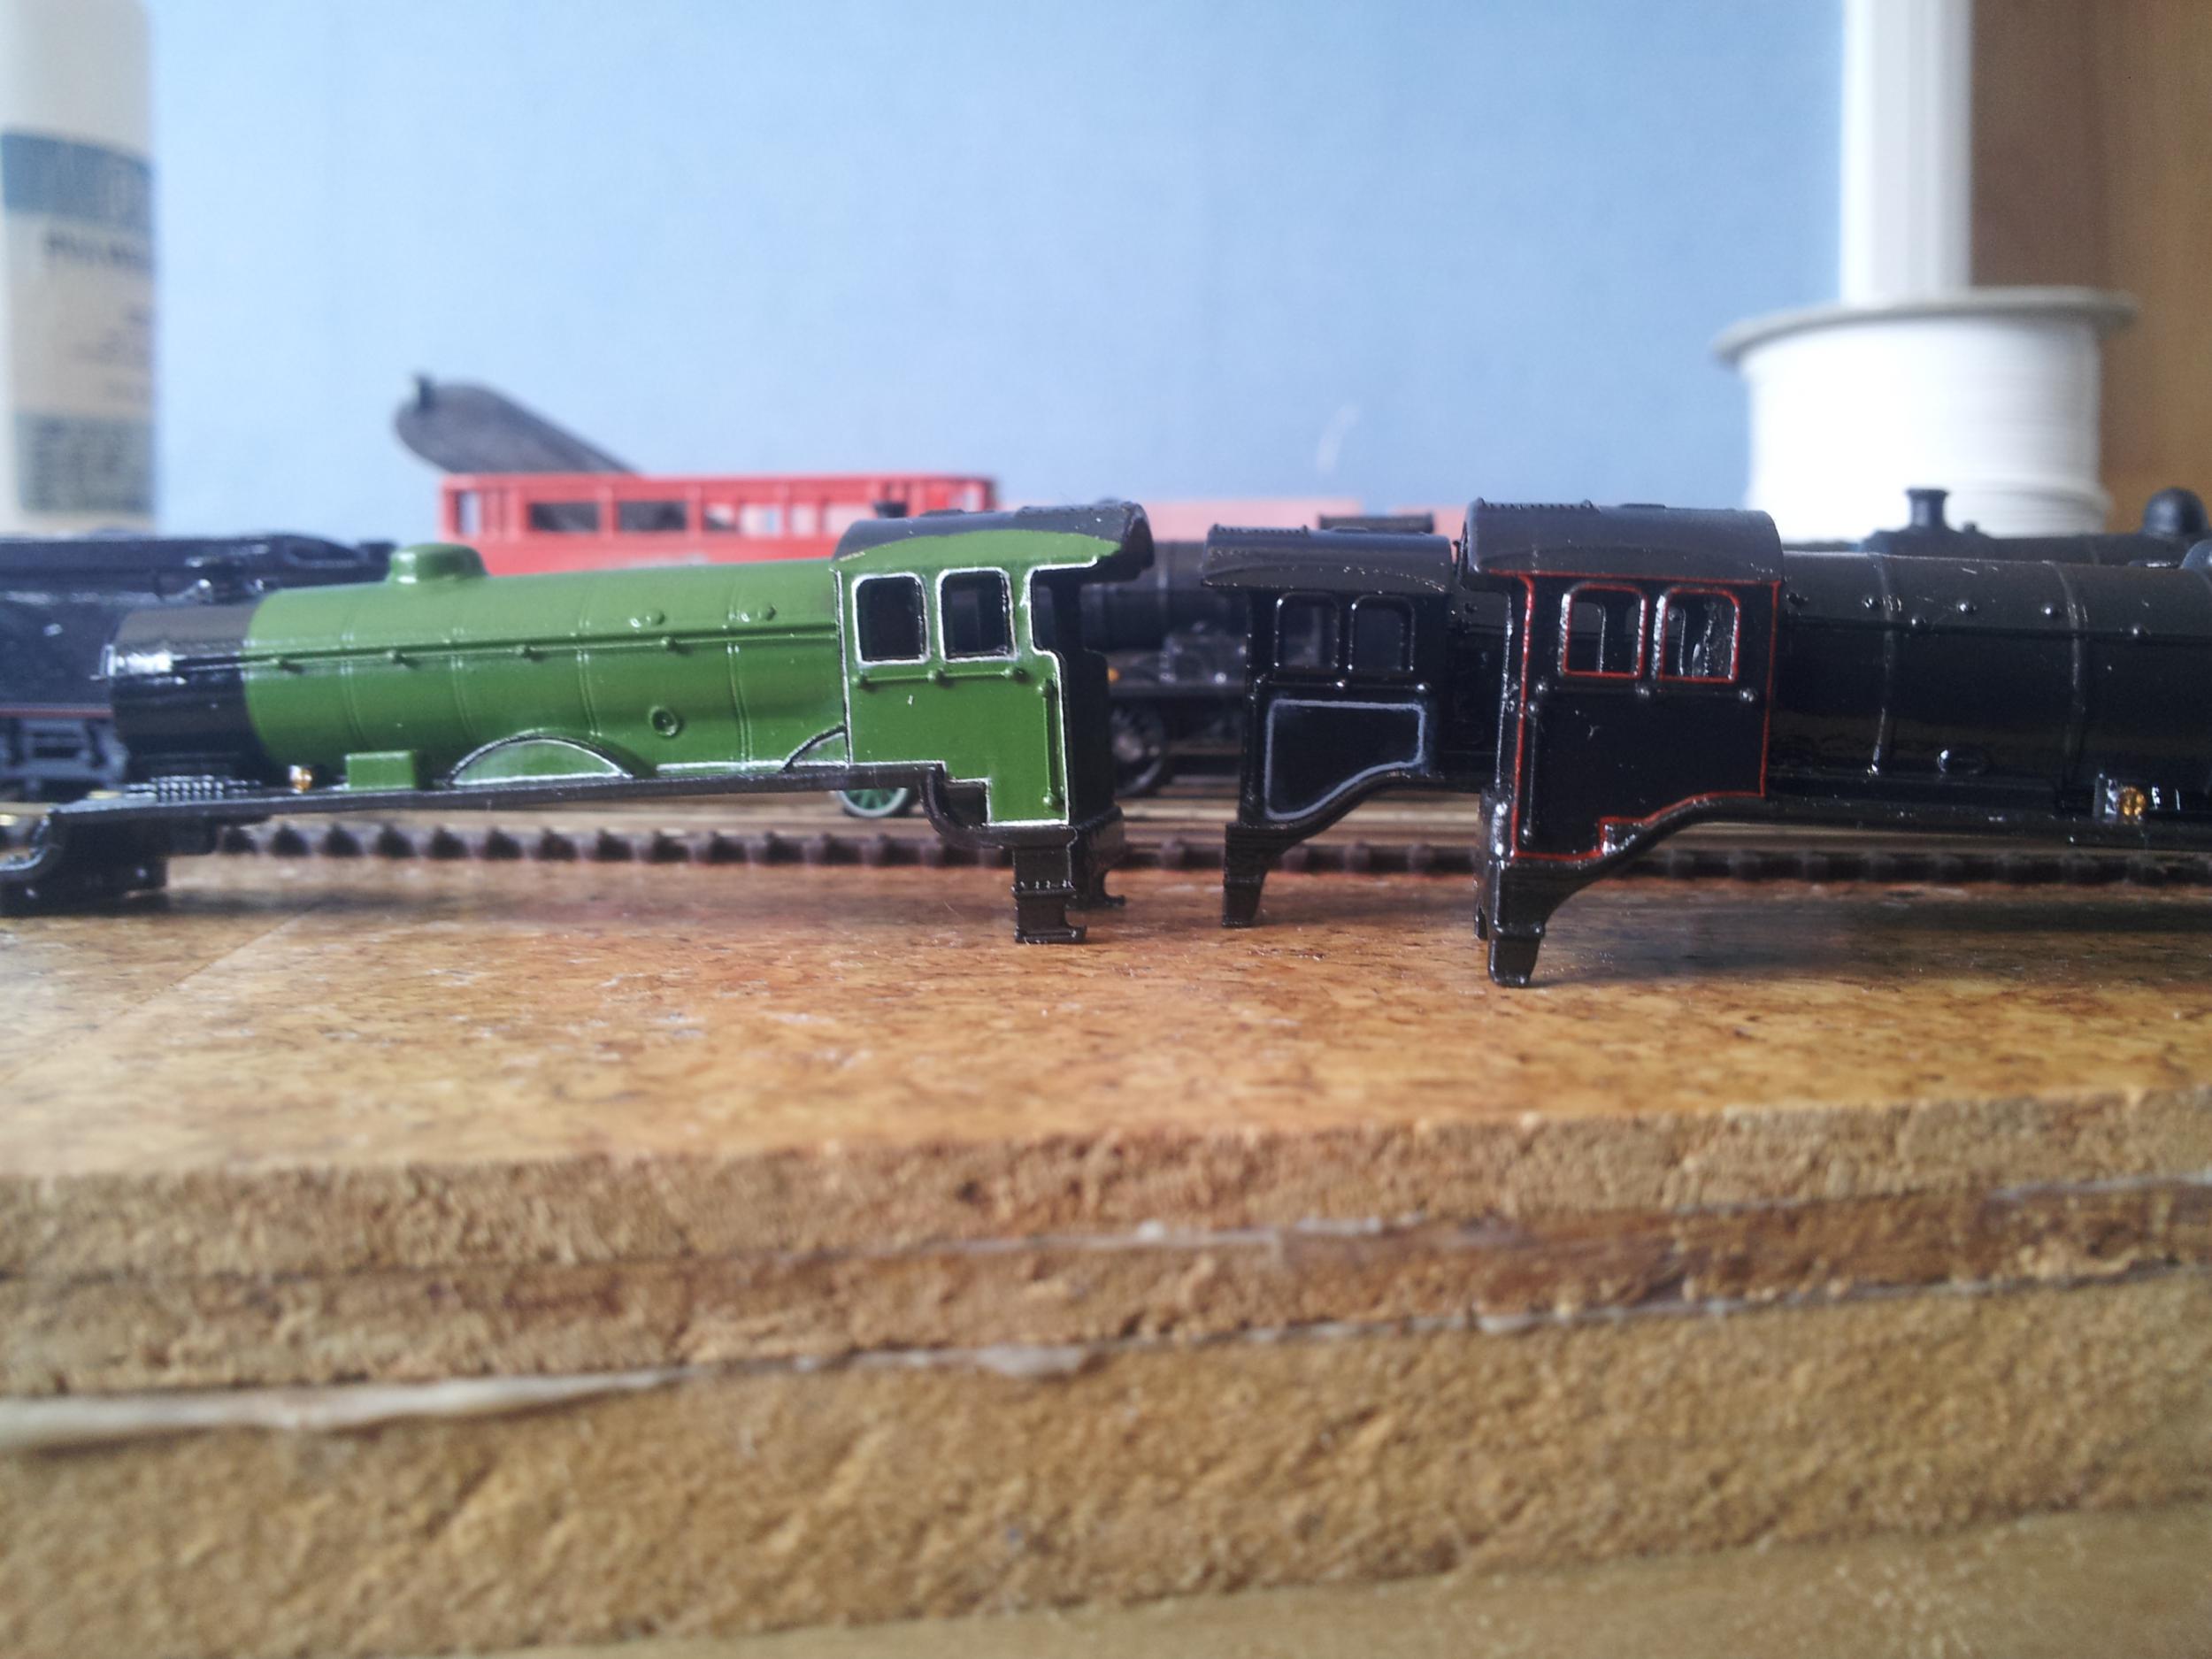
This just about completes the detailing for these three locomotives prior to painting. I'll be added vac pipes and coupling hooks afterwards.
Presumably that detail was never altered from the GN original version on the K3 drawings, whereas the D49 never had to be able to carry a GN lamp code.
Most subjects, models and techniques covered in this thread are now listed in various categories on page1
Dec. 2018: Almost all images that disappeared from my own thread following loss of free remote hosting are now restored.
Manna, thank you for your kind words. It does feel a bit like Doncaster (or should that be Darlington with the D49s?) works at the moment. I'm grateful for your estimations of my abilities but I think that fitting the oil feed pipes would be one step too far for me!
The D49 Hunt class will need it's valve gear altering to be more representative of the real locomotive. Having been looking at reference pictures in some books and googling the subject, I was drawn back to MickB's work on his Hornby conversion a few years ago. This has given me some ideas and I'm very grateful to Mick for documenting his own efforts.
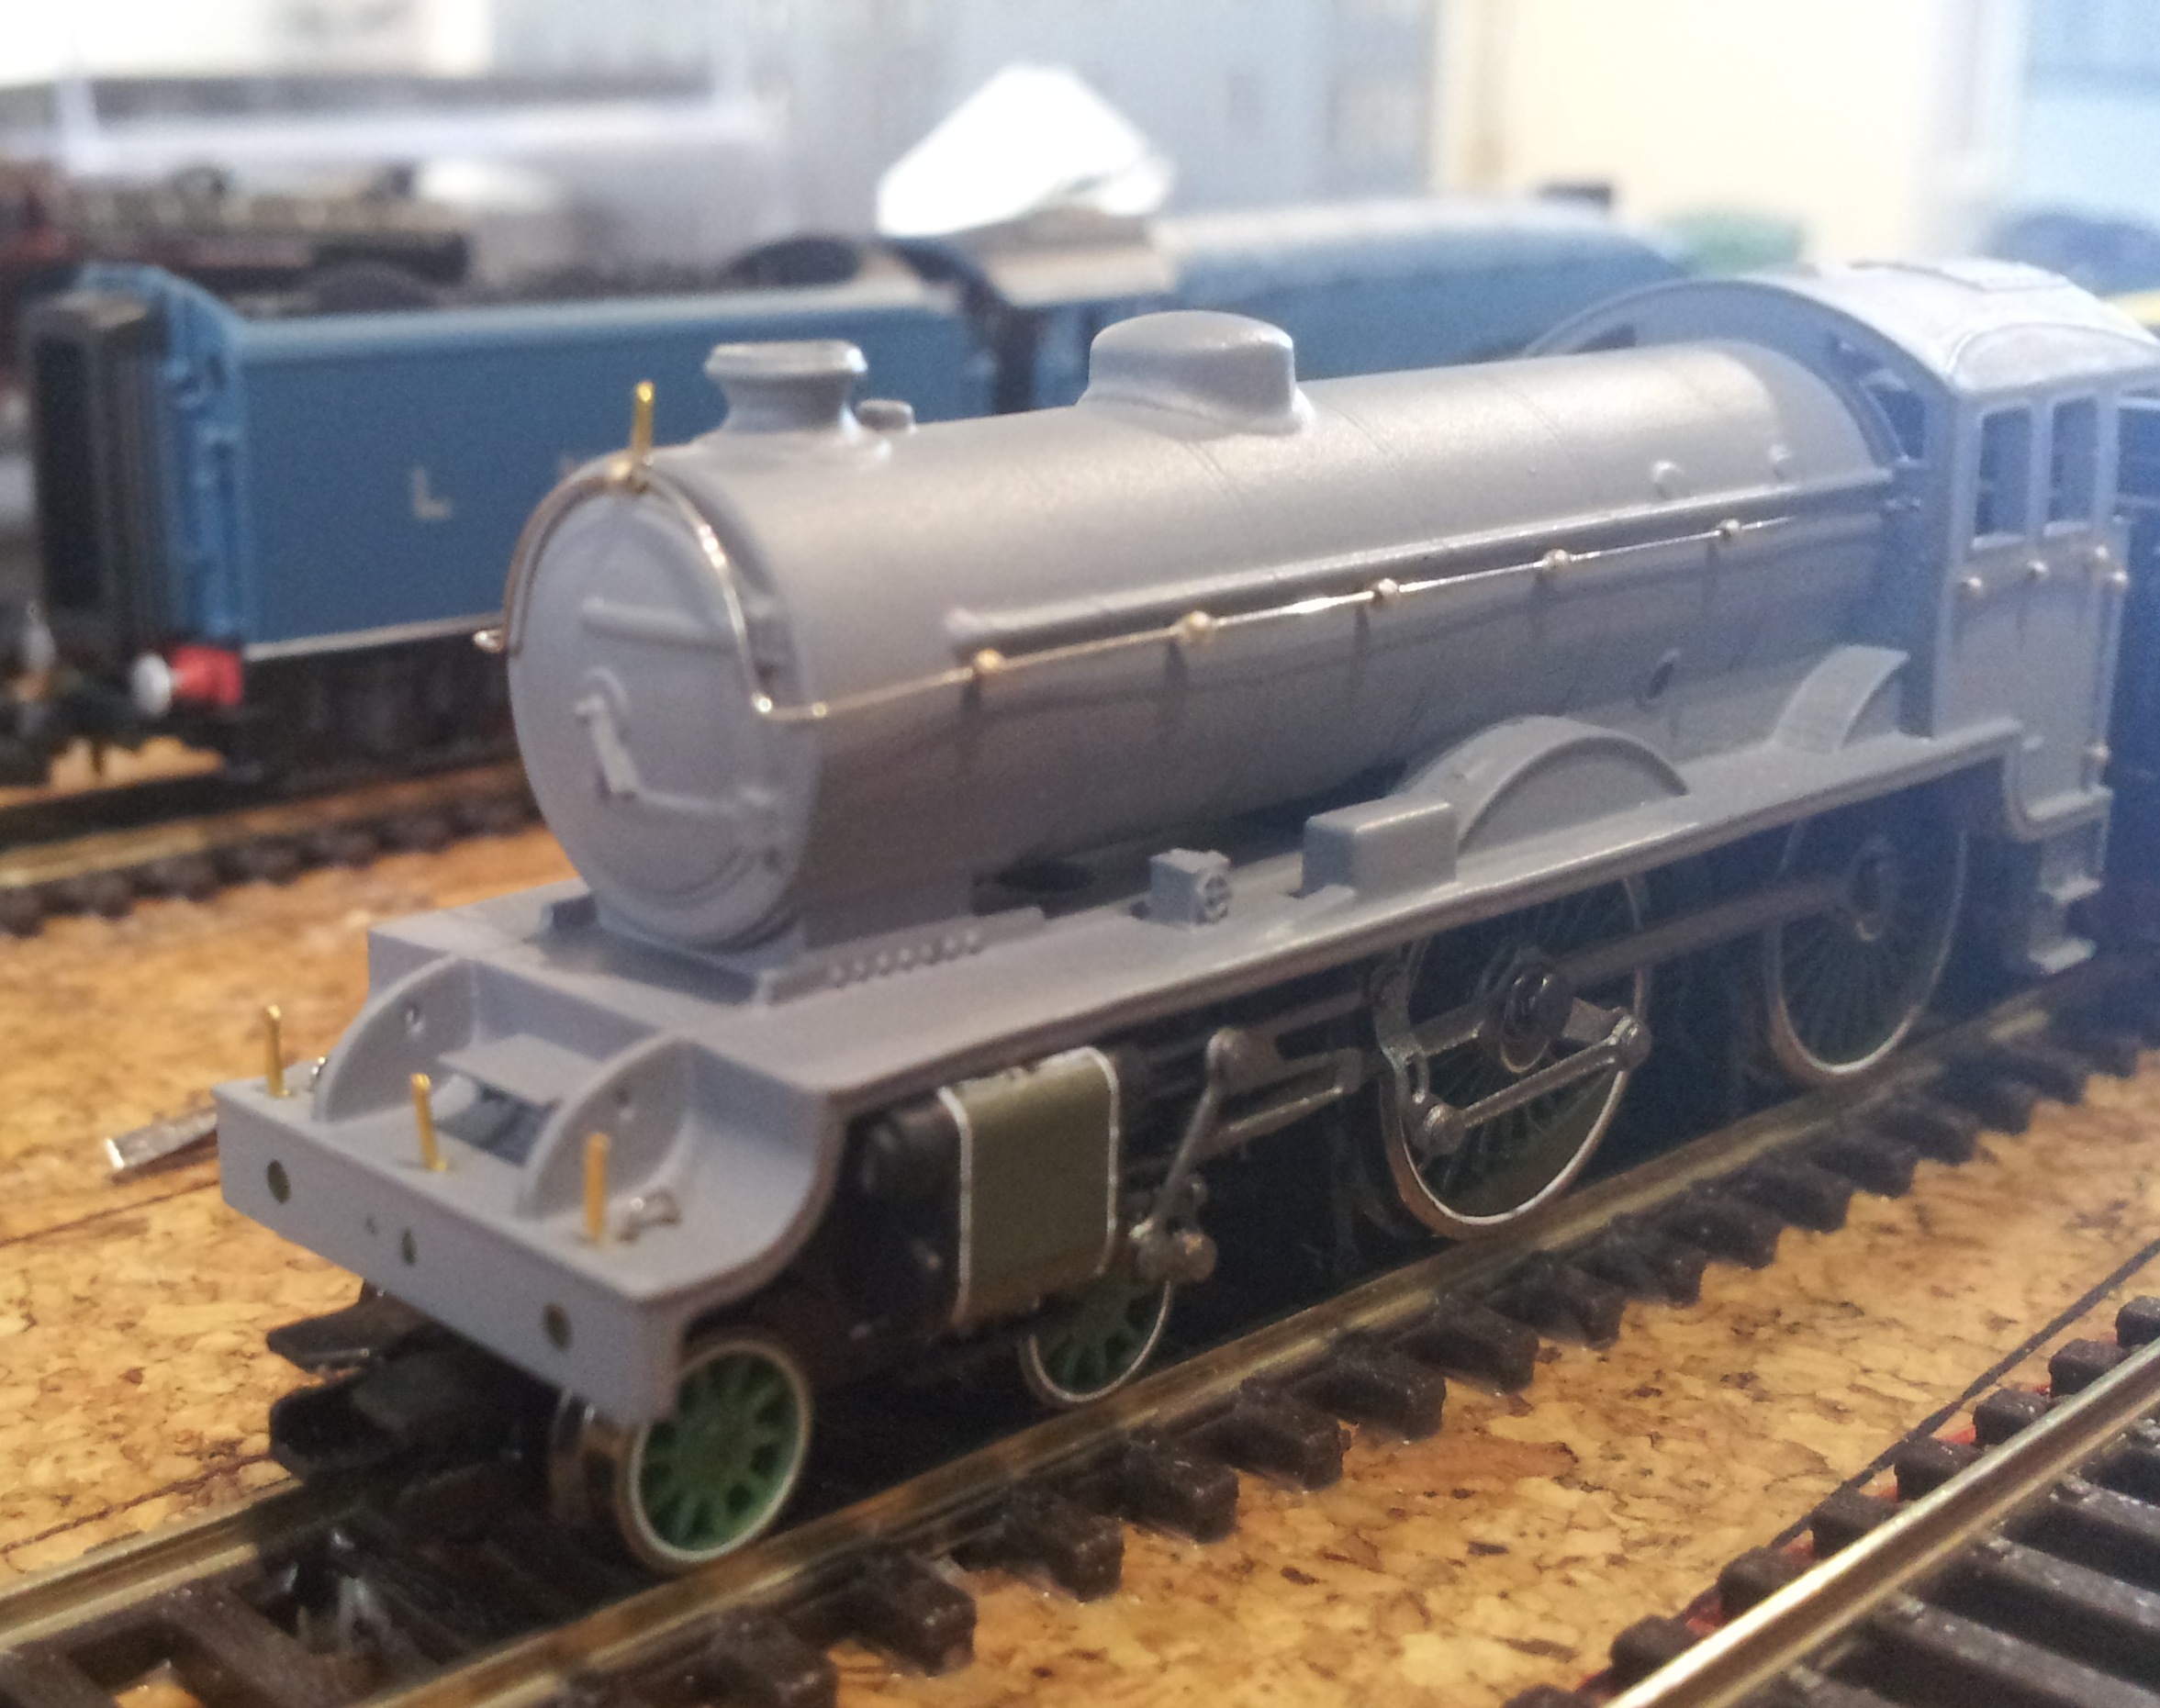
Just a quick update to show that the hunt class body has caught up with the other locomotives in terms of final detailing before painting.
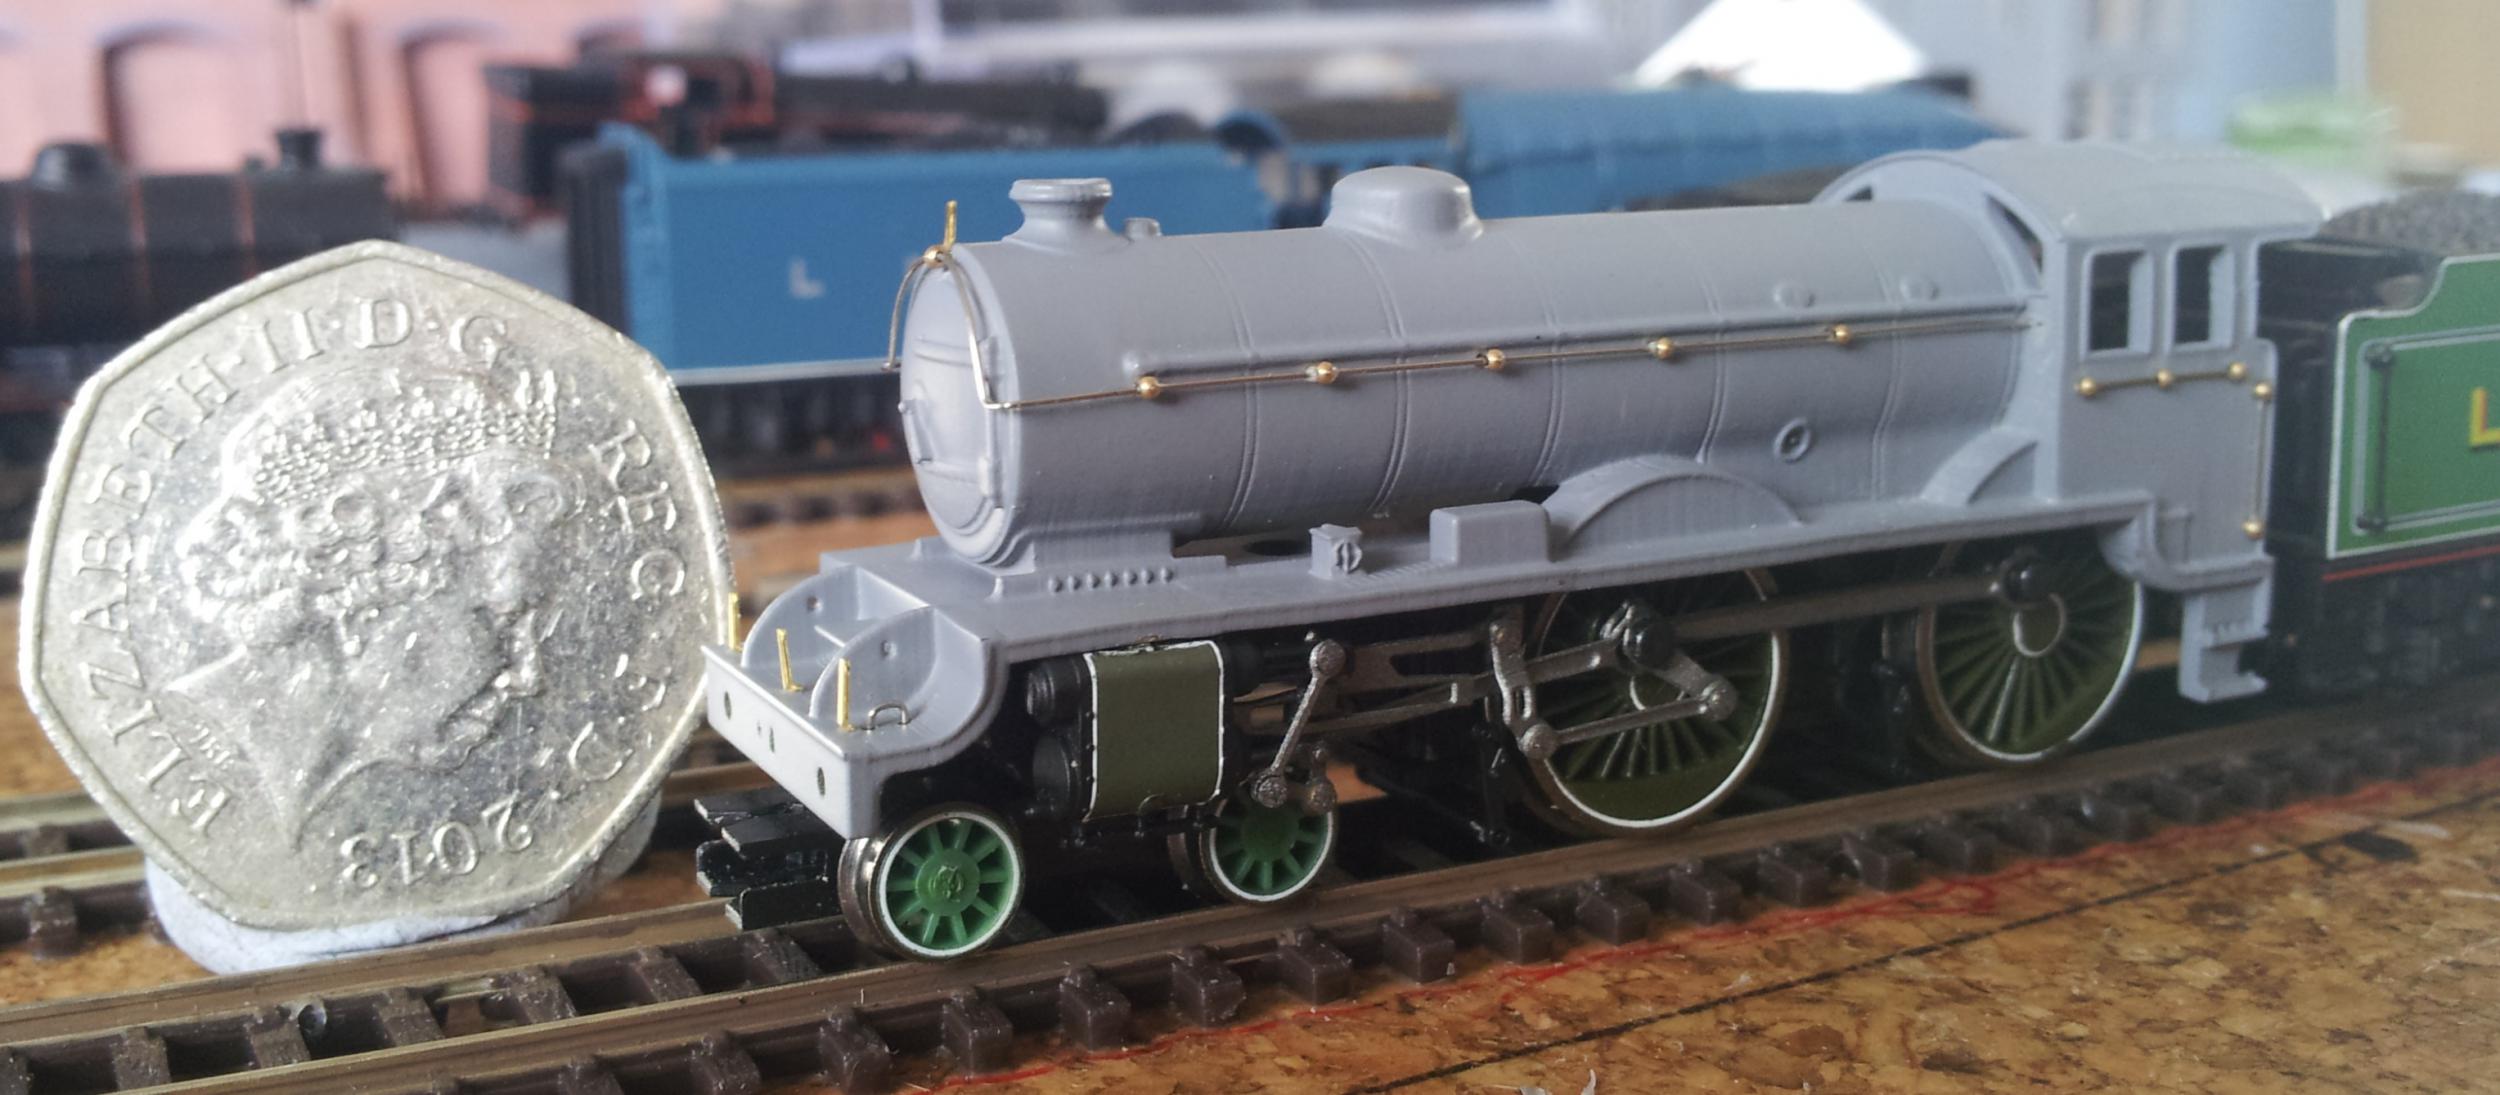
Also another picture of the Shire for mana which will hopefully show him the 'scale' (I'm proud of that!) of the problem in trying to fit lubricator pipework!
I do marvel that you can work in that tiny scale, I have problems working in 00, especially, the smaller tank filler caps, or safety valves and lamp brackets. So large 'Respect' to you.
Thanks manna but to be honest, that's why I ended up going do the 3D printing route!
I'm waiting for the latest incarnation of the D49 tender body to finish printing - having finally managed to get the last design pass to fit over the tender mounted motor and frames, I've found that the flared top isn't strong enough to withstand being breathed on!
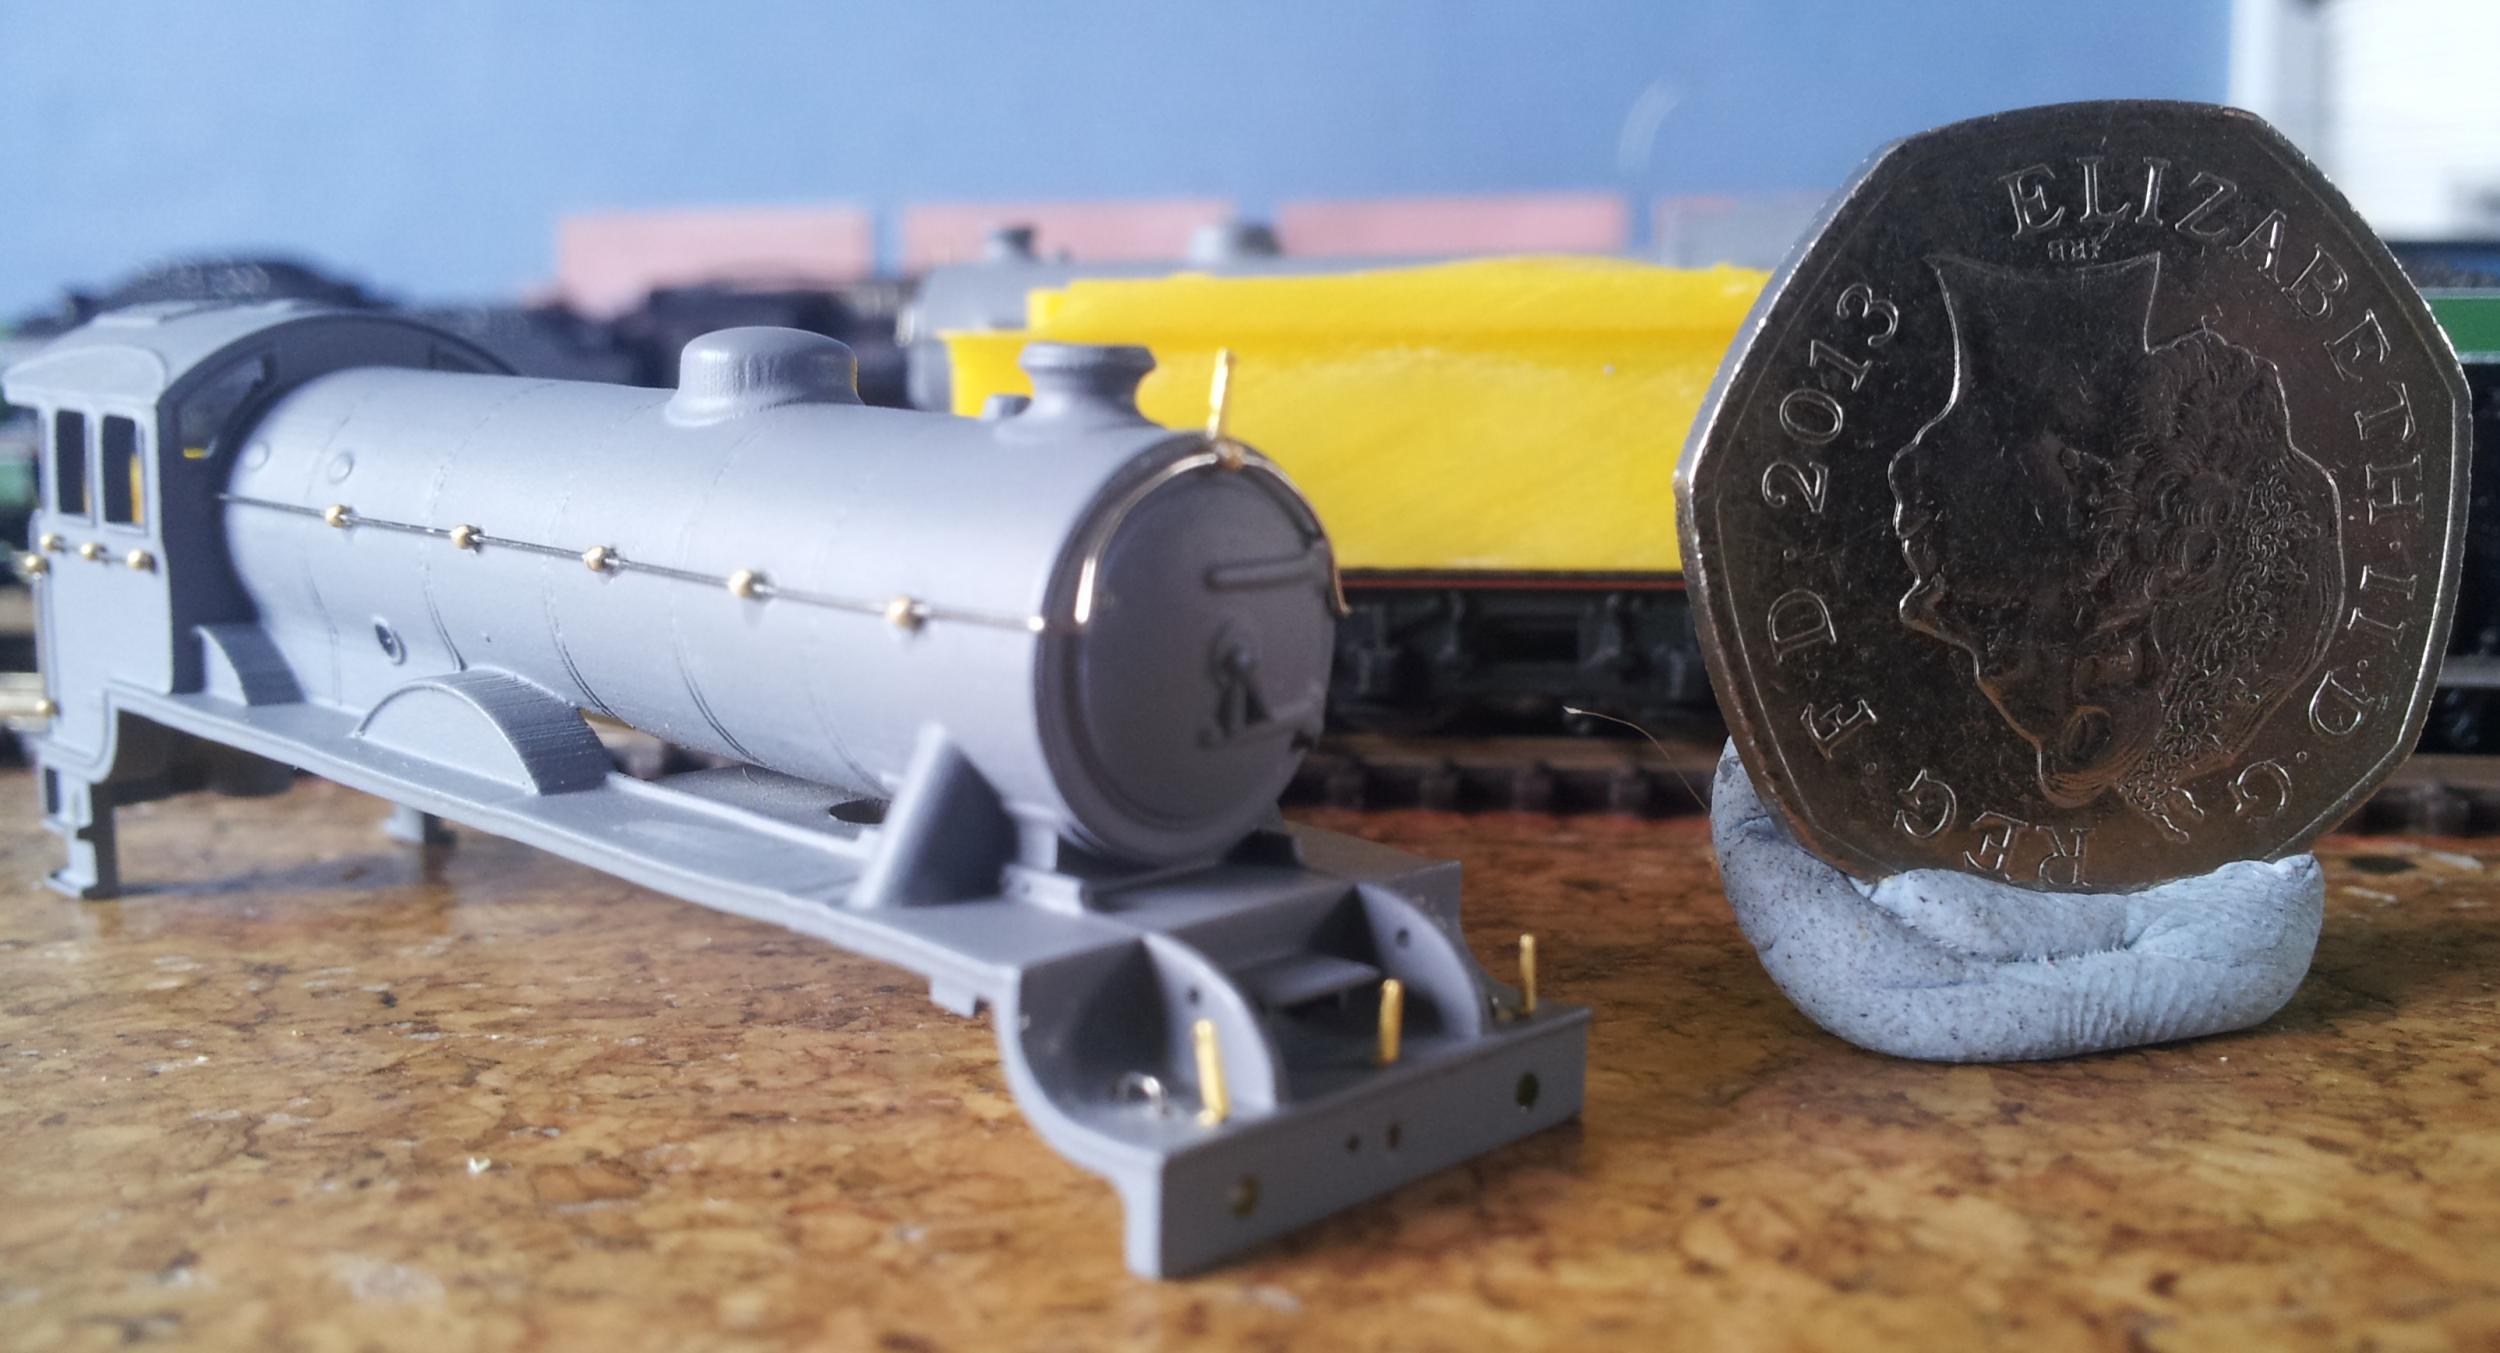
So I've been investigating what can be done to repower my old Farish J69 and I've been messing around with a little more detailing on one of the J6s. Lamp irons have been retrospectively fitted, it has gained an etched coupling hook (2mm association product) and a vac pipe. The vacuum pipe I'm quite proud of as it is simply a piece of 18 gauge guitar wire with some of the winding stripped off and fitting to a handrail knob to represent the fixing bracket. I'm sure that this is far from an original idea but I think for the first time I'm starting to get a feel for how these models will look when finished.
The vac pipe isn't permanently attached yet as I think I should paint it before final fitting.
The nerve racking bit has started this afternoon... LINING!
Despite the evidence in the picture the lines are whole and consistent. The issue is the slight fluctuation under some areas of beading which my phone camera can't seem to pick up. This has been done using my new Kern ruling pen (more commonly known incorrectly as a bow pen or so I'm informed) and the lines are around 0.1mm thick.
The K3 above is my own so I'm using this as my testing and practice before tackling the more complex BR mixed traffic lining. I've managed to chip a little paint away from the footsteps by using a metal ruler, I'll be cutting some straight bits of plastic for the next stage to protect the paint a little better. There are a couple of bits that need a little cleaning up and this can be done with a OOO brush moistened with white spirit once the paint has gone tacky - alternatively I can simply paint them out with some gloss black once completely dry.
Overall, I'm reasonably happy with this first stage. I'll be lining the valance under the footplate too but I'm waiting for some spare pens that'll fit on my bow compasses (the pen supplied with this is useless no matter how much I've tried to hone the pen!) so I can do some offset lining.
Atlantic 3279 wrote: ↑Fri May 12, 2017 8:04 pm
"Reasonably happy". Surely an understatement?
Only 'reasonably' Graeme. I'll be happier once I've finished lining them out without messing it all up completely!
Went to Bluebell with the better half yesterday. Great day but both of us felt a bit under the weather by about 4pm and made an early exit. However it really was a great day with plenty of activity and we got to ride in the period Southern three coach set (which was great) and the vintage four wheelers (which was also great but bumpy!).
Both of us a feeling better today (just tired yesterday I guess) and I've been getting on with a bit more lining.
No ultra ultra cruel close up today but when enlarged the locos in the picture are much larger than in reality. The rearmost cab end is my start on BR mixed traffic livery - I don't know why the camera has picked up a slight purple tinge to it, it's not like that in reality.
You might notice some slight blooming on the paintwork. This is where I've either been removing slight lining blemishes or coxing paint into forming corners. Once it is fully dry I should be able to remove it with a ooo brush moistened in white spirit or, if worse comes to worse, paint over it with some of the base colours. The two LNER locos have also had their buffer beams lined out in white but this needs a little more work once dry before they are worthy of being photographed.
Throwing out a question on the D49's lining that I hope somebody might be able to give a definitive answer to. Are the boiler plugs lined on the D49? All the photos I have either suggest they're not or are inconclusive. I know that the A1/A3's and C1's among others did have boiler plug lining but I'm really not sure what to do with the D49. In fairness, there is a reversing lever to go in front of the right hand one anyway...
Atso wrote: ↑Sun May 14, 2017 9:06 pm
Throwing out a question on the D49's lining that I hope somebody might be able to give a definitive answer to. Are the boiler plugs lined on the D49? All the photos I have either suggest they're not or are inconclusive. I know that the A1/A3's and C1's among others did have boiler plug lining but I'm really not sure what to do with the D49. In fairness, there is a reversing lever to go in front of the right hand one anyway...
Many thanks.
Different locomotive works at different times applied different paint jobs. Best bet is a copy of the relevant Yeadon's and look closely. My copy indicates it's a 50/50 under the weathering. Did you have a specific D49 in mind?
Great job by the way Atso. Always marvelling that these are N, not OO!
S.A.C. Martin wrote: ↑Mon May 15, 2017 10:05 amDifferent locomotive works at different times applied different paint jobs. Best bet is a copy of the relevant Yeadon's and look closely. My copy indicates it's a 50/50 under the weathering. Did you have a specific D49 in mind?
Great job by the way Atso. Always marvelling that these are N, not OO!
Thanks Simon, it's proving to be a challenge but not as difficult as I thought!
The D49 in question is Lincolnshire in late 1920's condition when it was briefly allocated to Kings Cross. I assume that the locomotive would not have received it's cab number by this point and would still be carrying it on the tender.
Not having to relevant copy of Yeadon's and being too poor to purchase a copy at the moment, I'd be most grateful if you could shed any light on this. If things still prove to be inconclusive, I think I'll line them - just because I can.