
I managed to get my hands on some styrene so the last couple of days while it has been raining I cleared a space and set up the cutter. First I cut the parts for the new door and the internal lockers/benches etc.
Sadly it didn't go without incident and on the very last cut it moved out of registration and scrapped them all. Undeterred I cut them again and they came out okay.
I glued the layers for the door together and laid them between two sheets of glass to dry and it was only when I was rubbing the edges down to remove the layering that I realised that I had a few layers too many - the completed door was a scale 4" thick. I must have been thinking I was building a bullion van or something...
So third time lucky as the saying goes we have the new door sorted. And after all that I forgot to take any photos of it.
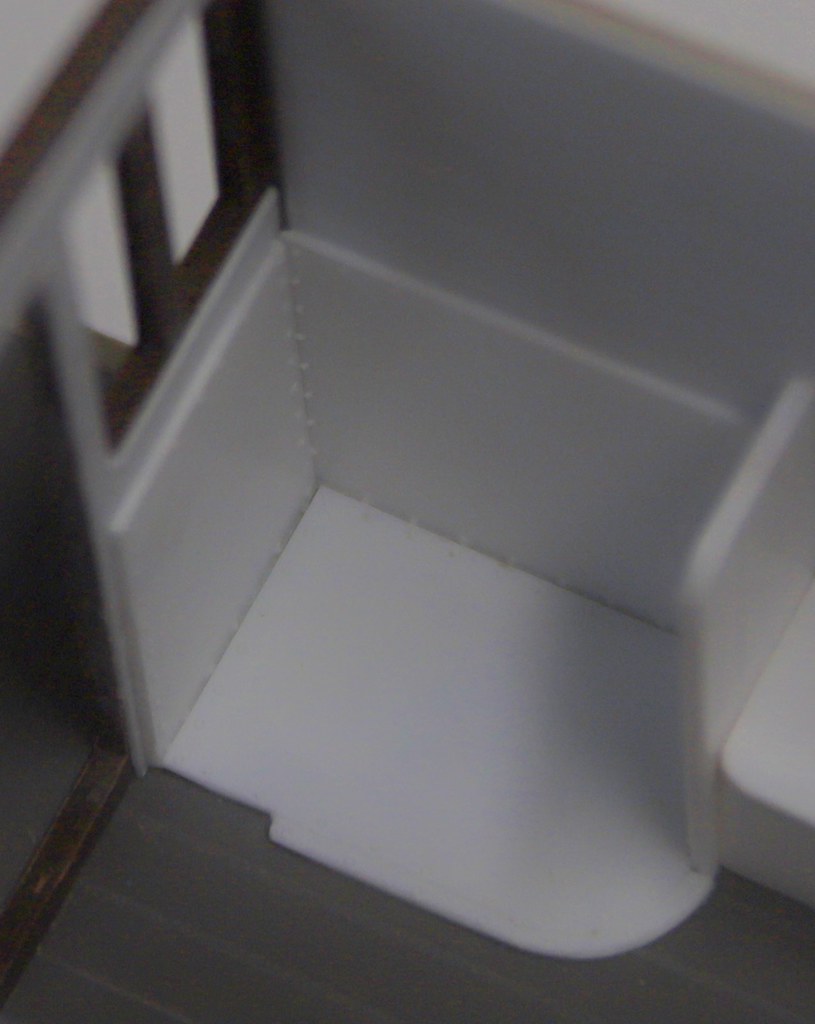
While the door was drying I made up the lockers and from the drawing added hinges, and hasp and staple to each locker area. The drawing also says that the guard was to be issued one padlock, so only one of them has a padlock.

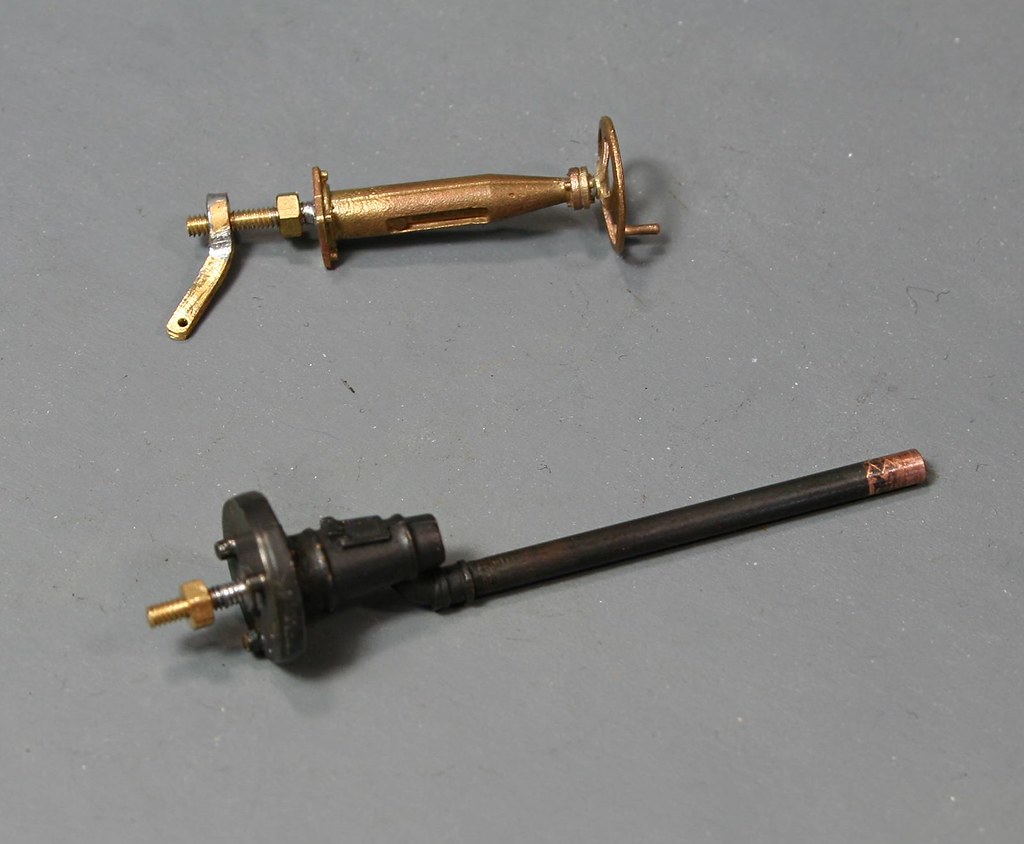
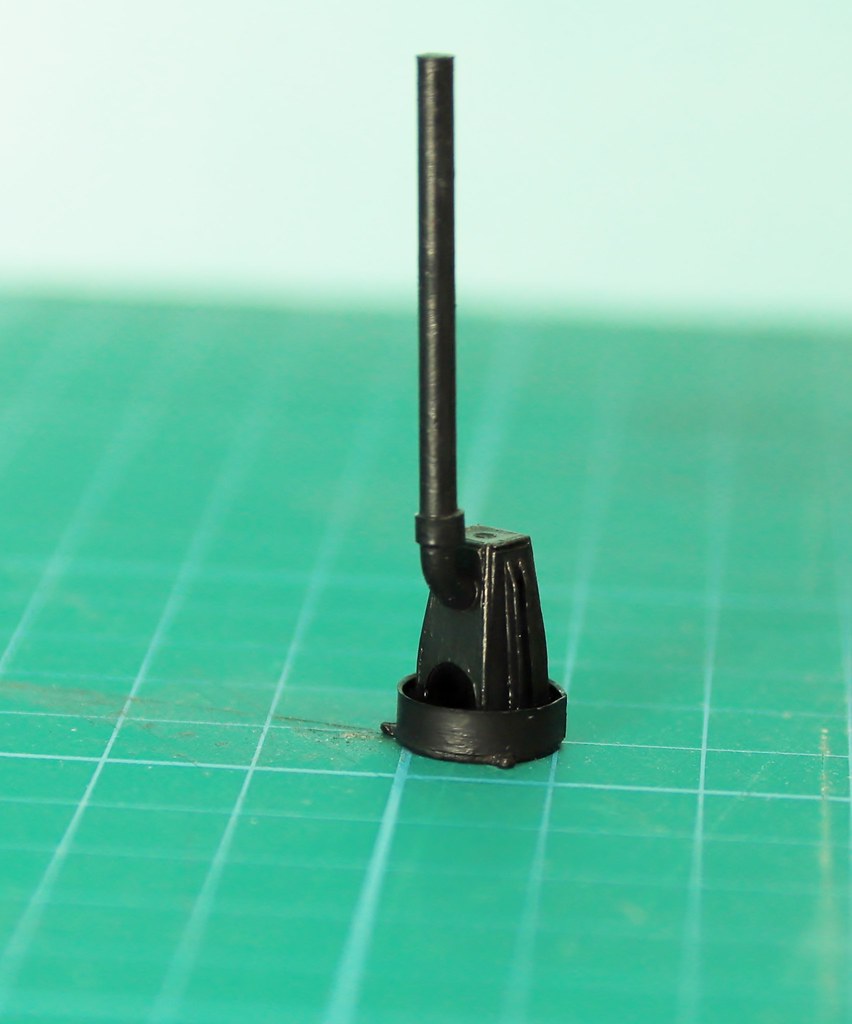
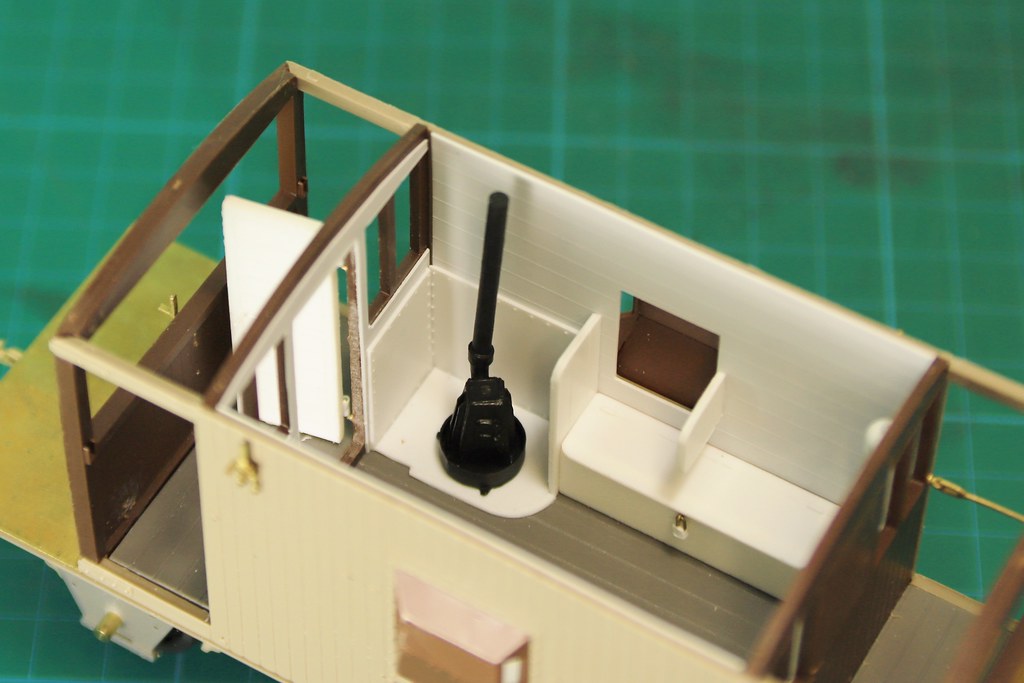
Having added the lining detail to the interior I set about making the Guard's vacuum gauge and the automatic van valve etc.

All made from styrene rod and tube of various sizes. I have just realised that I have missed of the guard's handle I will add that before final fitting.
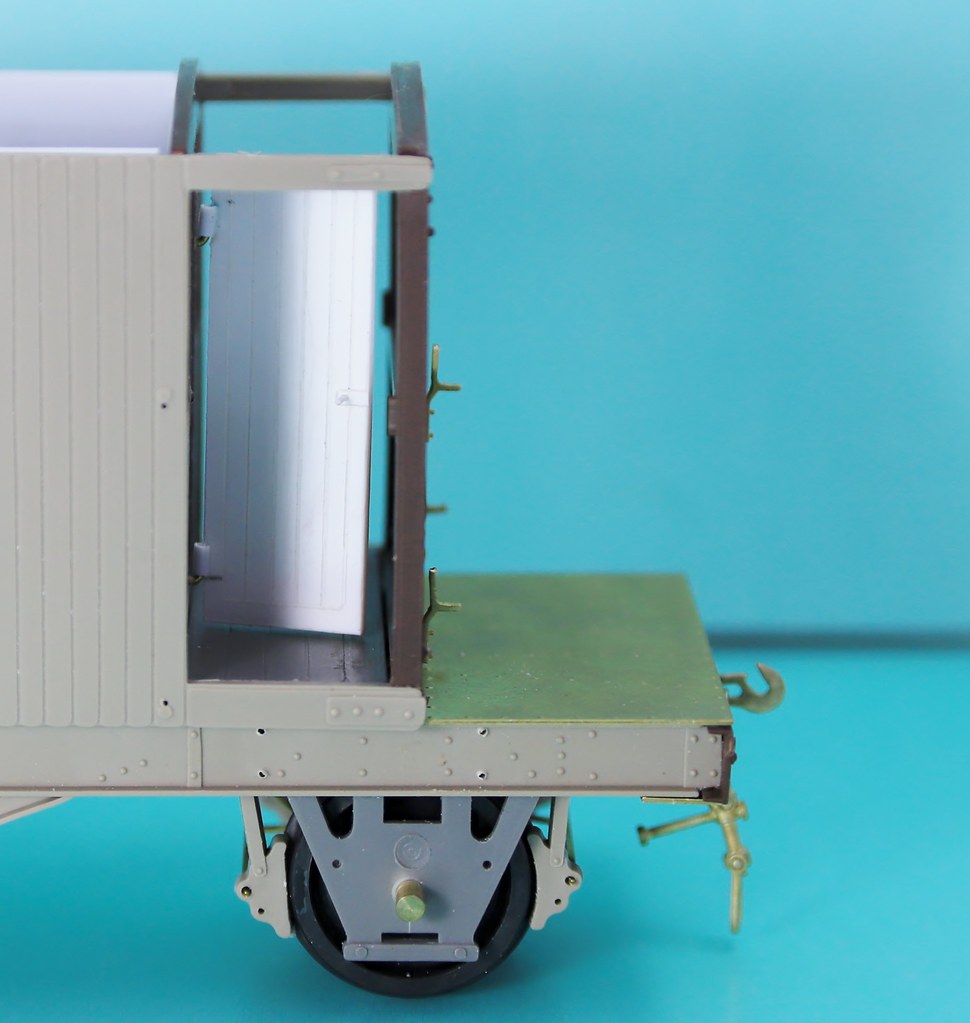
Here are a few shots of things just resting in place.


Just ready for the stove when I finish drawing and cutting it...


 [/url]