Page 8 of 18
Re: Rustys workbench - builds and paints
Posted: Sun Apr 17, 2016 11:58 am
by nzpaul
Wow, lovely. I don't know what else to say. Stunning locos.
Cheers
Paul
Re: Rustys workbench - builds and paints
Posted: Mon Apr 18, 2016 11:34 pm
by 52D
jwealleans wrote:Lovely. The forum always benefits from work of that quality.
Hear hear JW
Re: Rustys workbench - builds and paints
Posted: Mon Apr 25, 2016 7:44 am
by Rustynuts
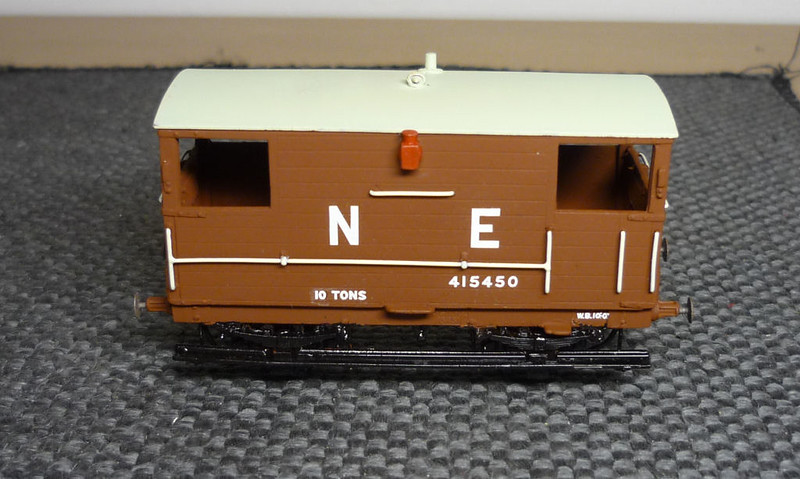
The GNR Brake Van is now in paint awaiting some weathering:
Re: Rustys workbench - builds and paints
Posted: Mon Apr 25, 2016 9:09 am
by Atlantic 3279
Very neat indeed.
A couple of questions though: How widespread was the practice, according to date, of painting brake van handrails white? Were side riding lamp bodies ever red? I ask the latter because I instinctively painted some red but later information suggested to me that they were black.
Re: Rustys workbench - builds and paints
Posted: Mon Apr 25, 2016 9:54 am
by jwealleans
From memory - so treat with caution - riding lamps on passenger brakes were red for a time early in the LNER period but then went either black or body colour. Brake van lamps I thought were black.
What red oxide paint have you used? It comes up very brown on my monitor. Tidy job, though.
Re: Rustys workbench - builds and paints
Posted: Mon Apr 25, 2016 10:22 am
by Rustynuts
I did wonder what colour the lamps were, on these vans they were fixed bodies if i understand it right and a lamp was put in from inside.
Not sure on the handrails either but once weathered they won't be so obvious.
The paint was a mixture of Railmatch LNER oxide and some sleeper grime i had laying around.
Will paint the lamp bodies black later tonight so thank you for the info folks.
Re: Rustys workbench - builds and paints
Posted: Wed Nov 30, 2016 2:49 pm
by Rustynuts
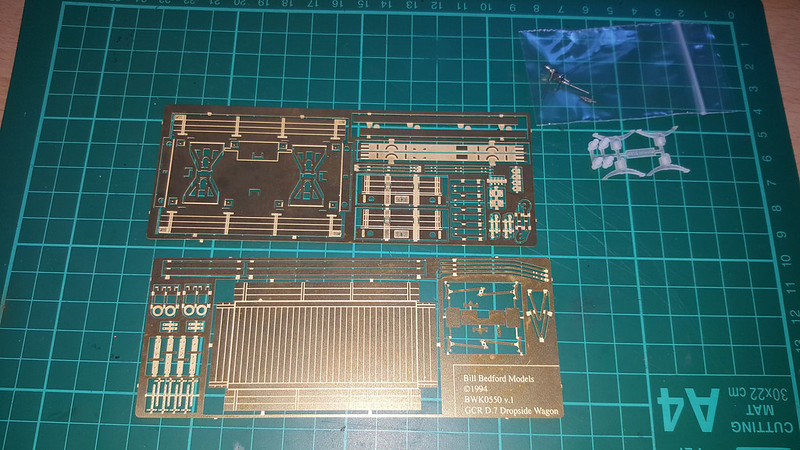
Got a quick job on it's a Mousa Models GCR D.7 Dropside wagon
Re: Rustys workbench - builds and paints
Posted: Thu Dec 01, 2016 12:36 pm
by Rustynuts
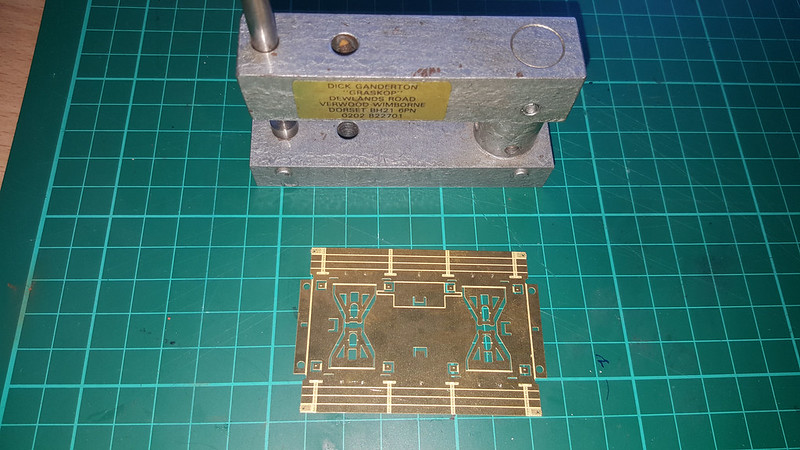
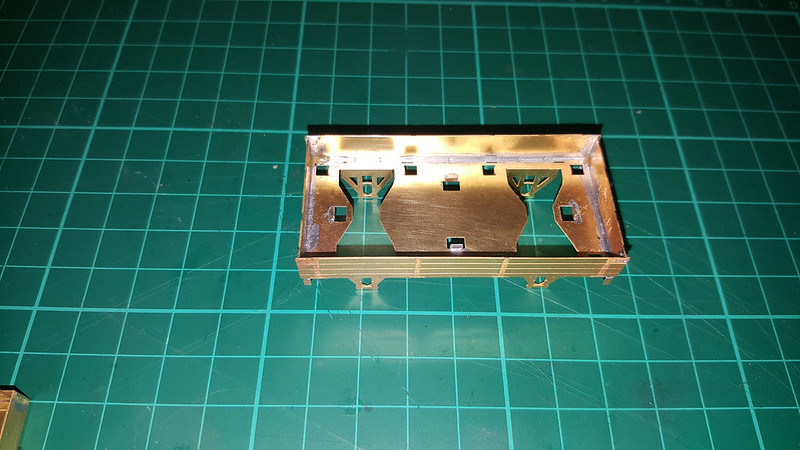
Got some work done last night:
1. Rivets punched out in the outer shell.
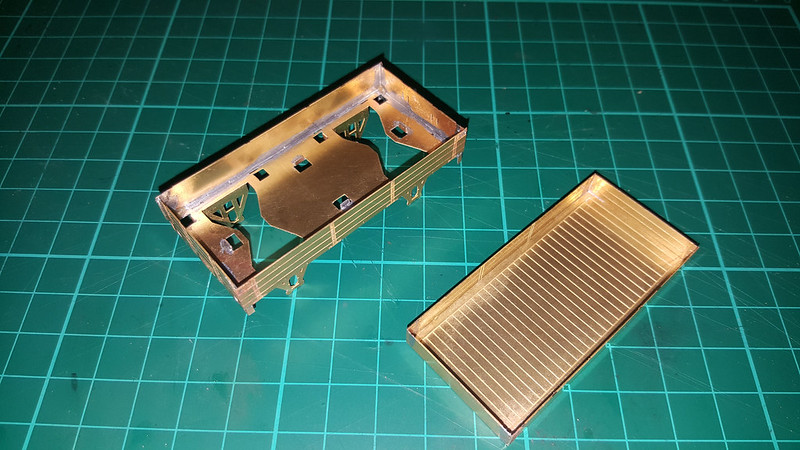
2. Outer shell folded and Soldered:
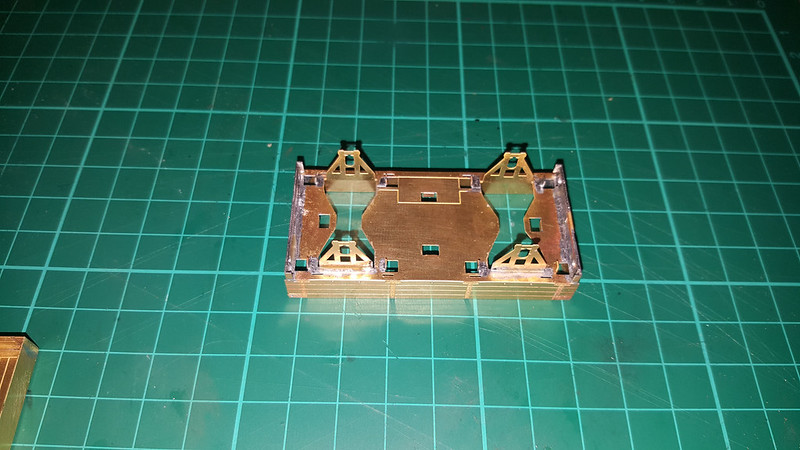
3. Inner shell folded and soldered alongside the outer:
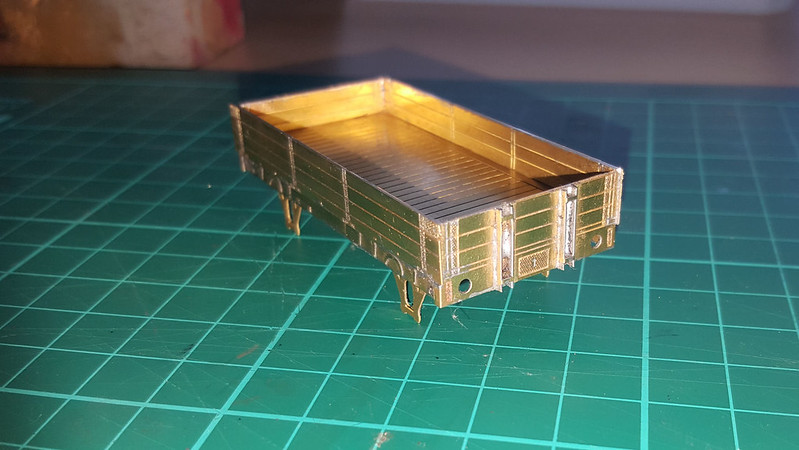
Re: Rustys workbench - builds and paints
Posted: Thu Dec 01, 2016 9:00 pm
by Rustynuts
Inner and outer shells soldered together:
Re: Rustys workbench - builds and paints
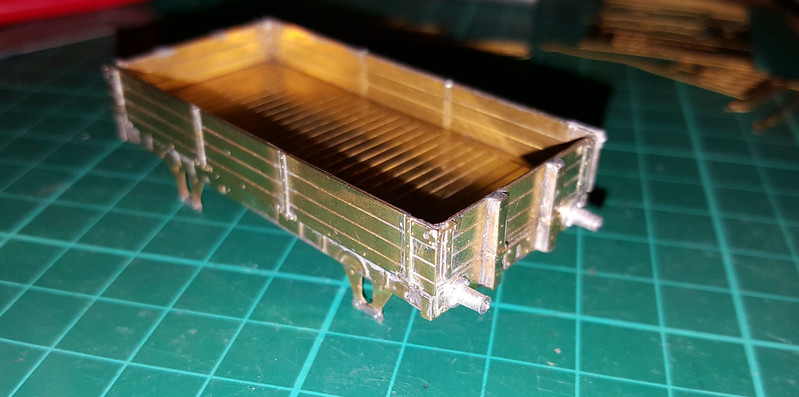
Posted: Sun Dec 04, 2016 4:16 pm
by Rustynuts
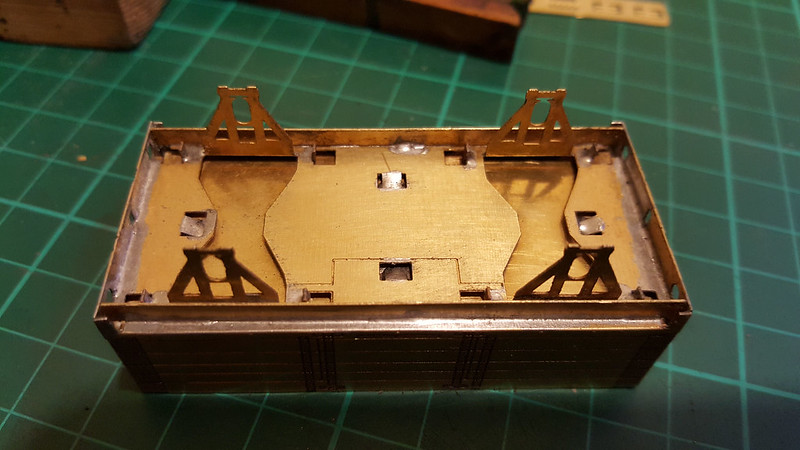
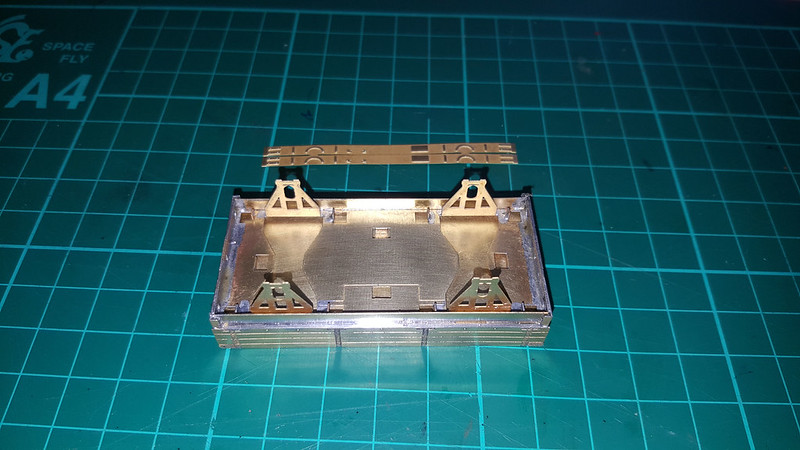
Inner Solebars added and the outer cosmetic ones have already had the rivets punched out:
Cosmetic (outer) Solebars added and the first of the end stanchions side already folded up:
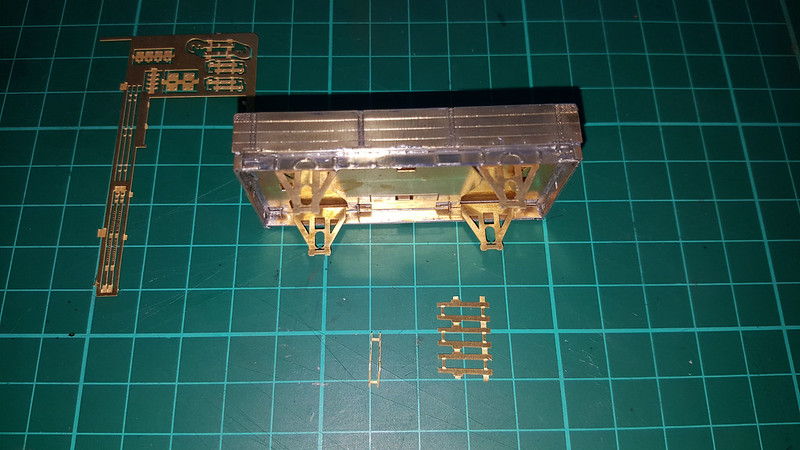
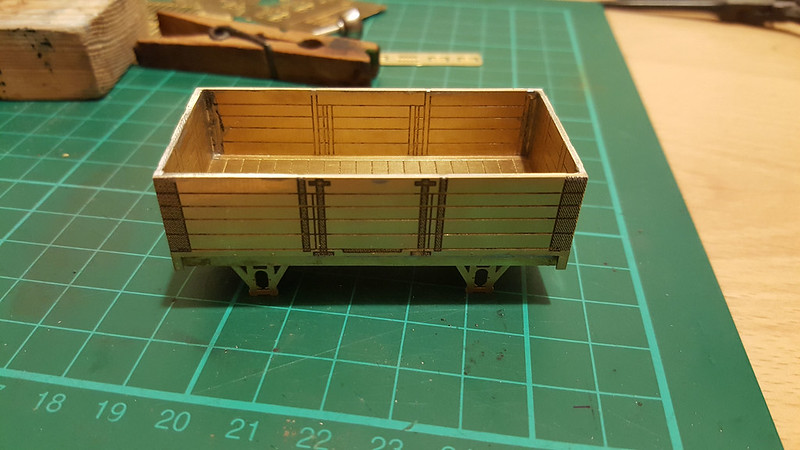
All 4 end stanchions sides added, the front faces now need to be folded up and added, this is a very long winded way of doing things and i would normally have used white metal castings:
Re: Rustys workbench - builds and paints
Posted: Thu Dec 29, 2016 3:53 pm
by Rustynuts
End stachions complete and buffer bodies added:
First set of wheels and axle boxes added:
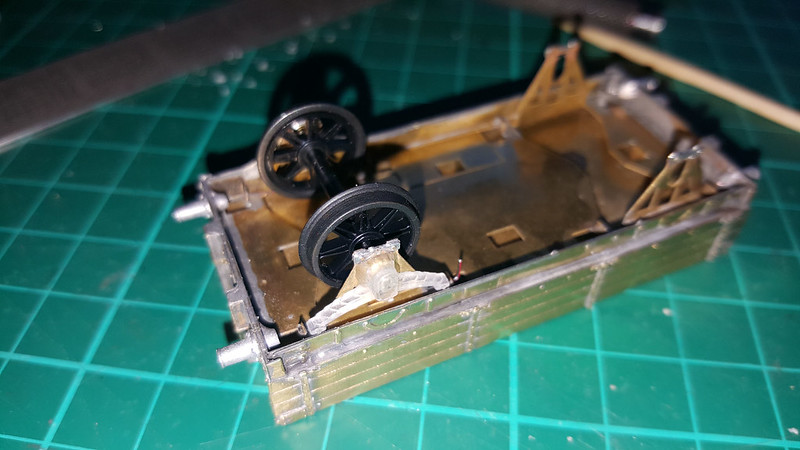
Both wheelsets now fitted:
Brakes started to be added:

Re: Rustys workbench - builds and paints
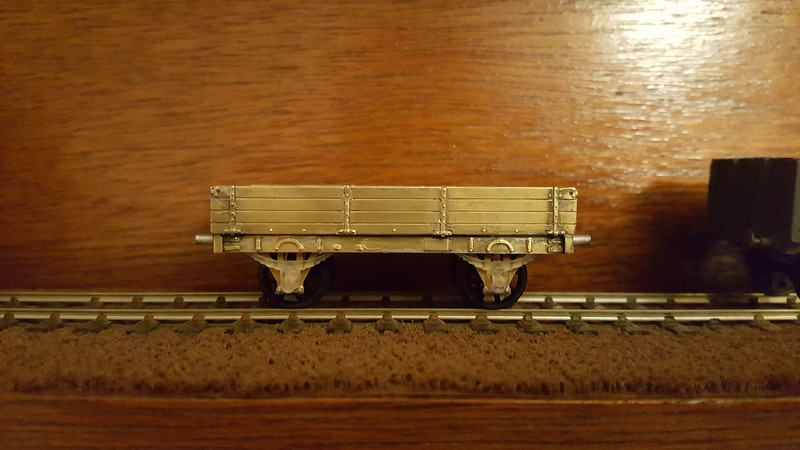
Posted: Sun Jan 01, 2017 8:50 pm
by Rustynuts
All Brake gear added:
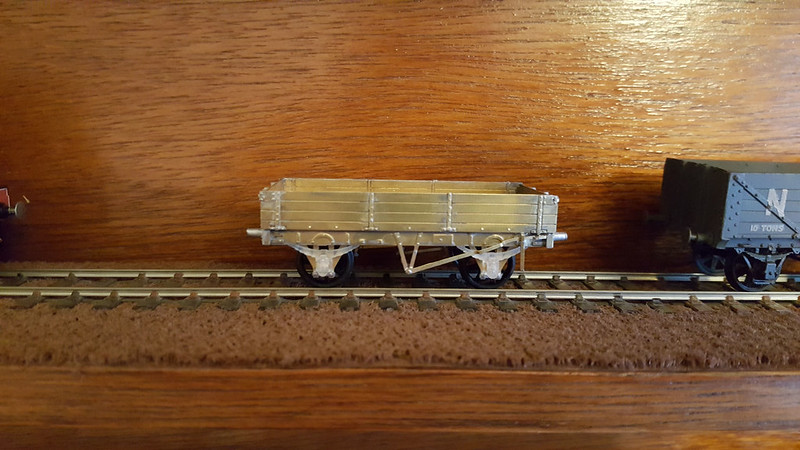
Buffers added and now in grey:

Re: Rustys workbench - builds and paints
Posted: Thu Jan 05, 2017 4:43 pm
by Rustynuts
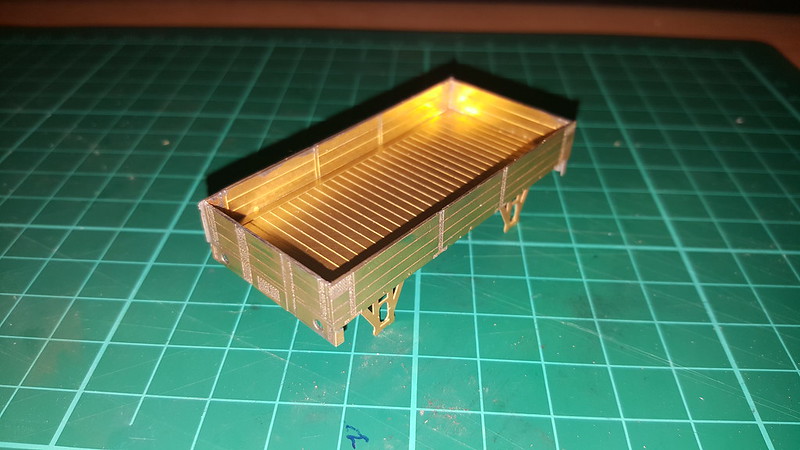
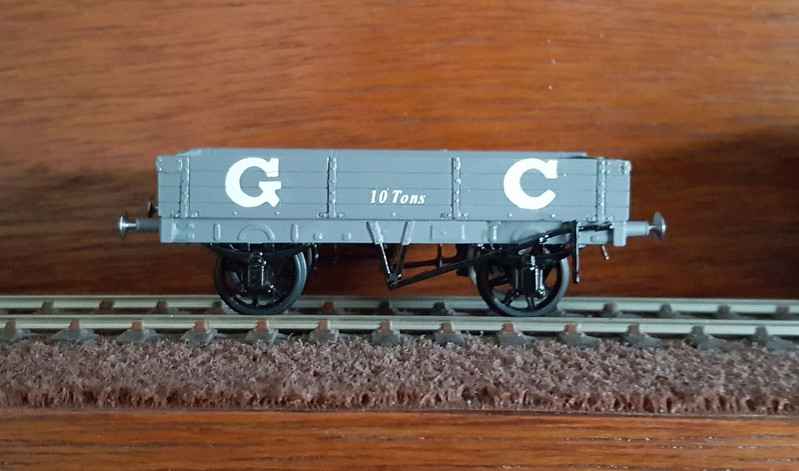
Transfers on, will need to weather it down now:
Re: Rustys workbench - builds and paints
Posted: Sun Jan 08, 2017 2:17 pm
by Rustynuts
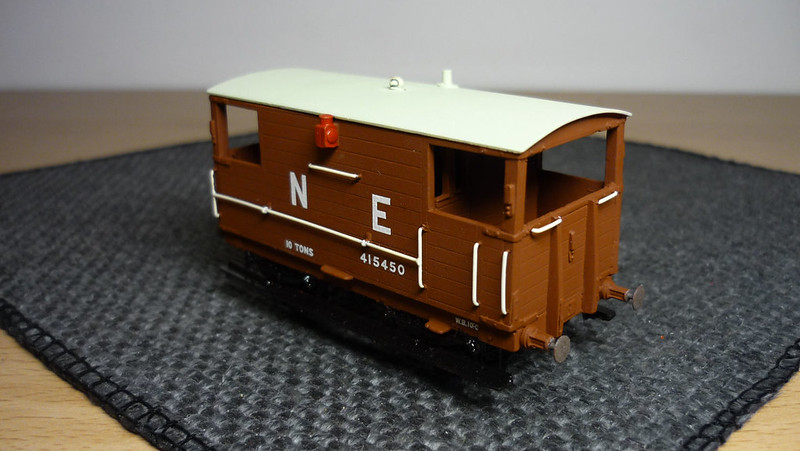
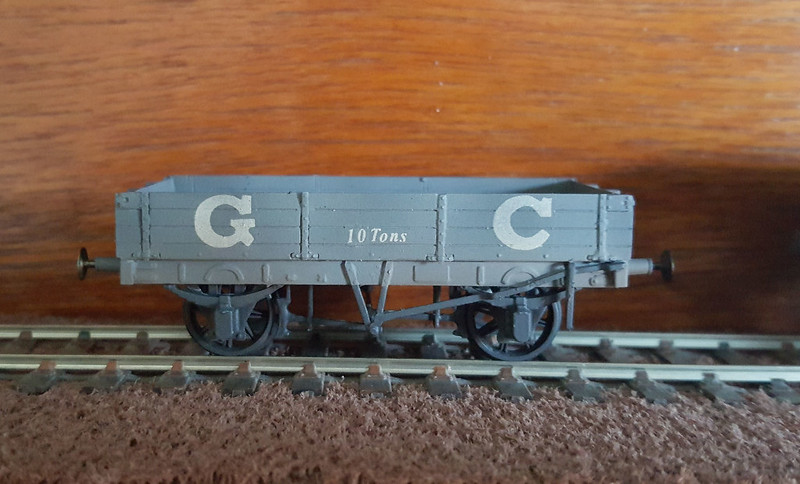
Now Weathered:
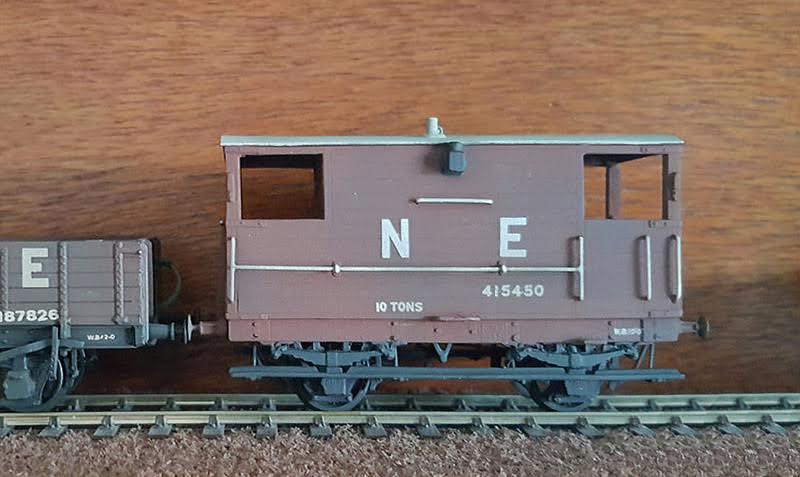
GNR Brake van also toned down:
Re: Rustys workbench - builds and paints
Posted: Fri Jan 13, 2017 6:27 pm
by Rustynuts
On with the next wagon build, this time a Mousa Models GCR D.19 5 Plank coal wagon, so here is the result of the first evenings work: