Page 10 of 18
Re: Rustys workbench - builds and paints
Posted: Sun Dec 24, 2017 5:13 pm
by Mersey508138
What class of loco is the tender going to be part of.
Looks good
Re: Rustys workbench - builds and paints
Posted: Sun Dec 24, 2017 5:56 pm
by Rustynuts
Hi There,
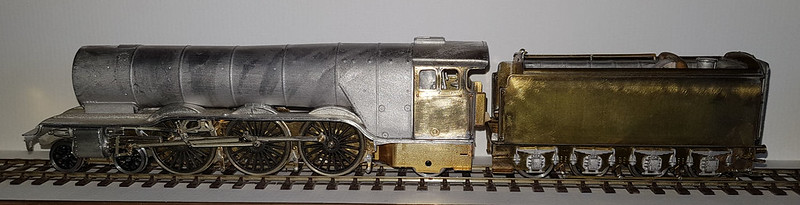
It will be LNER 2564 so an A1 "Knight of the Thistle"
Paul
Re: Rustys workbench - builds and paints
Posted: Tue Dec 26, 2017 1:47 pm
by Rustynuts
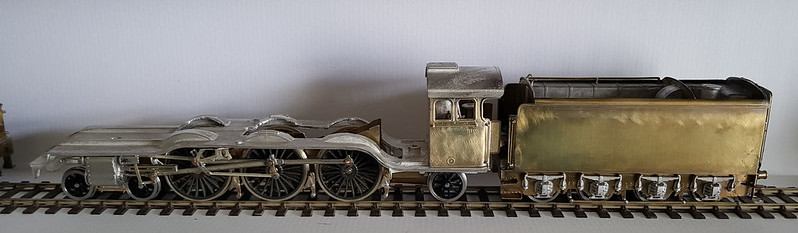
Started on the valve gear, using a mixture of DJH and some spare SEF parts to make the valve spindle move:
Re: Rustys workbench - builds and paints
Posted: Tue Dec 26, 2017 2:10 pm
by Atlantic 3279
Also to be built in forward gear?
Re: Rustys workbench - builds and paints
Posted: Tue Dec 26, 2017 6:17 pm
by Rustynuts
Just getting everything free at the moment, but may set it in forward we shall see as it entails more mods to the etches and the DJH ones aren't the best.
Re: Rustys workbench - builds and paints
Posted: Sat Dec 30, 2017 7:11 pm
by Rustynuts
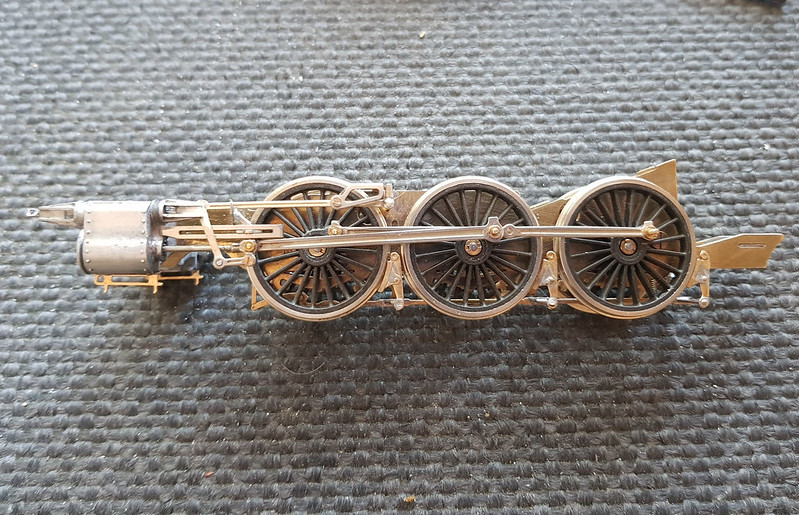
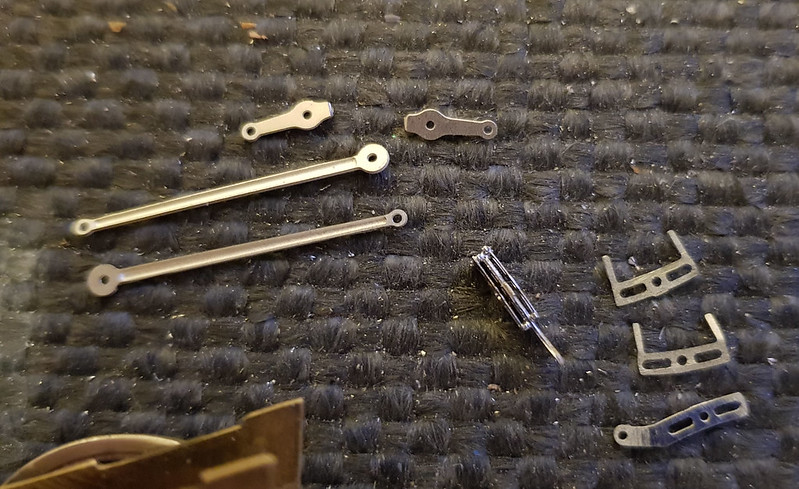
Not the best photos but i have swapped out all of the DJH valve gear with Comet ones, I think they are much better and are very free running:
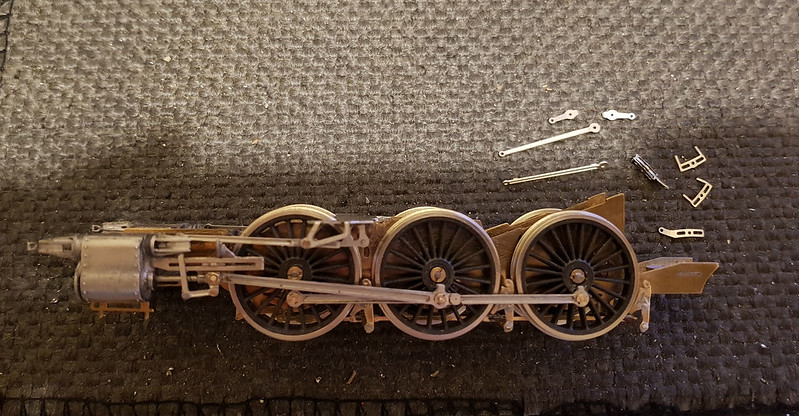
In the next picture you can see the expansion links, I have built one already and as you can see it has 3 components to it:
Re: Rustys workbench - builds and paints
Posted: Sun Dec 31, 2017 10:58 am
by Atlantic 3279
Should you come to grief with the multi-layer expansion links I have some small etches of spare links that you could use to salvage the situation. They go together slightly differently, but working out a suitable method is not beyond human powers of imagination.
Re: Rustys workbench - builds and paints
Posted: Sun Dec 31, 2017 11:21 am
by Rustynuts
Many thanks for that but it has all has gone together OK.
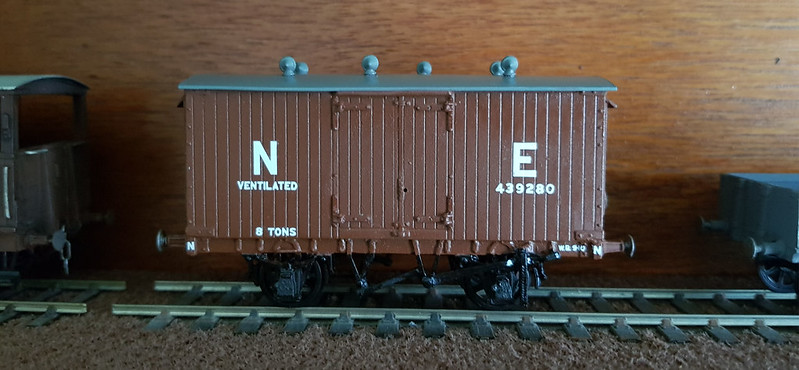
Just been painting this Mess van, originally built it without the beading but i finally decided to strip it down and add it:
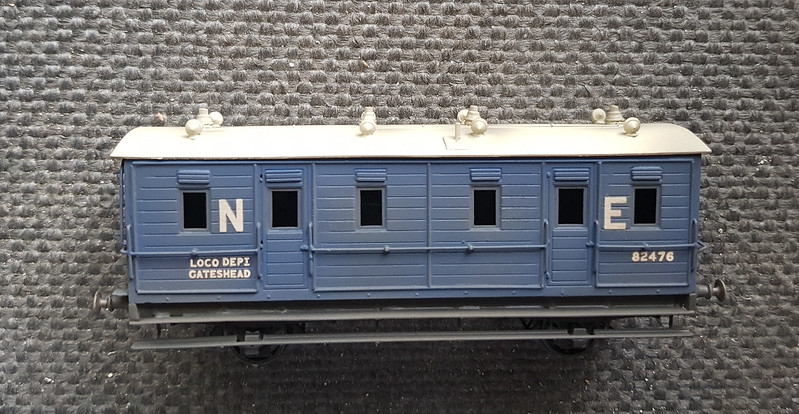
Have a great New Year.
Re: Rustys workbench - builds and paints
Posted: Mon Jan 01, 2018 1:22 pm
by Rustynuts
Happy New Year to all:
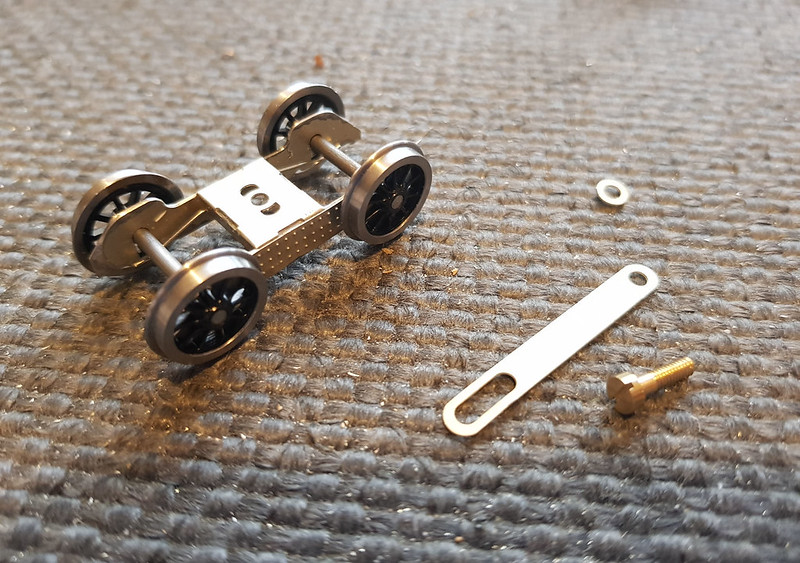
Decided to go down the Comet route for the front Bogie as well:
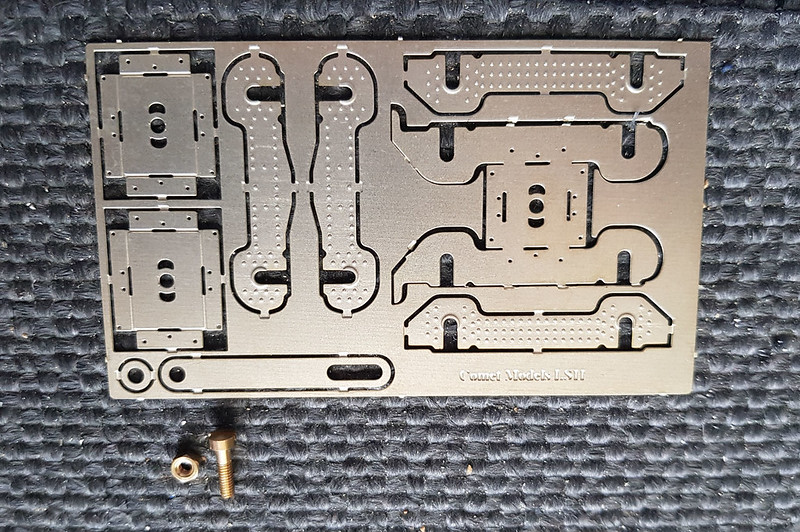
Here it is partially built, just the pivot to sort now:
Re: Rustys workbench - builds and paints
Posted: Sat Jan 06, 2018 11:39 am
by Rustynuts
Getting there with the Chassis:
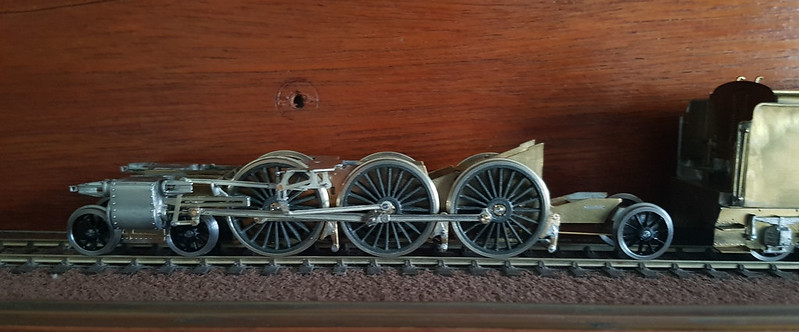
Another eBay find and rebuild, almost done:
Re: Rustys workbench - builds and paints
Posted: Tue Jan 09, 2018 12:41 pm
by Rustynuts
Another eBay purchase, stripped and rebuilt with MJT Queen posts, ABS bogies and Lanarkshire Models & Supplies buffers:
Re: Rustys workbench - builds and paints
Posted: Sun Feb 11, 2018 2:29 pm
by Rustynuts
Re: Rustys workbench - builds and paints
Posted: Sun Feb 11, 2018 2:30 pm
by Rustynuts
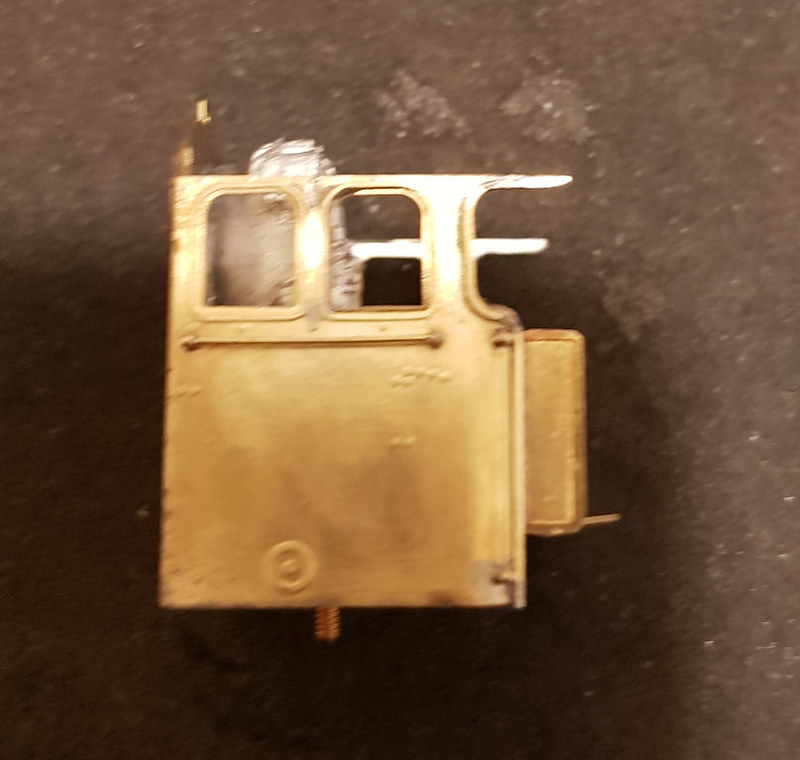
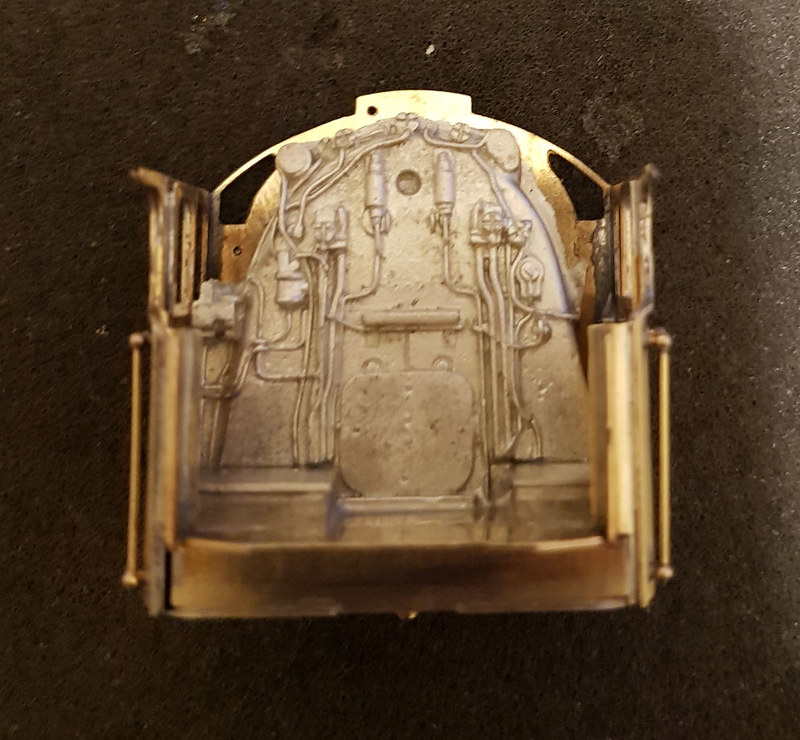
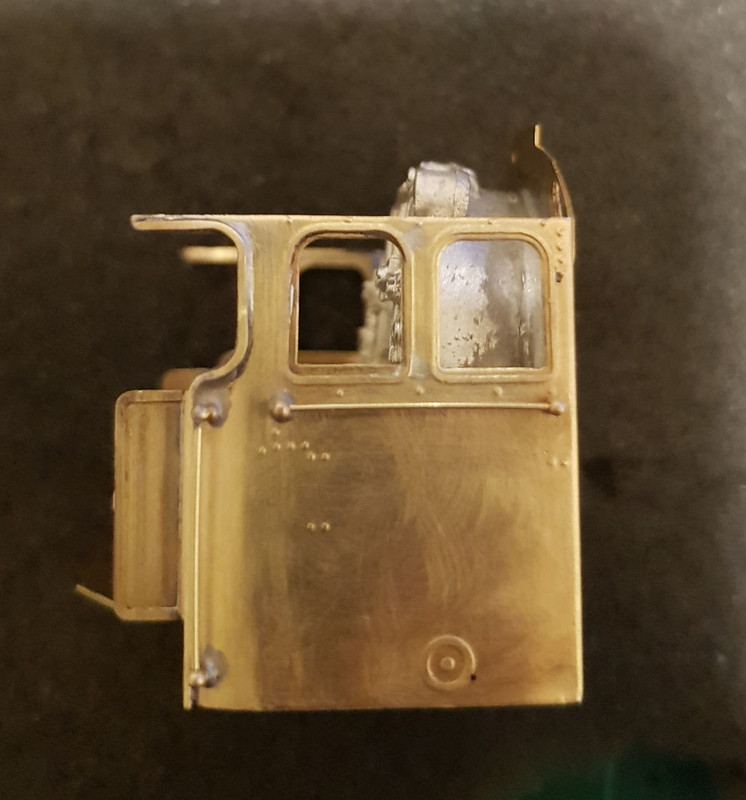
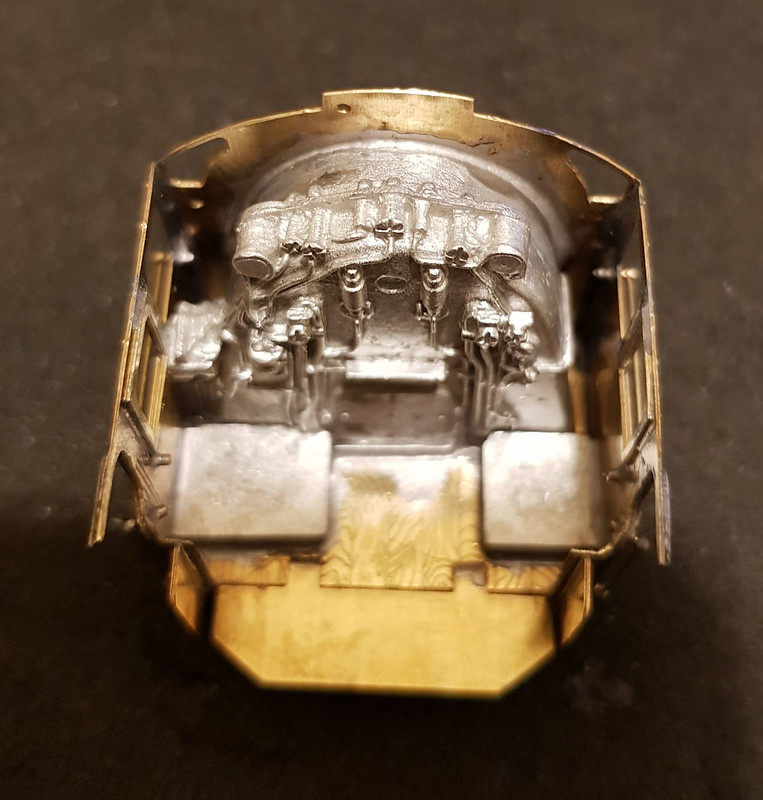
Cab roof on and sitting on the footplate, starting to look like a loco now:
Re: Rustys workbench - builds and paints
Posted: Sun Feb 11, 2018 9:15 pm
by nzpaul
Nice job,the expansion link really looks like it's worth the effort. Just curious to know how you've dealt with fixing the eccentric crank to the threaded crank pin. Is there a nut securing it or have you threaded the part onto the crank pin?
Cheers
Paul
Re: Rustys workbench - builds and paints
Posted: Mon Feb 12, 2018 11:29 am
by Rustynuts
Actually it is soldered, I did look at using Markits latest machined return crank but it needs a 2.4mm hole in the connecting rods and there wasn't enough meat on the comet valve gear.
Now got the boiler on: