G’day all
The conversion of the J39’s into J39/3’s is progressing slowly, as I’m rebuilding the three Wills J39’s that I have. There are problems with the footplate which I’m managing to sort out. I am also waiting on a few bits and pieces.
While this is happening, I’ve been sorting out the old NuCast Q6, which has lost it’s tender to one of the J39/3’s.
About a year ago, I thought about producing a Q5/2 from the Q6, and over the weekend I decided to attempt the conversion.
The Q6 was one of the first kits that I soldered together. I used a large iron powered through a dimmer switch. It worked, but sometimes I fused pieces of white metal together with bad soldering technique. I also found that some pieces were glued together.
Boiling water separated most of the model, except the boiler. The chimney had to be sawed off, and I haven’t decided what to do with the dome.
The Q6 boiler is 22mm which is slightly too small. The Q5/2 had a larger smokebox which I represented by making a plasticard wrapper for the smokebox. The Q6 smokebox door was too large, so I substituted it with a J39 door.
I cut the cab sides of a Wills J39’s away from the footplate and soldered them to the spectacle plate. The roof from the Q6 had the locating ridges ground away using a minidrill.
The tender is an Alexander 3940gal NER version, fitted with a 52F chassis.
The boiler, cab, and roof are merely balanced on the footplate for the pic.
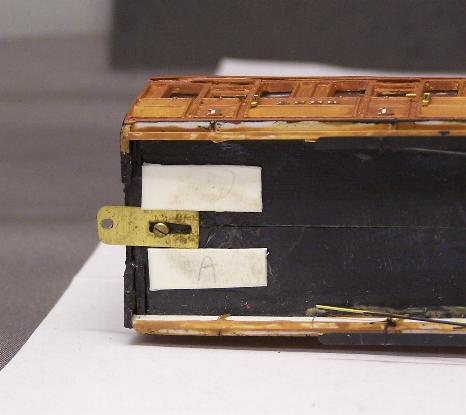
The loco chassis is AGW Q6 frames with the ends sawed away. I made the brake shoes from a Mainly Trains etch, but I need to trim the flanges of the old Romford wheels which I’ve used. The motor is a Mashima 1620 with a High Level Roadrunner plus 54:1 gearbox.
I would like to point out that I have no connection with any supplier mentioned, other than being a satisfied customer.
Earlswood nob