Good morning all
I very interesting point about brass wire hardening.
I flopped when I tried to use brass wire for the beading on a GNR cab. I shall try annealing the wire next time.
As usual I was over-reaching my abilities, but if one doesn't try and fail, one cannot push back the boundaries and know one's limits.
Earlswood nob
Rustys workbench - builds and paints
Moderators: 52D, Tom F, Rlangham, Atlantic 3279, Blink Bonny, Saint Johnstoun, richard
-
earlswood nob
- LNER A4 4-6-2 'Streak'
- Posts: 1668
- Joined: Tue Mar 09, 2010 9:23 am
- Location: Surrey
Re: Rustys workbench - builds and paints
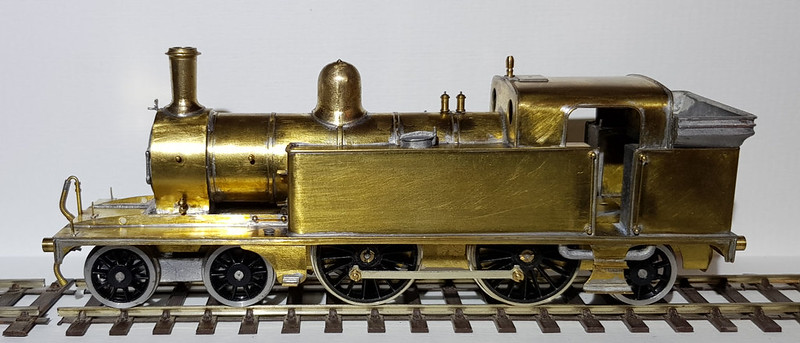
Latest update on the C12,new Markits wheels and front lamp irons fitted:
and a little work done on the A3, inc brass safety valves:
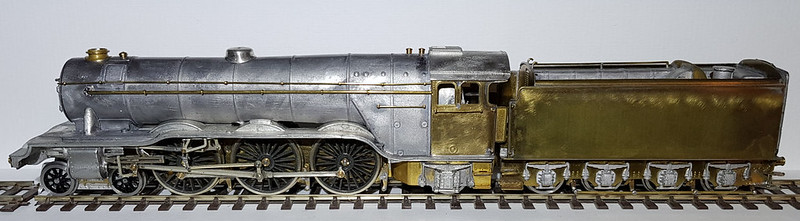
and a little work done on the A3, inc brass safety valves:
Re: Rustys workbench - builds and paints
Very nice work.
-
Woodcock29
- LNER Thompson B1 4-6-0 'Antelope'
- Posts: 692
- Joined: Tue Nov 27, 2012 8:59 am
- Location: South Australia
Re: Rustys workbench - builds and paints
Agree with previous post - very nice work.
I'm currently building a Craftsman C12 for a joint exhibition layout project with a mate. The last C12 I built was about 14 years ago for another mate and my own original one was built about 1980. A suggestion for the C12 is to add some of the extra detail that is missing from the kit. In particular the cab. There should be a rain strip over the entrance to cab and in most cases they received solid metal wind shields. These are easy to add from strip brass. Also the kit is missing any mention of the handrail that sits at an angle on the lefthand side above and behind the cab entrance. Likewise there was a step on the side of the bunker - the reason for the handrail I presume. All of these are easily seen in photos.
I have attached a photo of the top of my C12 cab which shows the rain strips, wind shields and the handrail. It still needs a final clean up.
Also I have just made a GN whistle for a J3 I've just finished building from a piece of 1.2mm brass rod simply by putting it in the chuck of my cordless screwdriver, using it like a hand lathe and shaping the whistle with needle files. I'll do likewise for the C12 to replace the grossly overscale Craftsman whistle. Photo also attached below.
Andrew
- Attachments
-
-
-
Atlantic 3279

- LNER A4 4-6-2 'Streak'
- Posts: 6546
- Joined: Fri Jun 26, 2009 9:51 am
- Location: 2850, 245
Re: Rustys workbench - builds and paints
Exceedingly neat construction Gents!
Most subjects, models and techniques covered in this thread are now listed in various categories on page1
Dec. 2018: Almost all images that disappeared from my own thread following loss of free remote hosting are now restored.
Dec. 2018: Almost all images that disappeared from my own thread following loss of free remote hosting are now restored.
Re: Rustys workbench - builds and paints
Mmm, must see about adding this.
-
manna

- LNER A4 4-6-2 'Streak'
- Posts: 3793
- Joined: Sun May 24, 2009 12:56 am
- Location: All over Australia
Re: Rustys workbench - builds and paints
G'Day Gents
Beautiful loco's Gents.
manna
Beautiful loco's Gents.
manna
EDGWARE GN, Steam in the Suburbs.
Re: Rustys workbench - builds and paints
Thanks,
Picked up a Q1 0-8-0T from a certain auction site the other day. it was in quite good nick so decided to go for it, already have the chassis stripped and new RP25 Markits fitted but the slide bars had been badly done so waiting on some 1mm x 1mm stock to arrive so i can rebuild it, I'll add pics when I can.
Paul
Re: Rustys workbench - builds and paints
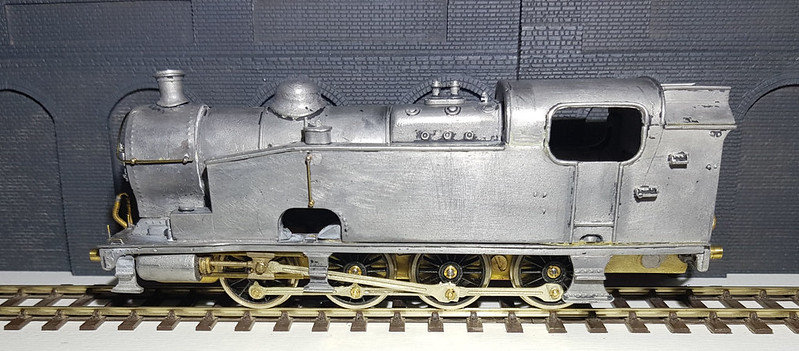
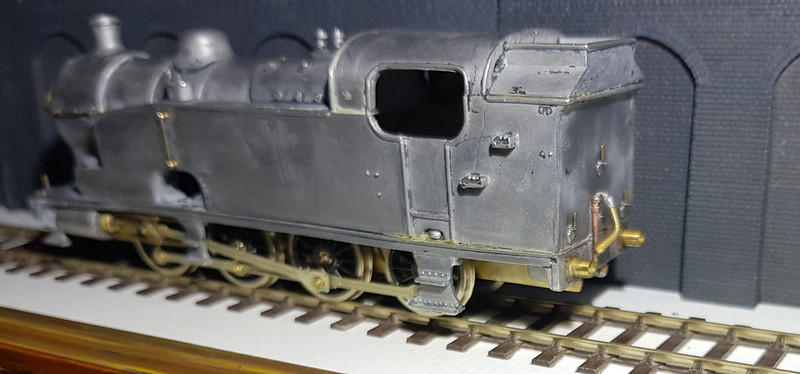
Here are a couple of 'before' photos of the Millholme Q1 I'm rebuilding:
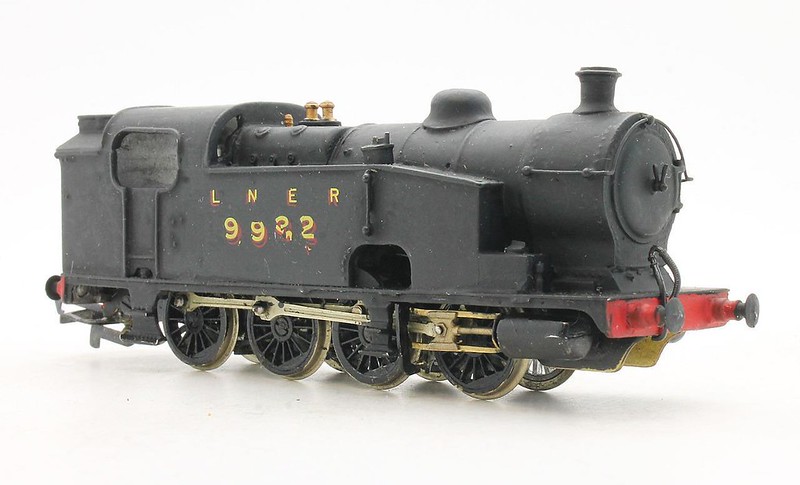
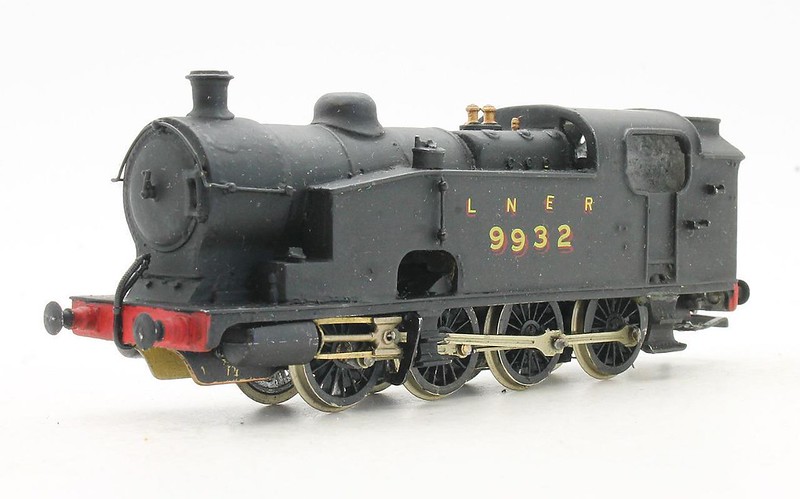
Body and Chassis already stripped of paint, the chassis is sitting on new Markits wheels and the steps onthe body have been soldered on instead of glued as they were (fell off when stripping).
Body and Chassis already stripped of paint, the chassis is sitting on new Markits wheels and the steps onthe body have been soldered on instead of glued as they were (fell off when stripping).
-
earlswood nob
- LNER A4 4-6-2 'Streak'
- Posts: 1668
- Joined: Tue Mar 09, 2010 9:23 am
- Location: Surrey
Re: Rustys workbench - builds and paints
Good morning all from sunny Surrey
I like the Q1 tank. I essentially model the thirties, but have often wondered about the Q1, as I think it would look good alongside the S1, which I shall build at some time.
Earlswood nob
I like the Q1 tank. I essentially model the thirties, but have often wondered about the Q1, as I think it would look good alongside the S1, which I shall build at some time.
Earlswood nob
Re: Rustys workbench - builds and paints
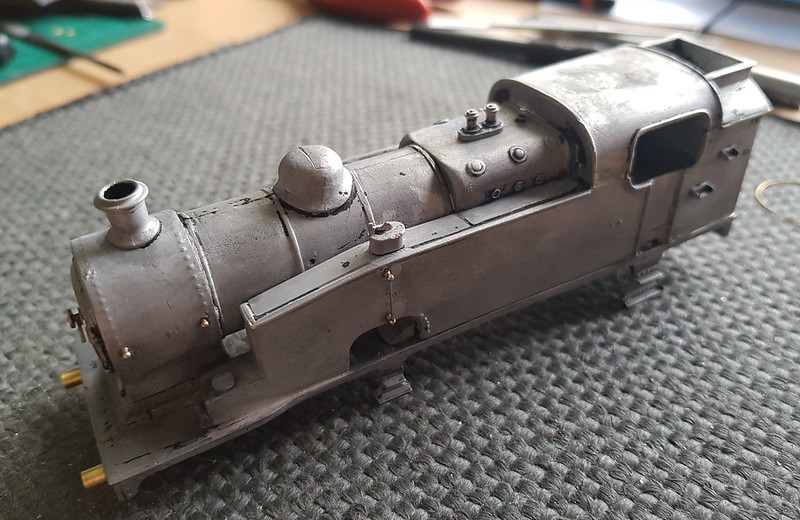
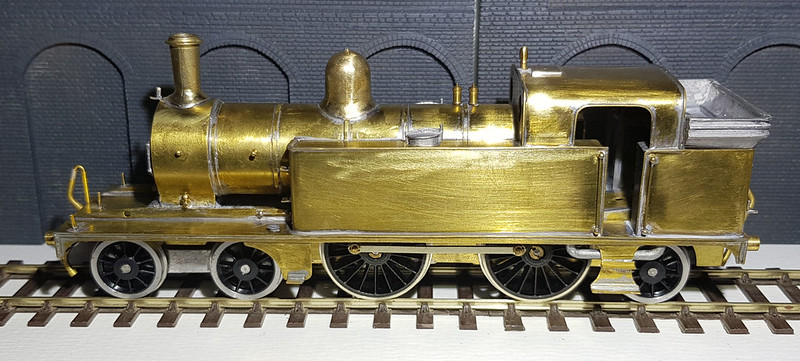
So here is the start of the Q1 rebuild:
It had been glued together so after stripping some re-soldering was required, I have replaced the large handrail knobs, brass smokebox door handle and fitted Gibson sprung buffers:

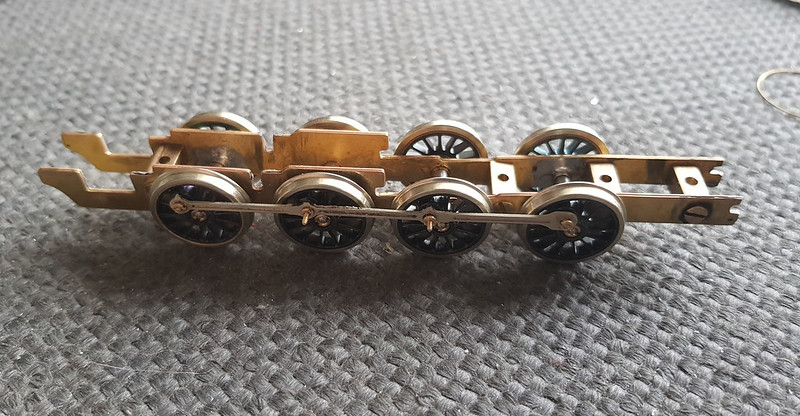
Chassis has been stripped and new Markits fitted with the deluxe crank pins:
It had been glued together so after stripping some re-soldering was required, I have replaced the large handrail knobs, brass smokebox door handle and fitted Gibson sprung buffers:
Chassis has been stripped and new Markits fitted with the deluxe crank pins:
Re: Rustys workbench - builds and paints
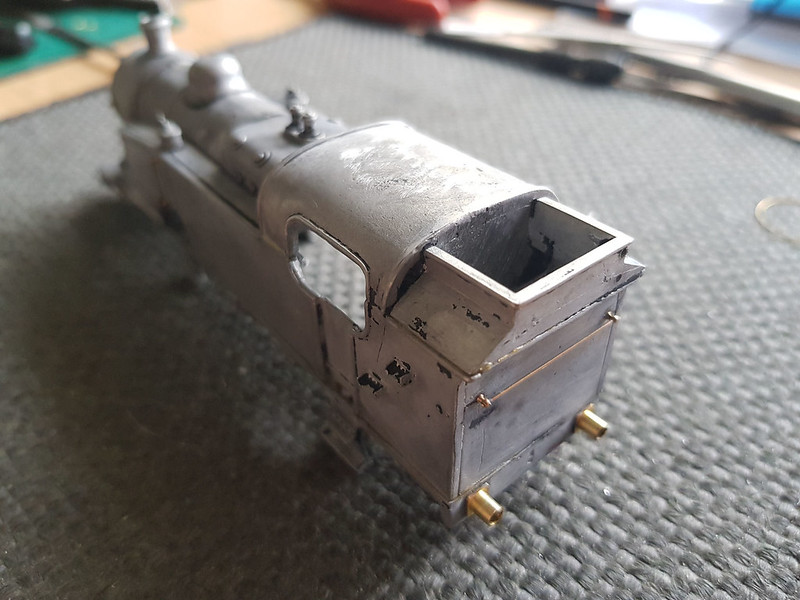
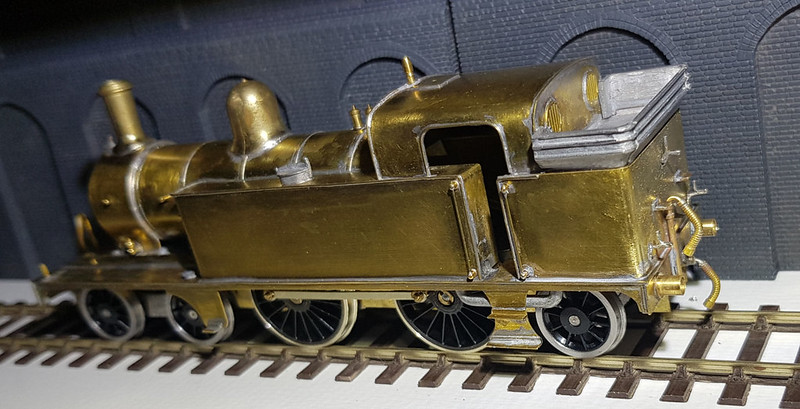
Another update on the Q1, some reworking of the body and most of the lamp brackets now added:
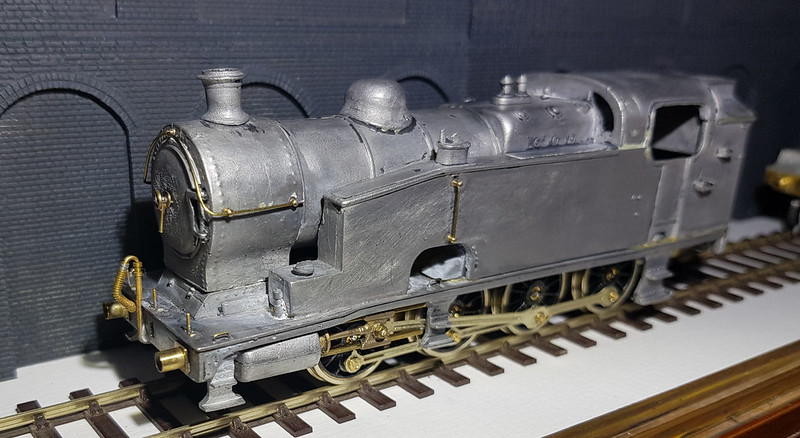
The Glue, from the original builder has now been removed.
The Glue, from the original builder has now been removed.
Re: Rustys workbench - builds and paints
And I've been doing some work on the C12 as well:
Re: Rustys workbench - builds and paints
I have been also playing around with a D&S GN 8T outside frame van which was a cheap eBay find:
The Before:
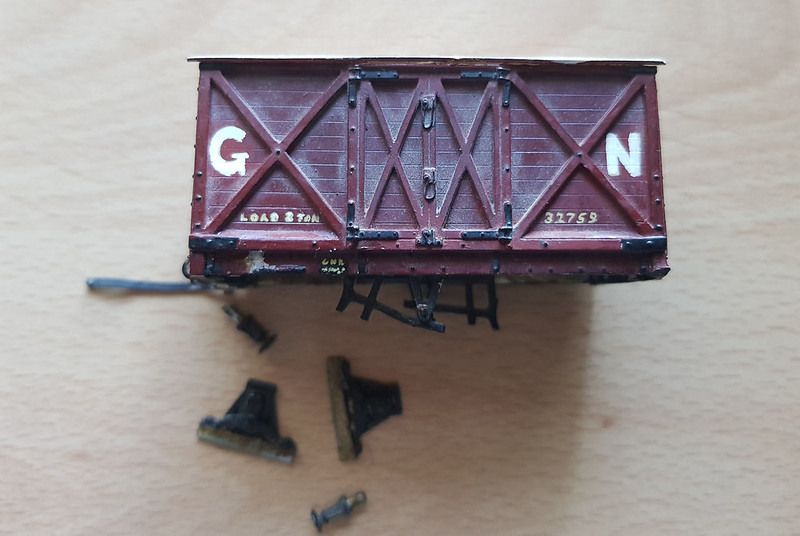
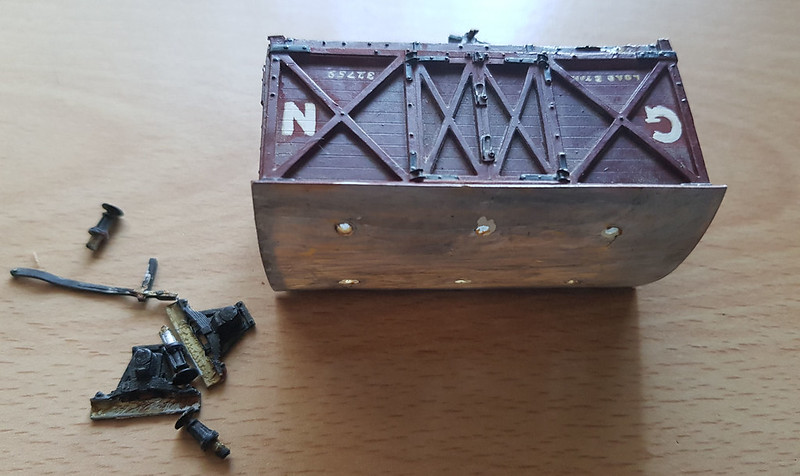 [/url]
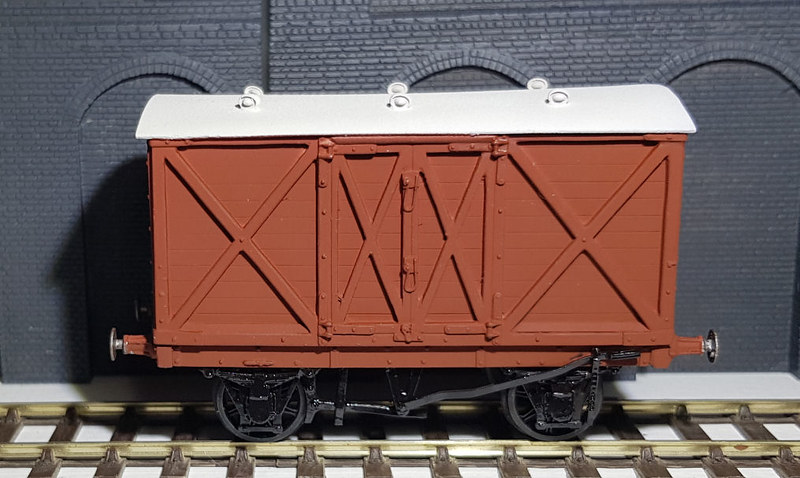
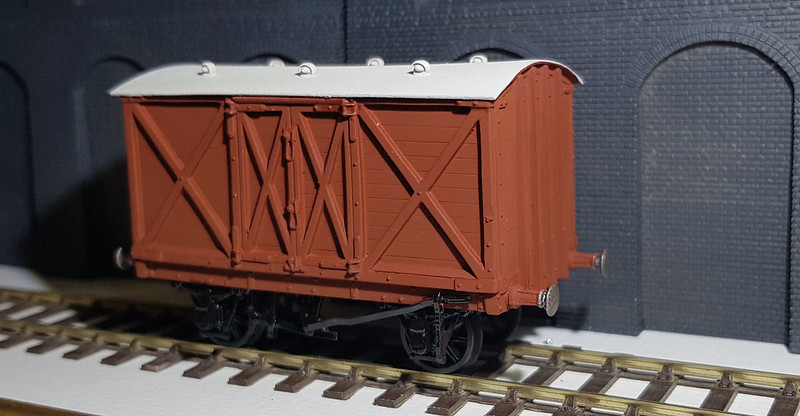
And part way through the rebuild with MJT W irons, new Axle boxes and the brake levers added:

The Before:
[/url]And part way through the rebuild with MJT W irons, new Axle boxes and the brake levers added: