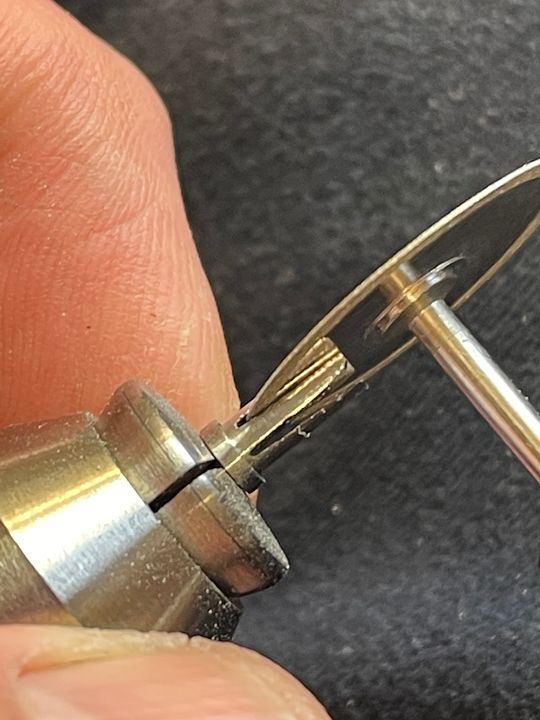
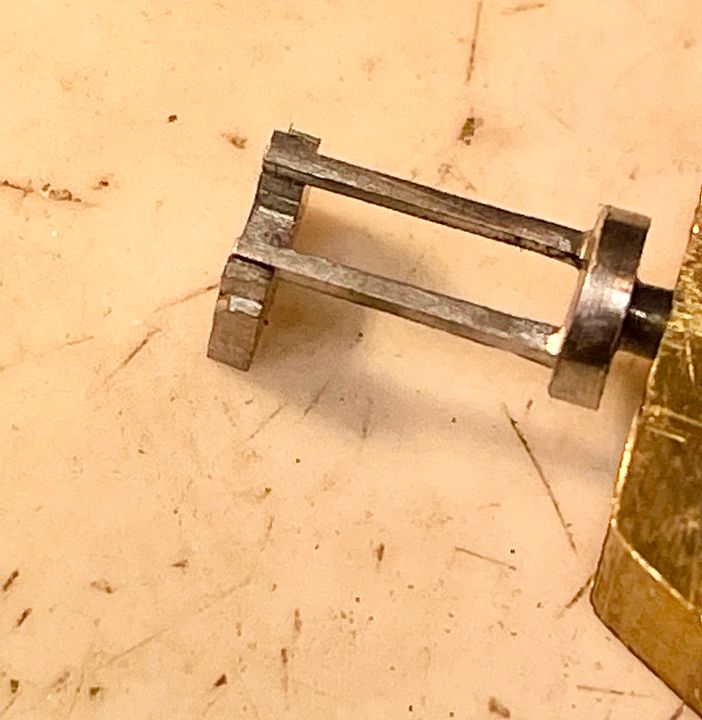
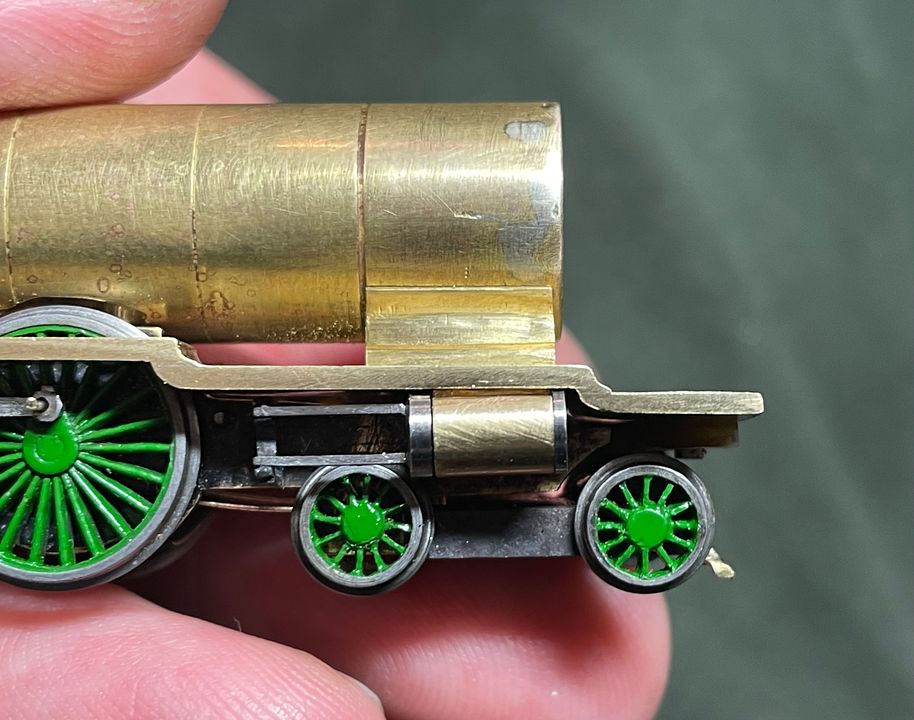
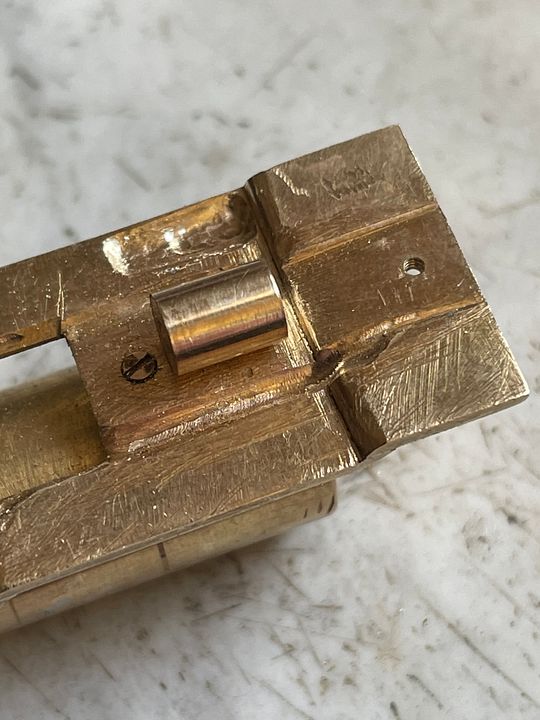
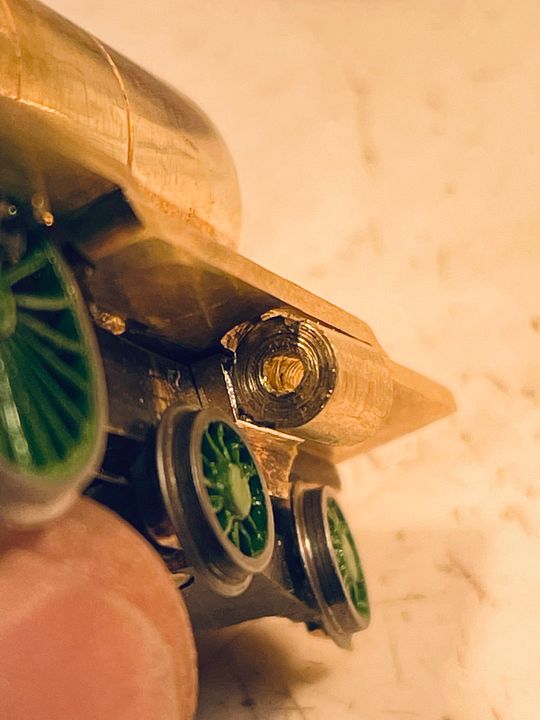
The cylinders have now been fixed to the frames on the NER 4-6-2 class. I decided against trimming the top of the cylinder but cut out the underside of the thick running plate instead. This gave a ‘cradle’ to support the cylinder whilst it was being soldered to the mounting pad.
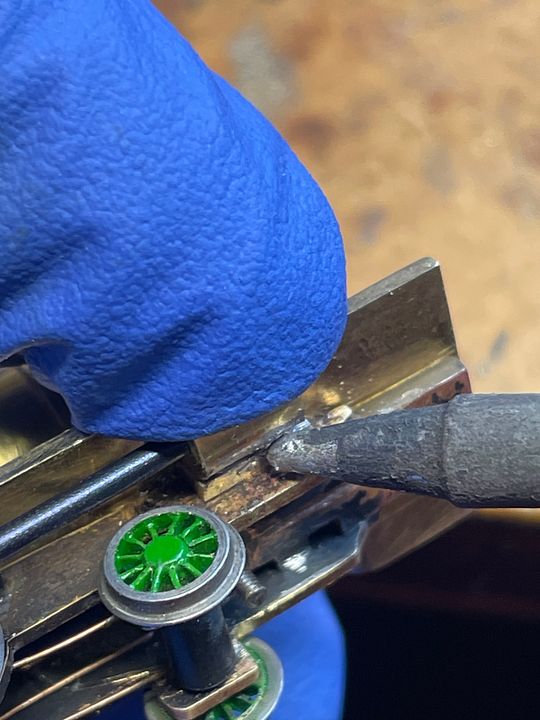
The two components were held in place by hand against the frames, after tinning both pieces, but wearing two nitrile gloves. These don’t give that much heat insulation, but better than nothing. The alternative, which I tried on the second side was to use a piece of emery cloth to grip the cylinder and push it against the frames. The gloves worked better and the cylinder was just tacked into place with an exceedingly hot iron.
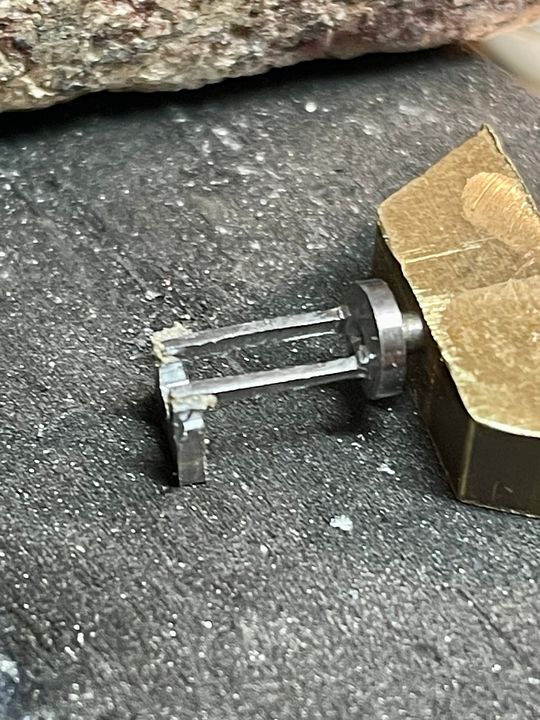
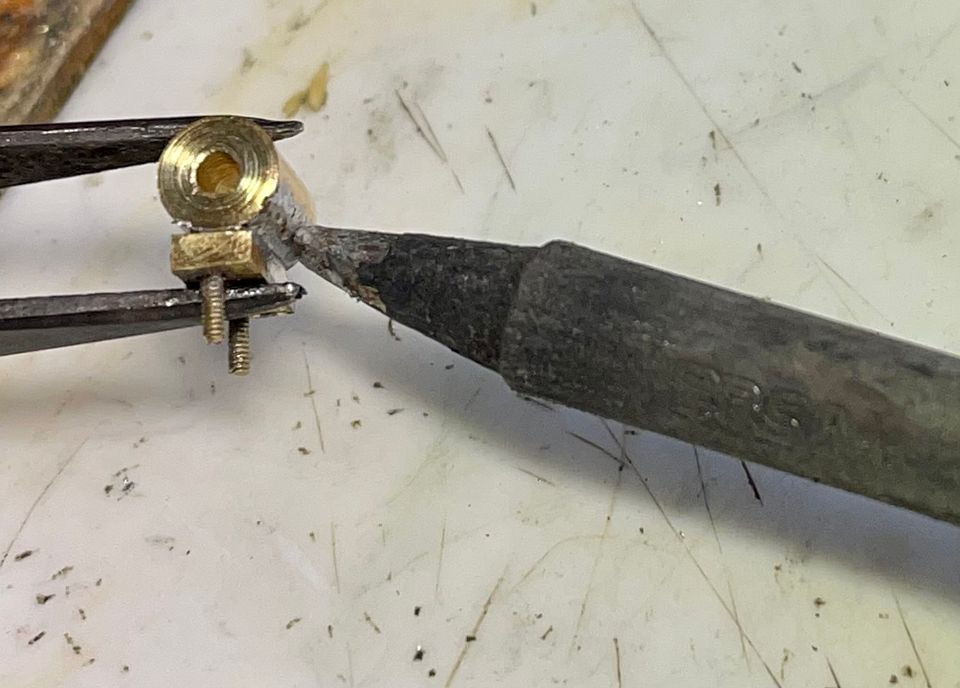
The assembly was then removed, clamped up with some locking tweezers and properly sweated together.
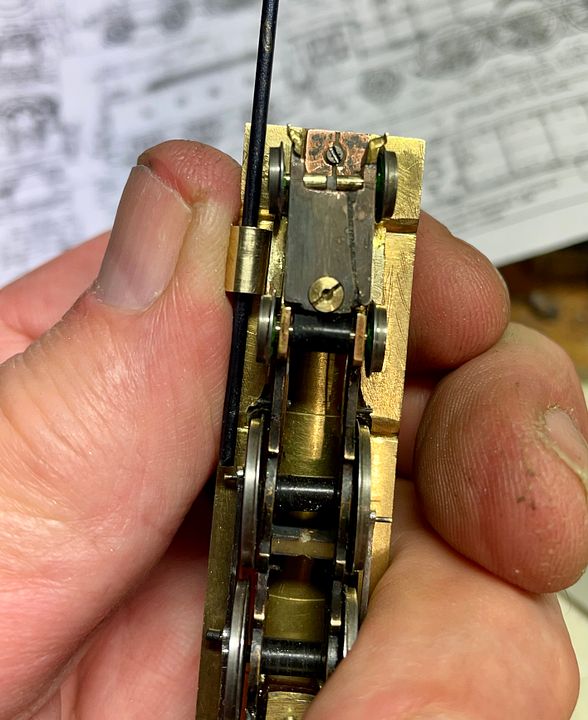
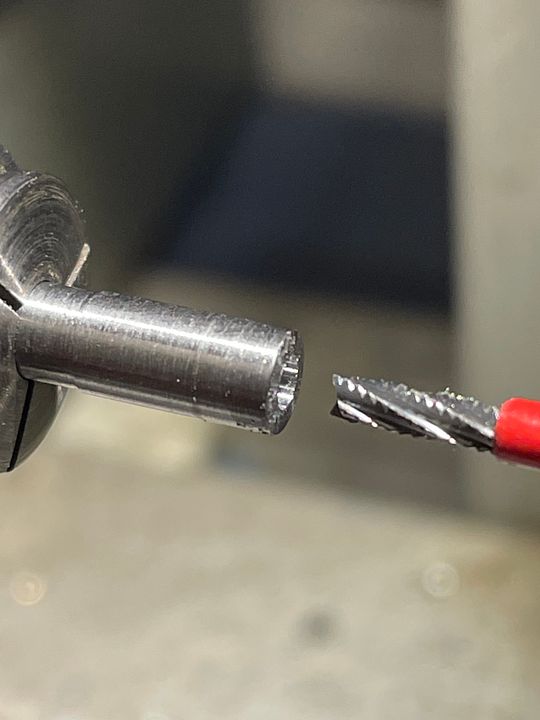
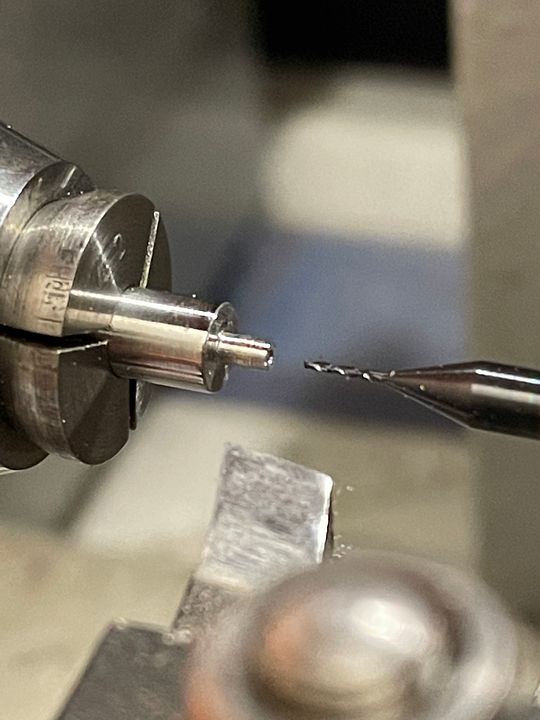
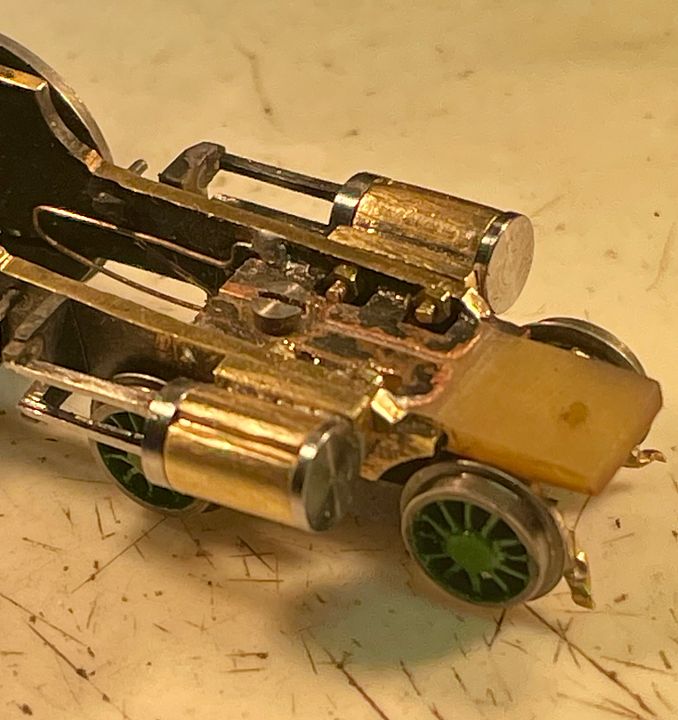
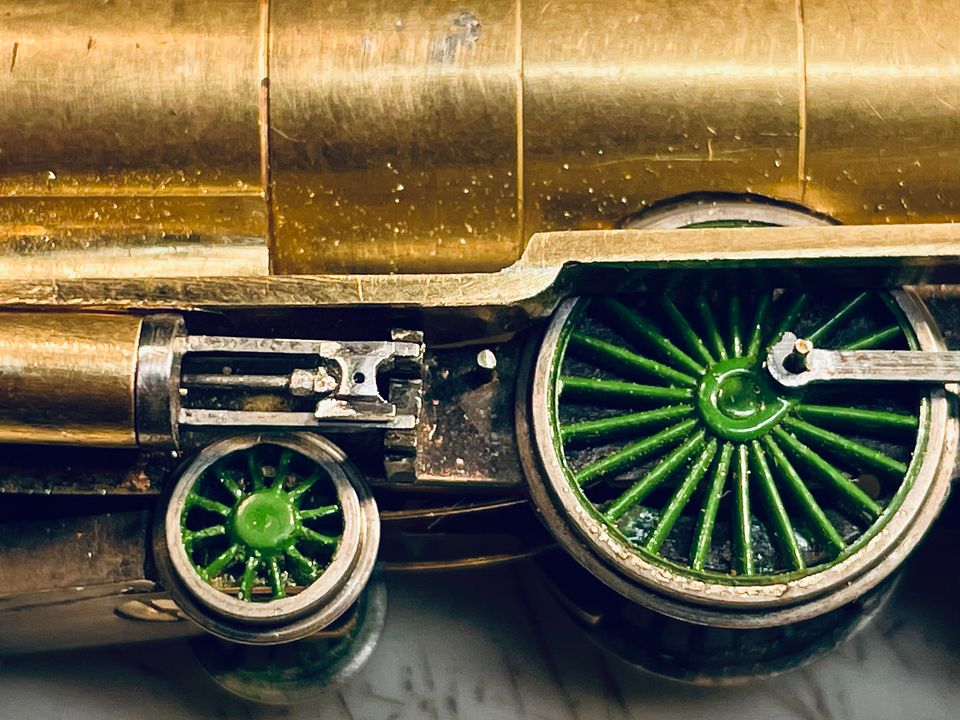
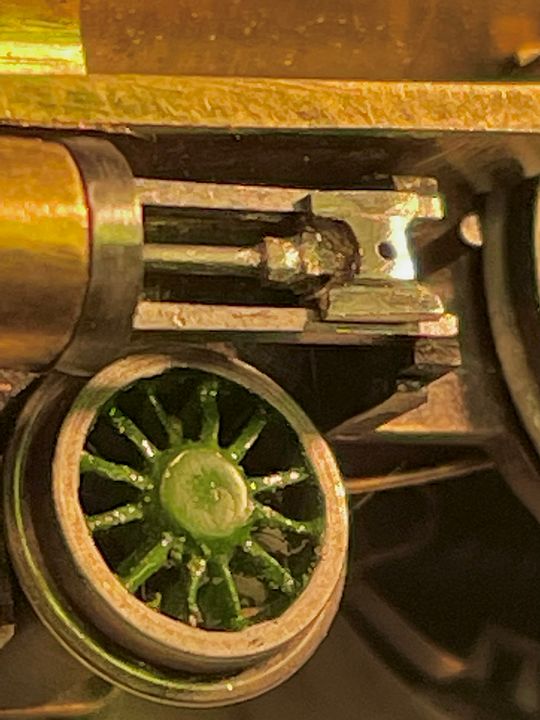
An air gap was cut around the cylinders using a fine bur and files to insulate from the bodywork (actually only needed on one side - the other is live). The cylinder had a small rebate cut into it so that it did not touch the valence: this may be coated in epoxy resin later on.
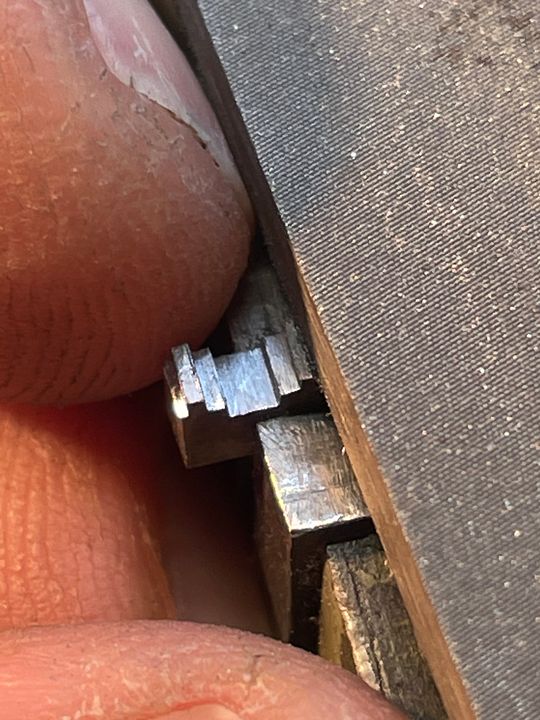
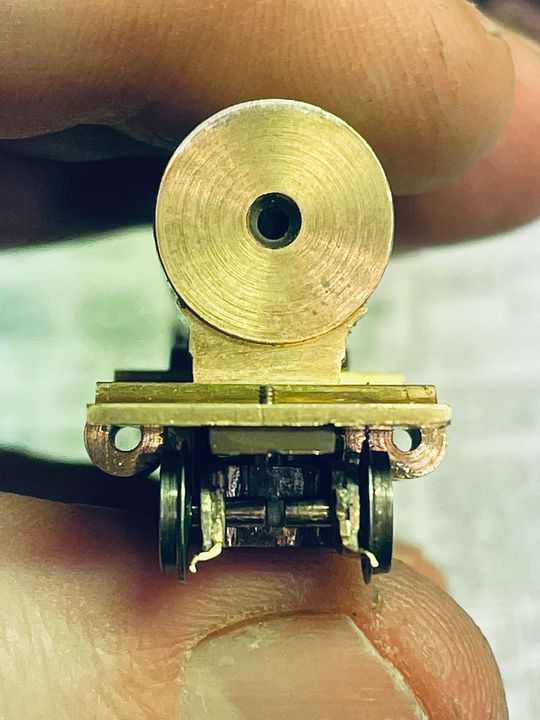
The positioning of the cylinders is very critical, the first one was OK, the second more tricky. From the front they look OK.
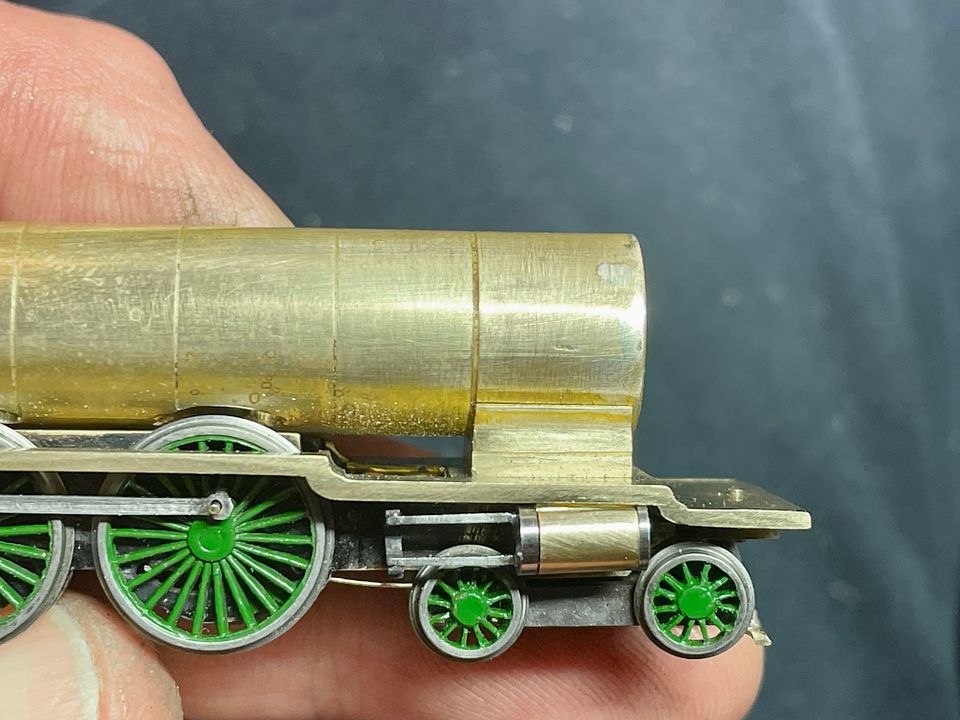
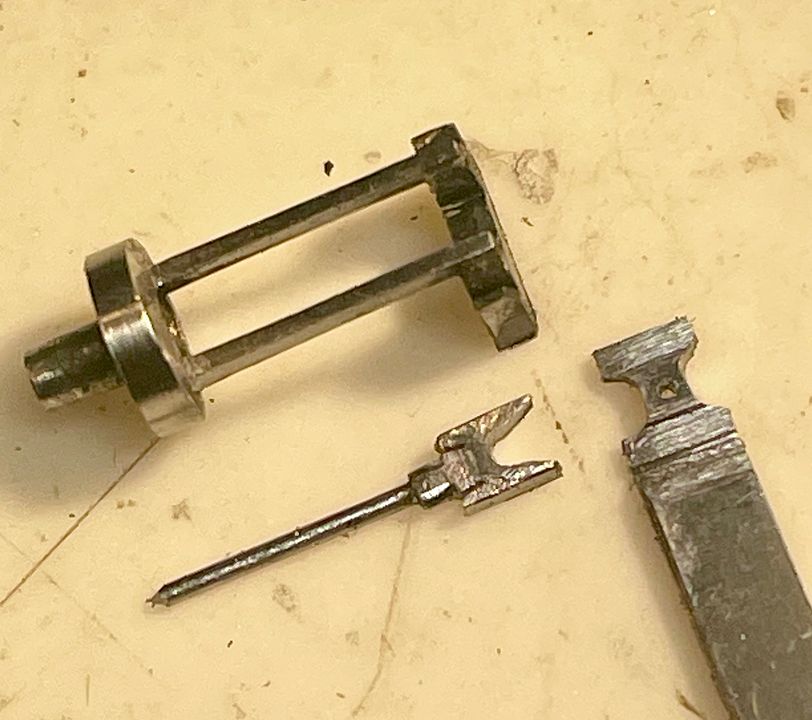
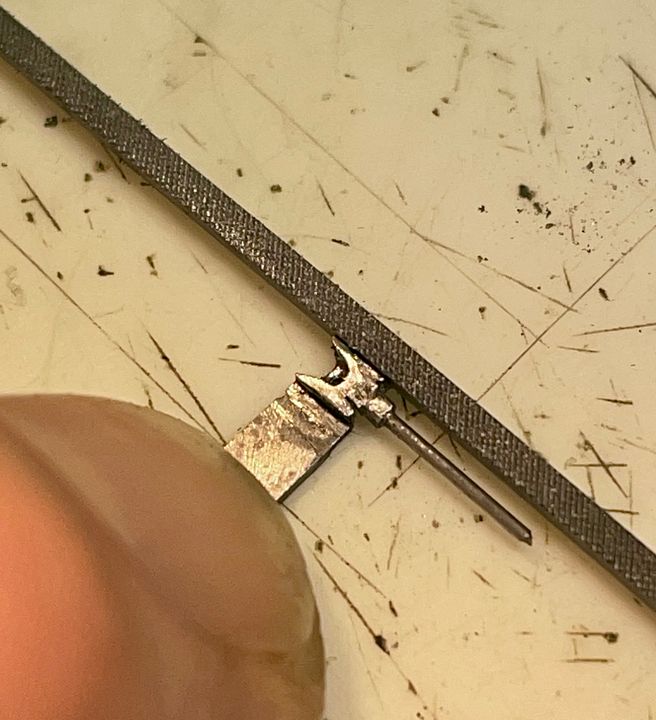
From the side the angulation is quiet subtle: the sighting rod helps to check it out.

Next bits to make will be the cylinder covers and slide bars. The rear cover is actually quite deep and incorporates the stuffing box, which will make constructing a bit easier.
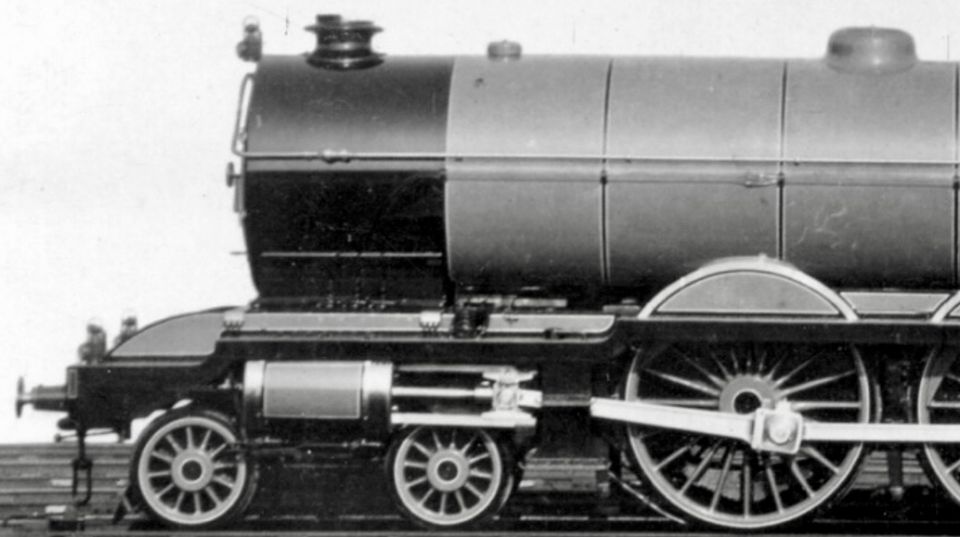
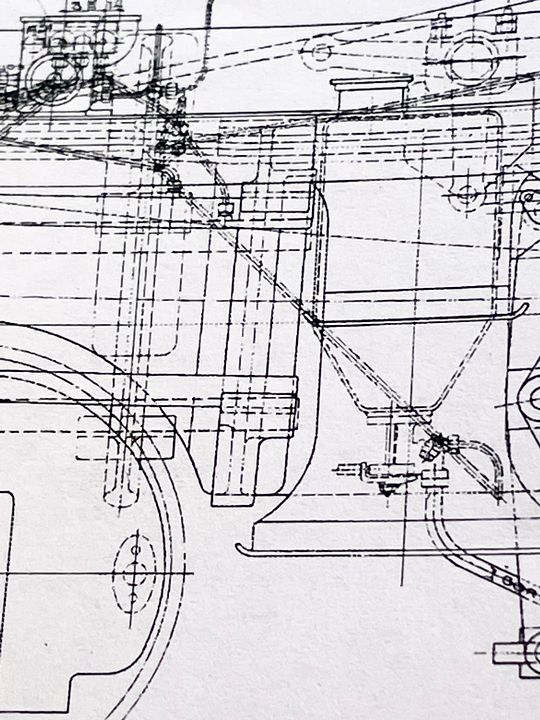
I really need to get a high resolution copy of the works photo of 2400; it has some good details in it.
Tim