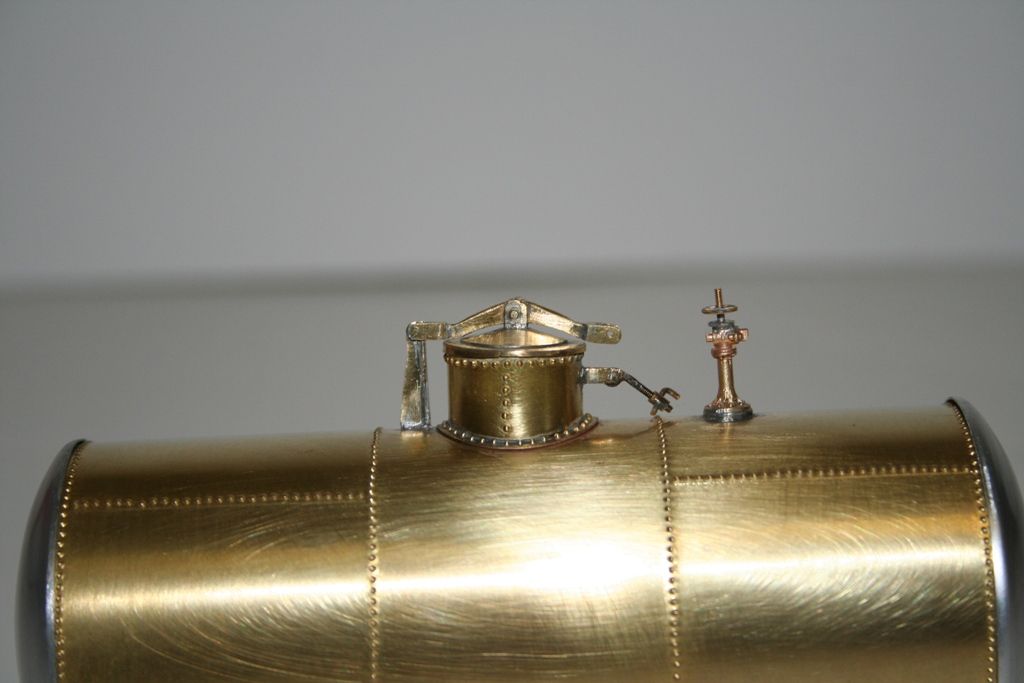
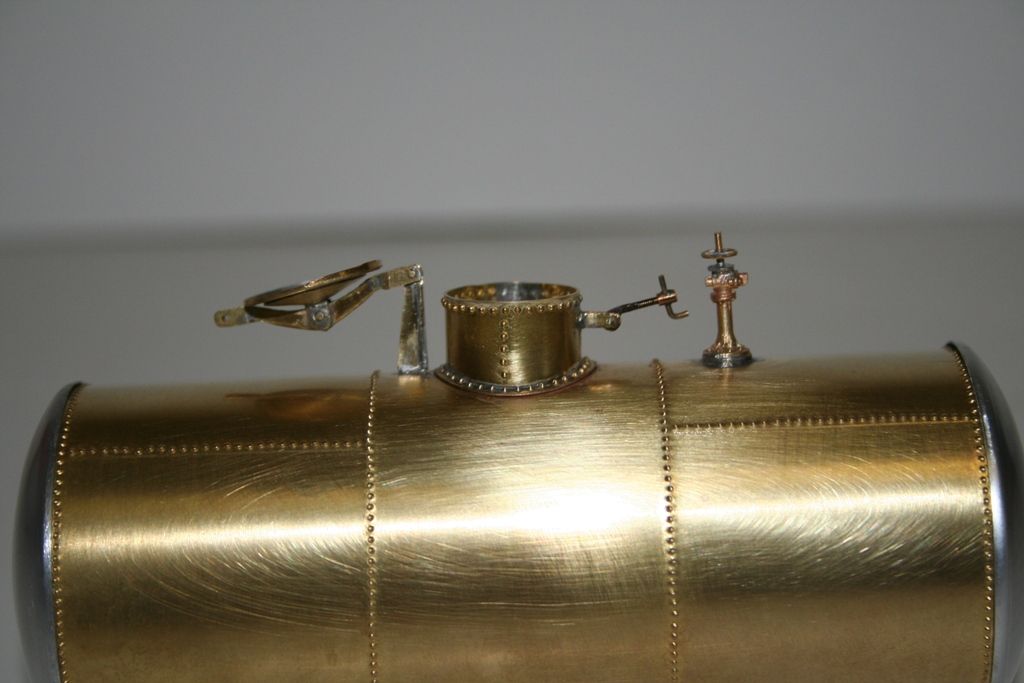
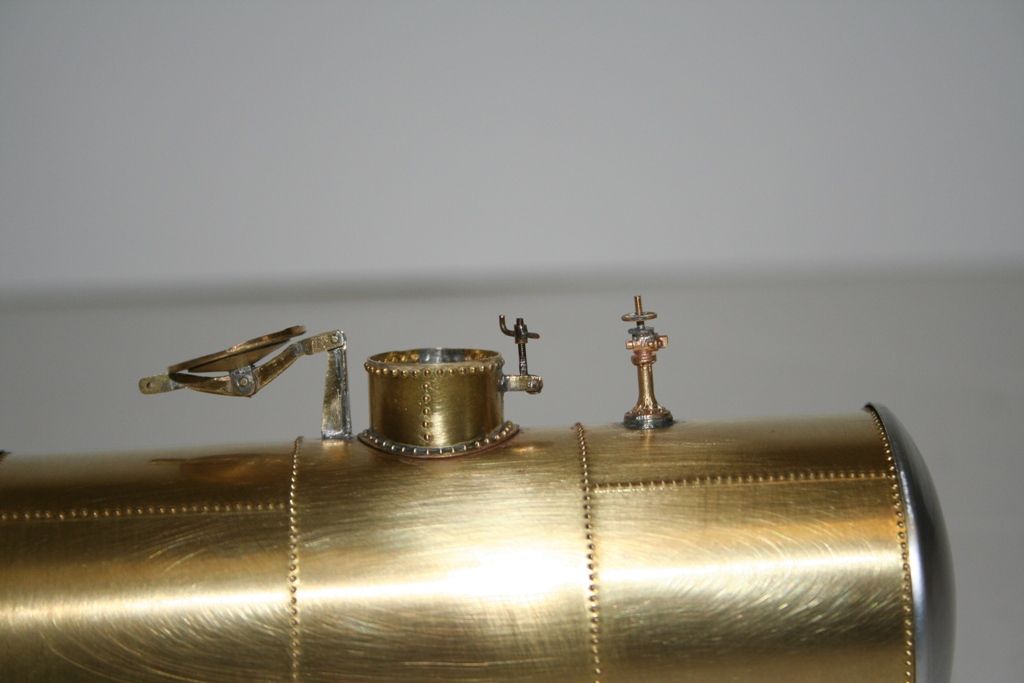
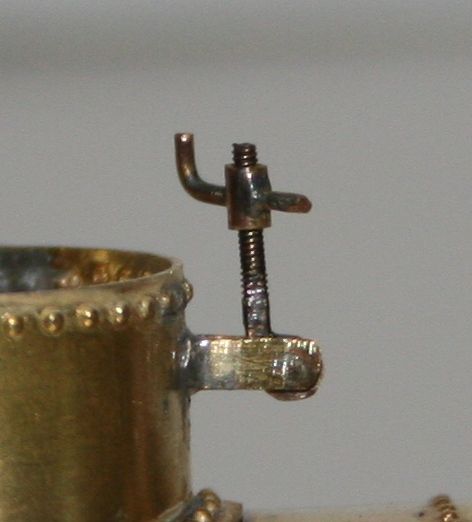
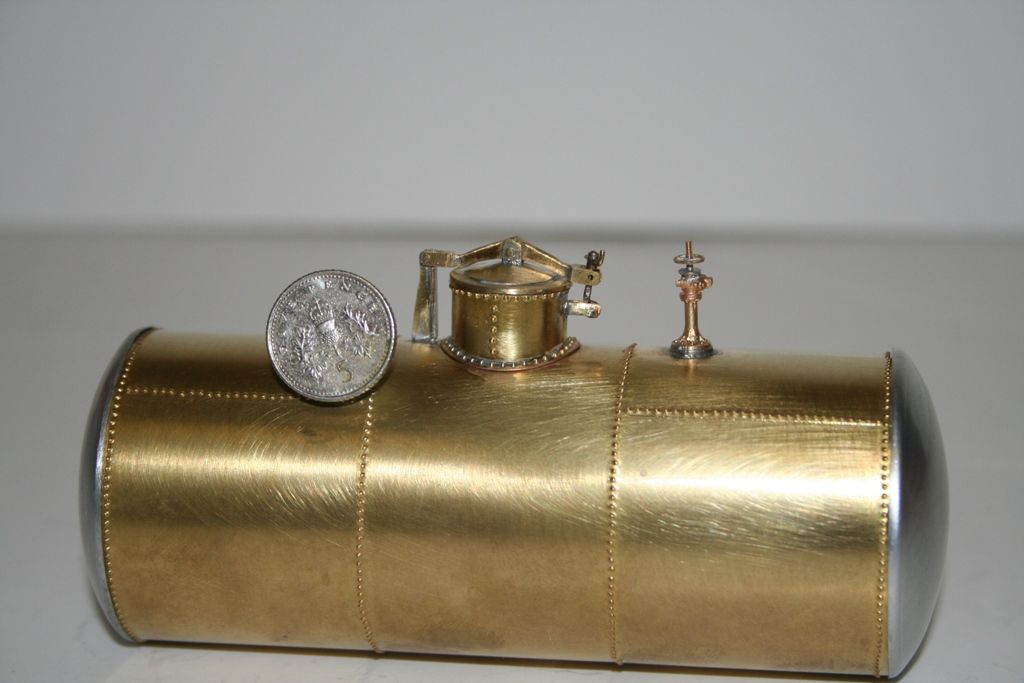
Had a disaster on Friday night,
My soldering iron packed in. It isn't the first time so I had a spare element in stock but it took most of the evening to dig it out and fit it. The upside to this was that my good lady agreed to fund one of the ERSA units favoured by fellow members so that was duly ordered before she changed her mind .
So back to the build, you may recall earlier in the thread that Graham kindly offered to supply me with some sprung W Irons to suit as he had for my tar tub. Despite accepting Graham's offer, what I didn't have to go with Graham's W Irons were any springs (I had axlebox that were spares supplied with a lot of the Slaters/Parkside kit's and Graham has subsequently pointed me at the Exactoscale lists where RCH axleboxes and springs in ABS can be had for £3). I contemplated making some up from bronze strip as I had for Severn but didn't have any in stock.
Despite accepting the kind offer, ultimately I was waylaid while browsing the MMP site (I like to keep up with progress on the new wagon kits ). I have been musing about trying David's detailing kits for Slaters open wagons and thought that this may be the time so I ordered a couple of sets of working leaf springs, a set of underframe detailing. I would have ordered one of the internal detailing sets at the same time but all my Slaters kits are at the cottage so I didn't know exactly which to specify when ordering (I have a couple of opens but don't know offhand whether they are 4 plank 5 plank etc.).
Order placed Wednesday at 8:20 and delivered Friday AM, You cannot expect better than that
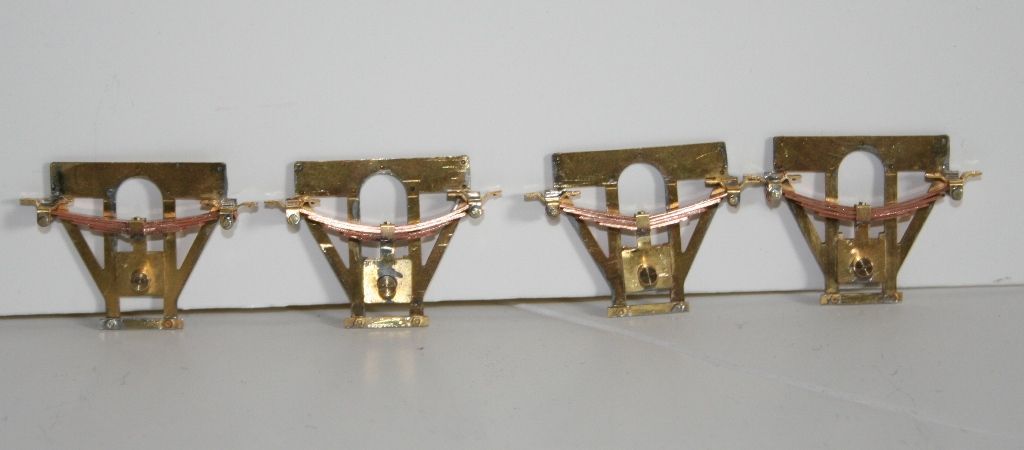
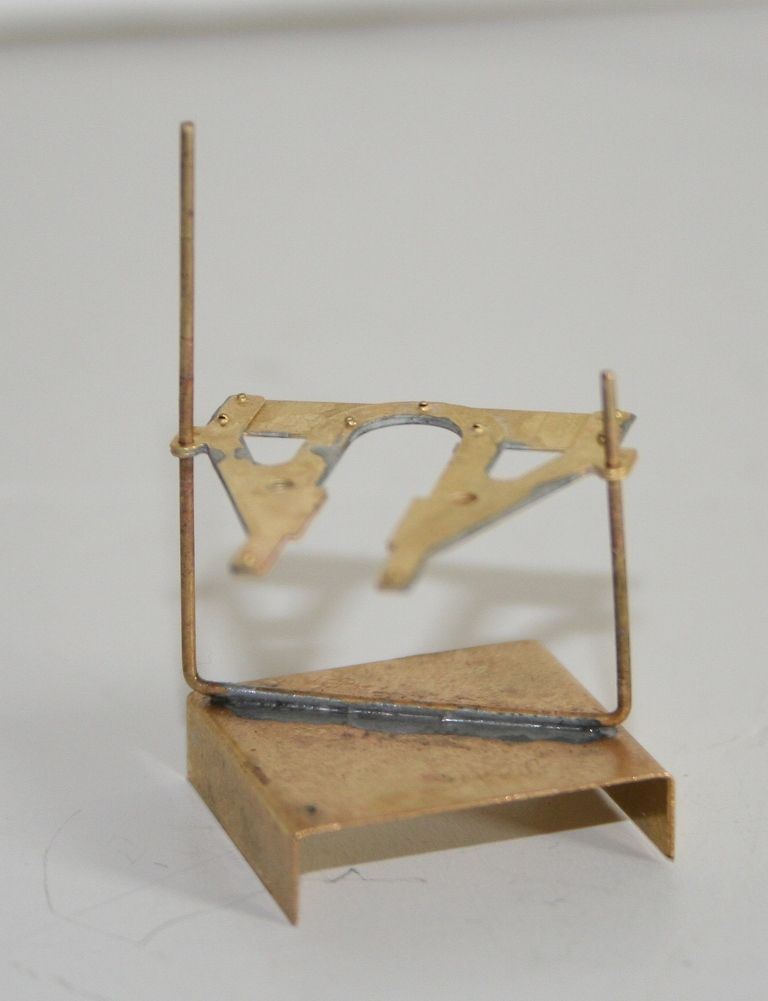
Having had experience of these before when making my glass wagon I decided to knock a couple of jigs together to help me get everything as it should be.
First I made a jig to hold the W Irons while soldering the two layers together - a simple U shaped piece of wire on a base. A couple of Aluminium hair grips and all is done very easily.
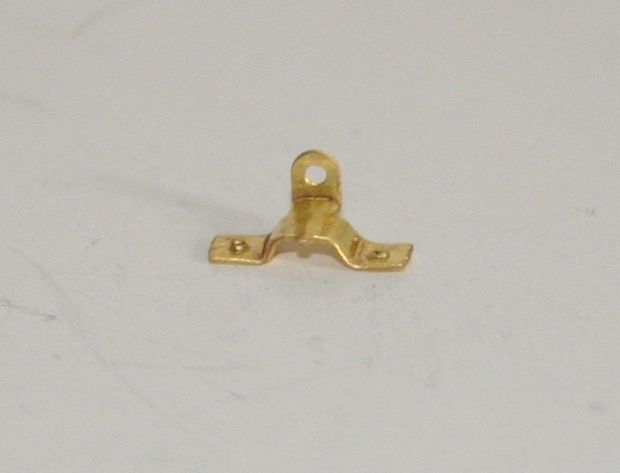
Next I wanted to make these.
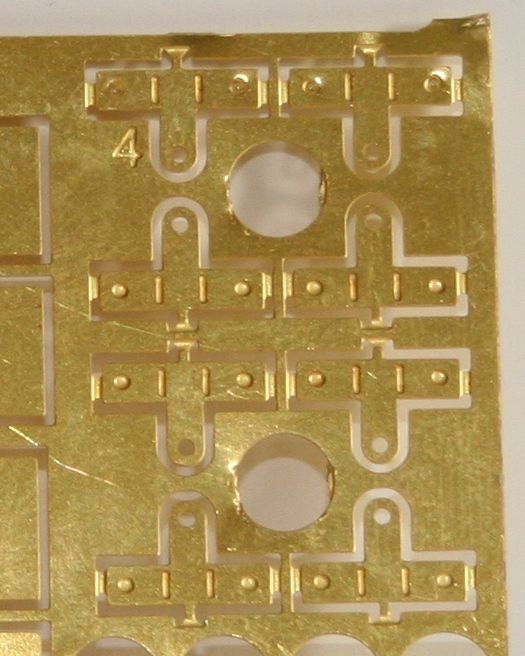
Into these.
So this is a little jig that I made assist with it. It's a length of 1mm nickel bar with a short piece soldered on the side drilled to accept a piece of rod that will go through the eye of the etch and all soldered together
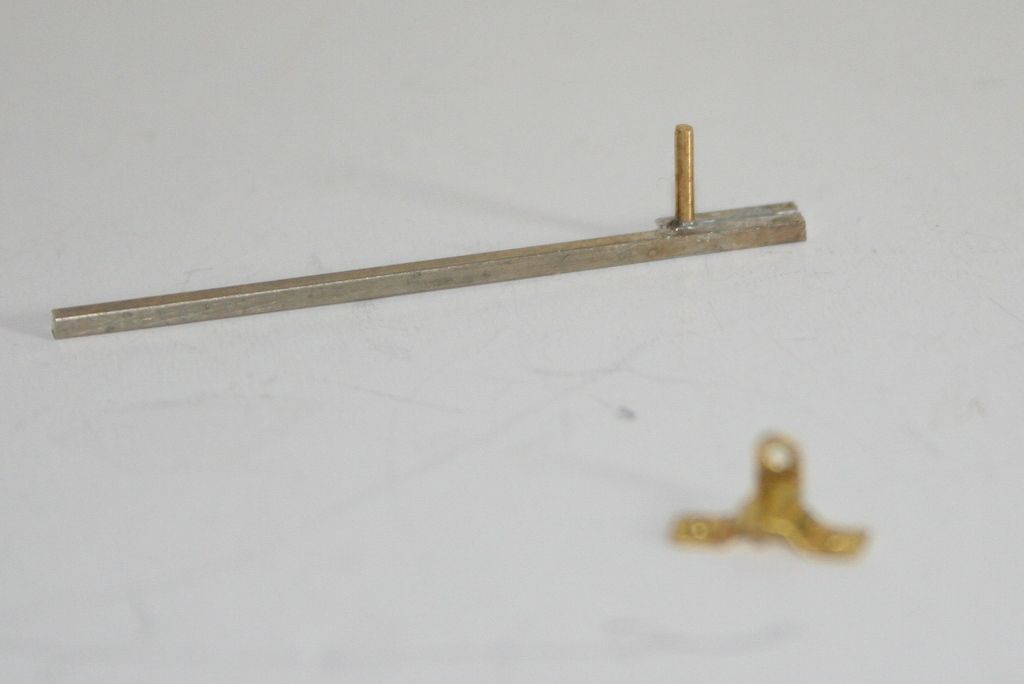
You place the eye over the pin with the two half etched lines visible in the shot of the etch downwards and centred over the thick end of the jig. Get a pair of pliers and open the jaws to the two etched lines visible on the top of the etched part and press downwards. Then press out the rivets and fold up the tab with the eye hole in it and you are cooking with gas.
And the end result is these.